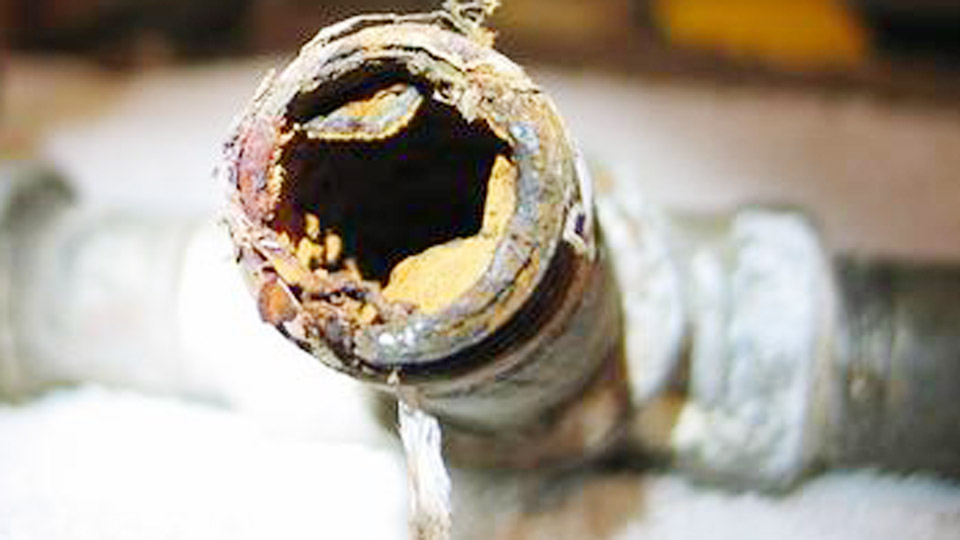
Cracked cast aluminum engine cases, leaking radiators, or damaged brackets often leave welders and mechanics searching for reliable fixes without full TIG setups.
How to repair aluminum with JB Weld addresses this by delivering a cold-weld epoxy solution that bonds effectively when fusion welding risks distortion, requires specialized equipment, or proves impractical in the field.
This method suits non-critical to moderately loaded repairs, offering tensile strengths around 3960–5020 PSI after full cure, heat resistance up to 550°F (287°C), and chemical resistance in real-world conditions.
Proper execution yields durable results for automotive, marine, and hobbyist applications where traditional welding falls short or isn’t feasible.
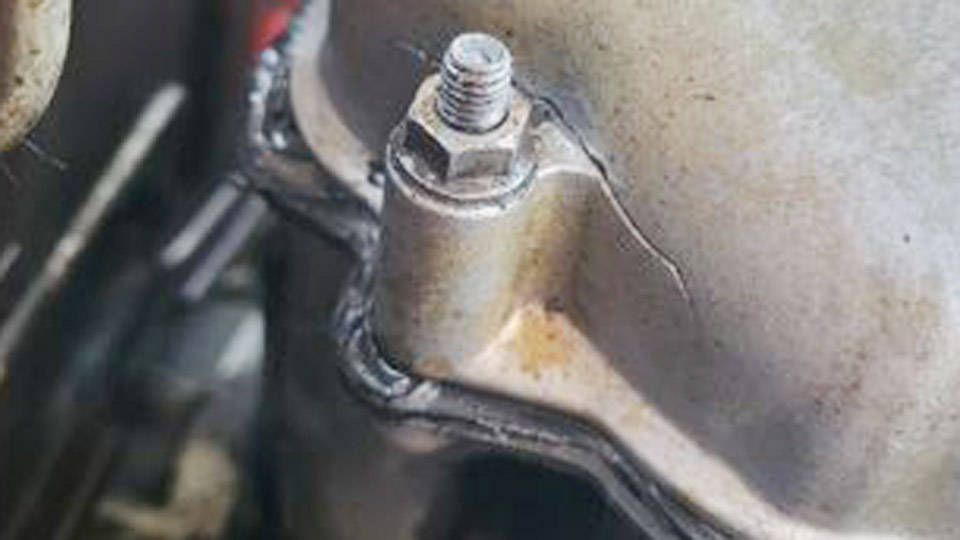
Image by r@AskMechanics
Why Choose JB Weld for Aluminum Repairs
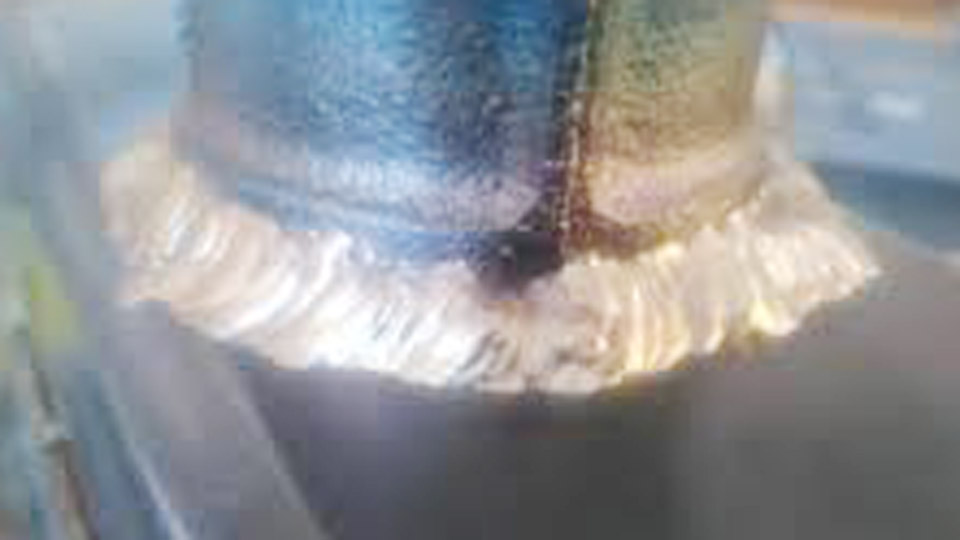
Comparing JB Weld to Traditional Aluminum Welding
Fusion welding (TIG/MIG) melts and fuses base metal for maximum strength, often exceeding 30,000–40,000 PSI in aluminum alloys. JB Weld creates a mechanical and chemical bond without heat input, avoiding warping, burn-through on thin sections, or heat-affected zone weakening common in cast aluminum.
Use JB Weld when:
- Access limits torch or welder positioning.
- Parts involve heat-sensitive components (seals, electronics).
- Repair prioritizes speed and low cost over peak structural strength.
- Cracks or voids need filling rather than full joint fusion.
It underperforms in high-vibration, high-fatigue, or primary load-bearing structural roles where welding excels. Many professionals combine approaches: JB Weld for temporary or sealing fixes, followed by welding for permanence.
Strength and Performance Specifications
Original JB Weld reaches ~5020 PSI tensile strength when fully cured, with a dark gray, machinable, drillable, and sandable finish. It withstands continuous temperatures to 500–550°F and short spikes higher. KwikWeld variants set faster (4–6 minutes) but offer lower strength (~2424 PSI) and reduced heat tolerance (~300°F).
Real-world performance depends heavily on surface preparation and application thickness. Thicker builds or reinforced applications (with fiberglass cloth) increase durability for cracks or holes.
Surface Preparation: The Foundation of a Successful Repair
Removing Contaminants and Oxide Layer
Aluminum forms a rapid oxide layer that prevents strong bonding. Begin by degreasing with acetone, brake cleaner, or isopropyl alcohol—avoid residues from some solvents.
Mechanically abrade using:
- 80–120 grit sandpaper or emery cloth for flat surfaces.
- Wire wheel or flap disc (fine) for irregular or cast surfaces.
- Scotch-Brite pads for final scuffing.
Remove all dust and loose particles with compressed air or a lint-free cloth. Perform final cleaning immediately before mixing epoxy, as re-oxidation occurs quickly. For cast aluminum, focus on crack edges and surrounding areas for maximum contact.
Creating Mechanical Interlock
Roughening increases surface area for epoxy adhesion. Aim for a uniform matte texture without deep gouges that could create stress risers. On thin sheet aluminum, limit aggression to prevent distortion. For threaded repairs or stripped holes, clean internal threads thoroughly and consider building up material in layers.
Key decision: Test a small area if unsure about material compatibility (e.g., anodized or painted aluminum requires full removal of coatings).
Selecting the Right JB Weld Product
Original JB Weld vs. Specialized Variants
- Original JB Weld (Twin Tube or Syringe): Best all-around for aluminum. 4–6 hour set time, 15–24 hour full cure, highest strength and temperature rating. Ideal for engine cases, brackets, and structural fills.
- KwikWeld: Faster set for emergency repairs, but lower performance metrics.
- MarineWeld or WaterWeld: Enhanced moisture resistance for wet or marine environments.
- ClearWeld: For cosmetic or visible repairs needing less visibility.
- Putty Sticks (e.g., SteelStik): Easier for vertical or overhead applications, moldable before curing.
Match product to operating conditions: temperature exposure, chemical contact (oil, coolant, fuel), and load type. Original formulation handles most aluminum repairs effectively.
Step-by-Step Application Process for Aluminum Repairs
Mixing and Initial Application
Dispense equal parts resin and hardener onto a disposable mixing surface (cardboard, plastic tray). Mix thoroughly for 1–2 minutes until uniform color—streaks indicate incomplete mixing and weak spots. Work in small batches due to limited pot life.
Apply to the prepared surface using a spatula, putty knife, or syringe for precision. For cracks, force material into the void and build a slight overfill. On joints, apply to both surfaces for maximum contact. For larger gaps or missing material, apply in thin layers (1/8″ max per layer), allowing partial set between coats to prevent sagging.
Clamping, Reinforcement, and Curing
Clamp parts firmly to maintain alignment and pressure during cure. Use temporary supports or tape for complex shapes. For added strength on cracks:
- Drill small holes perpendicular to the crack and fill with epoxy (stitches).
- Embed fiberglass cloth or wire mesh into the wet epoxy for reinforcement.
- Build up exterior fillets for stress distribution.
Cure at room temperature (70°F+ ideal). Higher ambient temperatures accelerate curing; colder slows it significantly. Avoid disturbing for at least 4–6 hours (set) and 15–24 hours (full cure). Full strength develops over days—test loads gradually.
Post-cure options include sanding to contour, drilling/tapping, or painting. The cured material machines similarly to soft metal with carbide tools and coolant.
Repairing Specific Aluminum Components
Cracked Cast Aluminum Cases and Housings
Common in engines, transmissions, and gearboxes. V-groove the crack with a grinder for better penetration. Clean extensively inside and out. Apply JB Weld from both sides if accessible. Pressurize-test after full cure for leaks. Many users report success stopping coolant or oil leaks in castings, though vibration-heavy environments benefit from reinforcement.
Radiators, Tanks, and Fluid Containers
Clean thoroughly to remove coolant/oil residues. For pinholes, apply a small bead internally and externally. Larger damage may require backing with aluminum patch or fiberglass. MarineWeld or WaterWeld excels here due to wet-environment performance. Pressure-test repairs before reinstallation.
Sheet Aluminum and Body Panels
Light abrasion suffices on sheet. For butt or lap joints, ensure overlap for bonding area. Clamp flat to avoid distortion. This suits cosmetic or low-load fixes; high-stress panels usually require welding or riveting.
Threaded Holes and Fastener Repairs
For stripped aluminum threads, clean and fill with JB Weld, then insert fastener coated in release agent (or use a bolt as a mold) while wet. Allow full cure before removal and retapping if needed. Strength suffices for moderate torque but not high-load critical fasteners.
Post-Repair Evaluation and Finishing
Inspect for voids or weak spots after curing. Perform functional tests: pressure for leaks, load for strength, thermal cycling where relevant. Sand or file excess for smooth finish. Paint adheres well after light scuffing. Monitor repairs in service—reapply or upgrade to welding if degradation appears under load or heat.
Limitations and When to Choose Welding Instead
JB Weld excels for accessible, non-critical repairs but lacks the metallurgical fusion of TIG. Avoid it for:
- High-pressure vessels or safety-critical structural parts.
- Areas exceeding temperature/chemical ratings long-term.
- Fatigue-prone cyclic loading without reinforcement.
Professionals often view it as a capable temporary or supplementary fix. For permanent high-performance results on load-bearing aluminum, TIG with proper filler (e.g., 4043 or 5356) remains superior.
Final Thoughts
How to Repair Aluminum with JB Weld delivers practical, equipment-light solutions when executed with precision. Master surface preparation, product selection, and layered application to achieve bonds that perform reliably in demanding conditions.
For critical or high-performance needs, combine with or default to proper TIG techniques. This approach expands your repair options while respecting aluminum’s unique challenges—strong results come from informed decisions on when and how to apply it.
FAQ
How strong is JB Weld on aluminum compared to actual welding?
It achieves 3960–5020 PSI tensile strength versus 30,000+ PSI for welded aluminum joints. Suitable for many non-structural and moderate-load repairs when prepped correctly, but not a full replacement for fusion welding in critical applications.
How long does JB Weld take to cure fully on aluminum?
Sets in 4–6 hours; full cure in 15–24 hours at room temperature. Warmer conditions speed this slightly; allow longer in cold environments. Maximum strength develops over additional days.
Can JB Weld be used on aluminum that holds pressure or fluid?
Yes, for many radiator, tank, and case repairs after proper surface prep and full cure. Reinforce larger repairs and pressure-test. Specialized variants like MarineWeld perform better in wet/chemical environments.
Does surface prep really make that much difference with JB Weld on aluminum?
Absolutely—poor cleaning or lack of abrasion causes most failures. Thorough degreasing and mechanical roughening are non-negotiable for reliable bonds.