Building a stable work surface is one of the most important upgrades for accurate welding and fabrication. If you are wondering how to make a welding table, the goal is not just to create a flat bench—it is to build a platform that can handle heat, clamping pressure, and heavy steel without flexing or distorting.
A poorly designed table can lead to alignment errors, inconsistent fit-up, excessive rework, and difficulty maintaining square assemblies. Thin tops may warp under repeated welding, while weak frames can introduce movement that affects joint accuracy and final weld quality.
Choosing the right steel thickness, frame design, and bracing is critical if the table will be used for MIG, TIG, flux-core, or stick welding. I’ll explain the practical design and fabrication decisions that matter most, including table size, material selection, frame construction, and methods for keeping the surface flat during assembly.
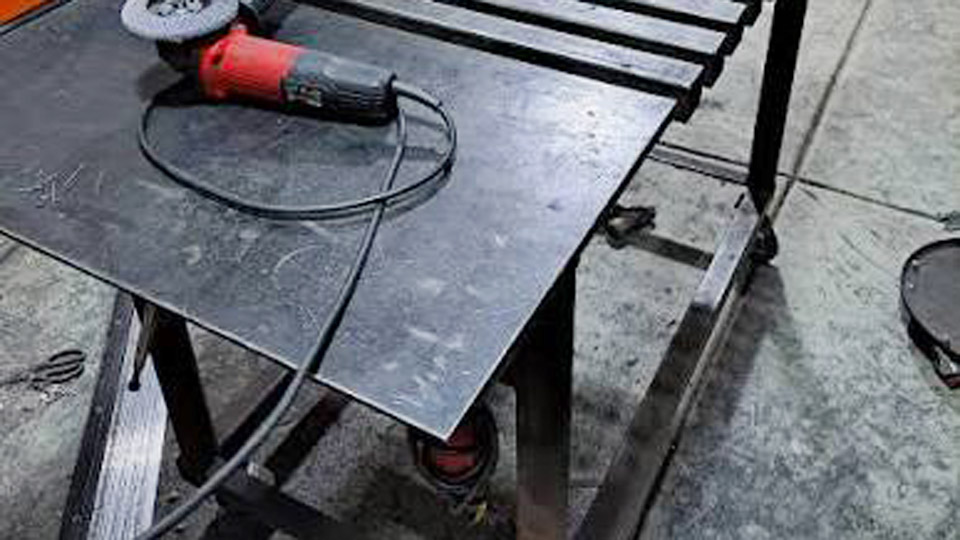
Image by langmuirsystems
Why a Custom Welding Table Matters for Real Fabrication
DIY and professional welders need a surface that handles grounding, resists spatter adhesion, and provides modular hold-down options. Commercial tables often exceed budgets or fail to match specific workflow dimensions.
Building your own allows control over size, thickness, hole patterns, and mobility while keeping costs reasonable—typically $200–800 for a solid mid-size build versus $1,000+ for equivalents. The result is a table optimized for your common projects, whether small repairs or structural fab.
Determining Optimal Dimensions and Working Height
Table size and height directly impact ergonomics, project capacity, and shop flow. Wrong choices create constant frustration through awkward postures or limited workspace.
Matching Tabletop Size to Project Types
For hobbyists and small shops, a 36″ x 24″ or 48″ x 36″ top provides sufficient area without dominating floor space. Larger fabricators targeting truck frames, gates, or trailer components should aim for 4′ x 6′ or 4′ x 8′. Include 2–3″ overhang on all sides for edge clamping without leg interference.
Consider doorway clearance and mobility. A 36″ x 72″ table rolls through most standard doors when equipped with proper casters. Measure your most frequent workpiece lengths and add clamping margins—typically 6–12″ beyond the part.
Establishing Ergonomic Working Height
Set the finished surface height at 36–40″ for standing MIG/TIG work. This aligns the weld pool near elbow level for optimal visibility and reduced back strain. Shorter welders or seated operations may drop to 32–34″. Test with scrap tubing: stand naturally, bend elbows 90°, and mark the ideal height. Adjustable legs (threaded or pinned) add flexibility for different processes or users.
Load Capacity and Mobility Considerations
Factor in workpiece weight plus clamping forces. A 3/8″ top with robust framing easily supports 1,000+ lbs distributed. For mobility, select 800–1,200 lb-rated locking swivel casters with poly wheels. Position them inset slightly to maintain stability when parked. Brakes on at least two casters prevent rolling during heavy grinding or hammering.
Selecting Materials for Strength, Flatness, and Durability
Material choices determine long-term performance under heat, impact, and repeated use. Compromises here lead to warping, denting, or flex that ruins precision work.
Tabletop Steel Thickness and Grade
Mild carbon steel (A36 or preferably A572 Grade 50) is the standard. A36 suffices for light duty; A572-50 offers higher yield strength and better resistance to permanent deformation.
Recommended thicknesses:
- 1/4″ (6 mm): Light hobby work, supported by dense subframe. Prone to oil-canning under concentrated heat.
- 3/8″ (10 mm): Sweet spot for most home/professional shops. Balances weight, cost, and rigidity.
- 1/2″ (12–13 mm): Heavy structural fabrication. Minimizes warping from multi-pass welds.
Hot-rolled plate requires flattening and edge grinding. Source from scrap yards or suppliers for drops to cut costs significantly.
Frame and Leg Tubing Specifications
Use 2″ x 2″ x 1/4″ or 2″ x 3″ rectangular tubing for the perimeter and cross-bracing. Wall thickness of at least 0.188″ prevents torsional twist on spans over 4′. For tables 6’+, upgrade to 3″ sections or add diagonal bracing. Legs from matching square tubing provide consistent welding and load distribution.
Lower shelf options include expanded metal or flat bar slats spaced for tool storage and debris drop-through.
Surface Treatment and Alternatives
Raw mild steel works well and is repairable by welding. Nitrided surfaces (professional option) improve spatter release and corrosion resistance but increase cost.
Avoid aluminum (poor grounding/heat) or wood (fire hazard). Stainless suits contamination-sensitive work like food-grade or aluminum fab but costs 2–4x more.
Designing the Frame and Support Structure
A strong subframe maintains flatness and distributes loads. Poor design causes sagging at the center under weight.
Perimeter and Cross-Bracing Layout
Build a rectangular frame with perimeter tubing, then add 2–3 cross members spaced 18–24″ apart. Weld top and bottom for maximum rigidity.
Miter corners for aesthetics or use butt joints with gussets for strength. Tack everything on a flat surface first, check squareness with a framing square or diagonal measurements, then complete welds.
Incorporate a lower shelf frame 12–18″ above the floor for stability and storage.
Leg Attachment and Leveling Systems
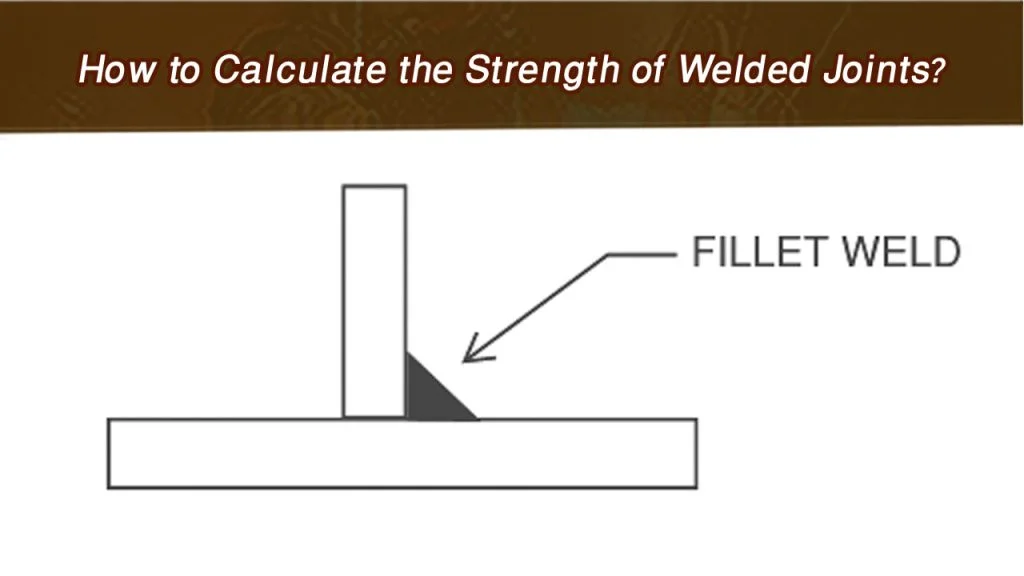
Weld legs to the frame corners with full penetration or reinforced fillets. Add diagonal bracing between legs if mobility isn’t needed. For leveling, threaded feet or adjustable casters allow fine-tuning on uneven shop floors. Capture nuts or plates on the underside facilitate bolt-on legs for disassembly and transport.
Integrating a Debris Tray
A removable sheet metal tray below the top catches slag and spatter. Support it on angle iron ledges. This keeps the workspace cleaner and prevents fire hazards from accumulated debris.
Adding Fixture Holes and Grid Patterns
Holes transform a basic table into a modular fixturing system, enabling precise, repeatable setups without custom jigs.
Choosing Hole Diameter and Spacing
Common systems: 16 mm (System 16) holes on 50 mm centers for precision/small work; 28 mm (System 28) on 100 mm (or diagonal 50 mm) centers for heavy duty. Drill or waterjet after the top is welded flat to maintain accuracy. Tolerances of ±0.05 mm ensure accessories fit without slop.
Spacing affects flexibility—finer grids (50 mm) allow more positions and 45° setups with diagonal patterns.
Drilling vs. Professional Cutting
For DIY, use a drill press or magnetic drill with appropriate bits after clamping the plate securely. Larger tables benefit from CNC plasma, laser, or waterjet services for precision and speed. Deburr holes thoroughly to prevent clamp binding. Grid lines scribed or lightly etched aid quick alignment.
Side Holes and Expandability
Drilling holes in the vertical frame sides or adding slotted rails expands clamping options for complex 3D assemblies. This is especially useful for tubing or frame work.
Step-by-Step Assembly Process
Execute in a logical order to maintain flatness and squareness.
- Cut all tubing and plate to size with clean, square ends. Grind mill scale and rust from mating surfaces.
- Assemble and tack the frame and legs on a flat reference surface (another table or floor with shims).
- Check and adjust for square and level. Weld frame joints progressively to minimize distortion.
- Attach the top plate with tack welds around the perimeter and ribs, working from center outward or alternating sides.
- Flip the table (use help or hoist) and weld underside joints.
- Install casters or feet, then grind visible welds flush where desired. Clean and apply primer/paint to non-working surfaces.
Allow full cooling between major weld passes to control heat input.
Finishing, Maintenance, and Tool Integration
Proper finishing extends usability and performance.
Surface Preparation and Protection
Grind the top flat after welding. A flap disc or belt sander removes high spots. Some builders stress-relieve by heating broadly, but proper welding technique minimizes this need. Avoid coatings on the working surface—raw steel provides best grounding and is easy to maintain with occasional wire brushing.
Organizing Accessories and Add-Ons
Incorporate pegboard or hooks on legs for clamps and tools. Build or buy compatible fixtures: stops, right-angle brackets, V-blocks, and screw clamps sized for your hole diameter. A lower drawer or magnetic tool holders keeps essentials accessible.
Long-Term Maintenance Practices
Inspect for levelness periodically. Clean spatter promptly with a chipping hammer or grinder. Touch up welds on the frame as needed. For heavy use, consider a replaceable top section or periodic resurfacing. Store clamps off the table to avoid unnecessary wear.
Cost Breakdown and Build Alternatives
A basic 36″ x 48″ table with 3/8″ top and tubing frame runs $250–600 in materials. Add $100–200 for casters and hardware. Scrap sourcing or bulk steel drops lowers this further. Pre-cut kits or plans reduce layout time but limit customization.
Compare to buying: Entry commercial tables start around $300–600 but often skimp on thickness or fixturing. Custom pro tables exceed $2,000 quickly.
Simple alternatives: Heavy-duty steel sawhorses with a thick plate top for very basic needs, or a fold-down wall-mounted design for tiny shops.
Common Fabrication Challenges and Solutions
Warping during top attachment is mitigated by balanced welding sequences and clamping to a flat base. Center deflection is fixed with additional ribs or thicker tubing. Hole alignment issues arise from drilling before final assembly—always weld first, then machine holes if possible.
For uneven floors, prioritize adjustable legs over rigid ones. Heat management during multi-pass welding on the frame prevents cumulative distortion; use smaller beads and peening where appropriate.
Final Thoughts
Building your own welding table delivers a platform precisely matched to your processes and projects. Focus decisions on expected loads, typical workpiece sizes, and desired fixturing flexibility rather than generic “best” specs.
The strongest tables result from thoughtful subframe design and controlled welding technique, not just thick plate. Experienced fabricators often add modular extensions or specialized fixtures later, turning a single table into a complete fixturing ecosystem that accelerates workflow and elevates weld quality.
FAQ
What thickness steel is best for a DIY welding table top?
3/8″ mild steel (A36 or A572-50) offers the best balance for most builders. It resists warping better than 1/4″ while remaining manageable in weight and cost. Use 1/2″ for frequent heavy structural work.
Should I include holes in my welding table?
Yes, for any serious fabrication. A 16 mm or 28 mm grid enables fast, accurate clamping and fixturing, dramatically improving efficiency over a solid top. Drill after assembly for best results.
How much does it cost to build a good welding table?
Expect $300–800 for a quality mid-size (3×4′ to 4×6′) table with casters and basic features, depending on material sourcing and hole machining. This is significantly less than comparable commercial options.
Can I make a portable welding table?
Absolutely—use locking casters rated for the total loaded weight and reinforce the frame accordingly. Keep overall dimensions under doorway width and consider a lower center of gravity for stability when moving.