Building your own spot welder can feel like a challenging project, but it’s completely possible—even on a tight budget. Whether you want to weld battery tabs, thin sheet metal, or small metal parts, a DIY spot welder gives you a lot of flexibility and saves money compared to buying a commercial machine.
In this guide, you’ll learn how to make a cheap spot welder from commonly available parts, understand how it works, and get practical tips for safe and reliable use.
Why build your own? Factory-made spot welders often cost hundreds of dollars. DIY versions can be built for under $60–$100, depending on materials you already have. Many makers use old microwave oven transformers (MOTs) for this project, and you’ll see why that’s a popular choice.
This article will walk you through the full process and highlight important safety notes. You’ll also get answers to common questions and see real-world comparisons to help you choose the right approach for your needs.
What Is A Spot Welder?
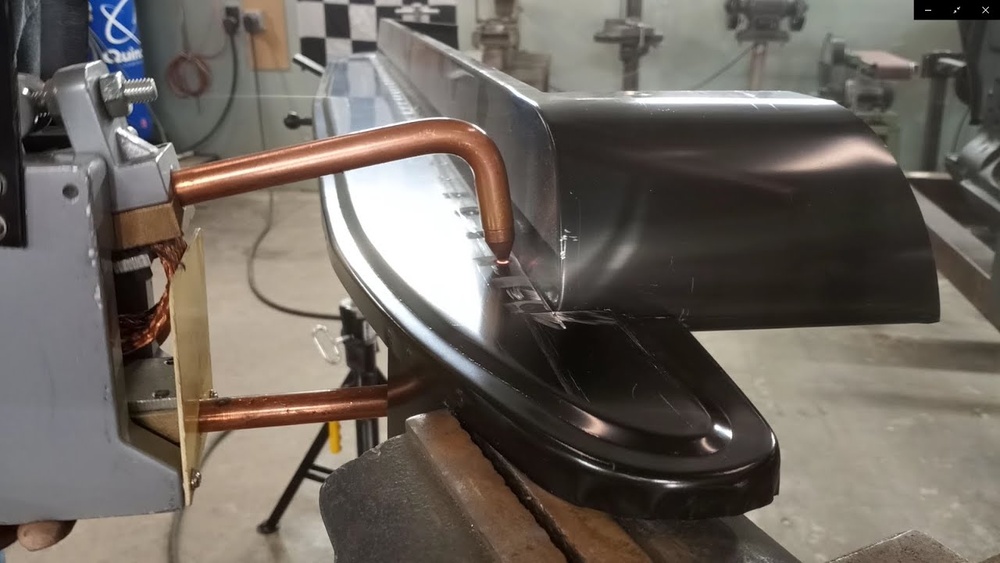
A spot welder is a tool that joins two pieces of thin metal together by applying high electrical current through a small “spot.” The metal heats up and melts at that point, then fuses as it cools. Spot welders are used for:
- Battery pack assembly (nickel strips on lithium cells)
- Sheet metal work (car repairs, appliance repair)
- Jewelry making
The process is fast and produces clean, strong welds, especially on thin materials. Commercial spot welders use a transformer to reduce voltage and increase current—often thousands of amps for a split second. In DIY builds, the same principle applies, usually with recycled parts.
How Spot Welding Works
Understanding the basics helps you build a safer, more effective welder. Spot welding relies on resistance heating—when current passes through the metals, resistance at the contact point creates intense localized heat. The metal at the contact area melts and fuses.
Key elements:
- Electrodes: Usually copper rods that press the two metal pieces together
- Transformer: Steps down voltage and increases current
- Timing: Controls how long the current flows, usually a fraction of a second
If the current is too low, the weld will be weak. If it’s too high or the timing is too long, the metal may burn through.
Credit: www.itsqv.com
Common Methods For Cheap Diy Spot Welders
There are a few proven approaches for making a cheap spot welder:
- Microwave Oven Transformer (MOT) Spot Welder: The most popular DIY method.
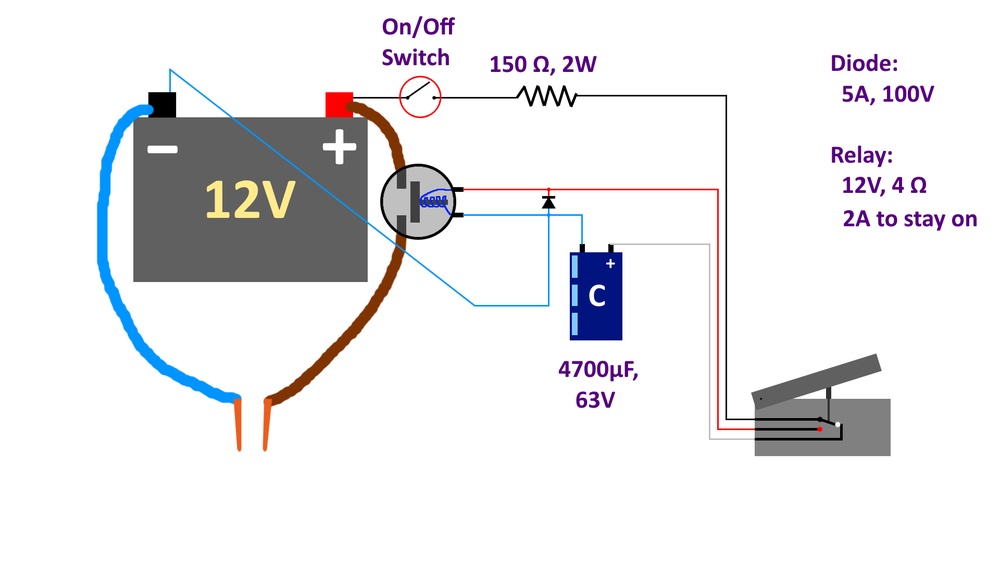
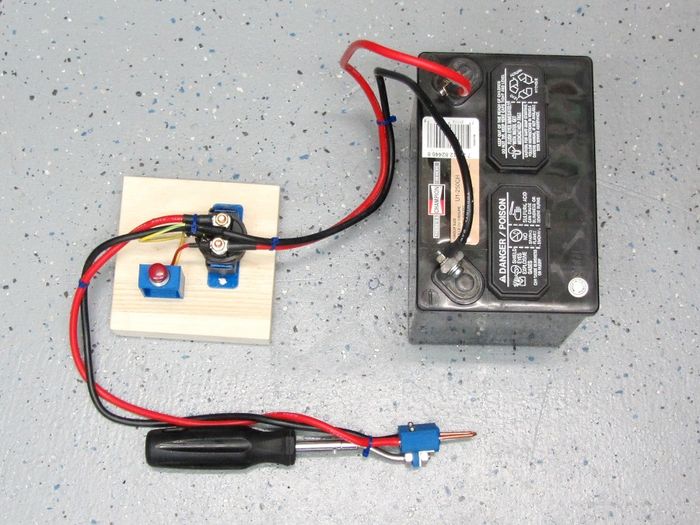
- Car Battery Spot Welder: Uses a car battery and a relay.
- Capacitor Discharge Spot Welder: More advanced, uses large capacitors.
- Arc Welder Conversion: Modifies an old stick welder.
For most hobbyists, the MOT spot welder strikes the best balance between cost, ease, and performance. That’s the main focus here, but you’ll also see brief comparisons to help you decide.
Essential Materials And Tools
To build a basic MOT spot welder, you’ll need:
- Old microwave oven transformer (MOT)
- Heavy gauge copper wire or copper bar (for secondary winding)
- Copper rods or thick copper cable (for electrodes)
- Electrical cables and connectors (rated for high current)
- Switch (momentary foot pedal or hand switch)
- Insulated case or enclosure
- Basic tools: Screwdriver, pliers, soldering iron, saw, drill
Optional but recommended:
- Digital multimeter
- Thick gloves and safety glasses
- Wood or plastic for mounting
If you’re buying used parts or scrounging, most people can build a spot welder for $50–$100.

Credit: www.youtube.com
Choosing The Right Transformer
The transformer is the heart of your spot welder. Microwave oven transformers are ideal because they are cheap, powerful, and widely available. When choosing a MOT:
- Size: Larger transformers produce more current. Look for ones from microwaves rated at 800–1200W.
- Condition: Avoid transformers with rust, burnt smell, or damaged windings.
- Primary voltage: US units are usually 120V; make sure it matches your local mains voltage.
Comparison: Different Transformer Sources
Here’s how some common transformer types compare for DIY spot welders:
| Source | Availability | Max Current (est.) | Ease of Modification | Cost |
|---|---|---|---|---|
| Microwave Oven Transformer | High | ~500-2000A | Medium | Low |
| Arc Welder Transformer | Medium | 100-200A | Hard | Medium |
| Car Battery | High | ~100-400A | Easy | Low |
MOTs give you the most current for the lowest cost, but require careful modification.
Step-by-step: Building A Microwave Oven Transformer Spot Welder
1. Disassemble The Microwave
Unplug the microwave and let it sit for a day (capacitors can hold dangerous charge). Open the case, remove the transformer, and note the wiring. Dispose of the rest responsibly.
2. Modify The Transformer
- Remove the secondary winding (the thick coil with many turns, usually on top). Saw it off carefully, avoiding the thinner primary winding.
- Leave the primary winding in place (the thinner coil at the bottom). This connects to your wall power.
- Install a new secondary winding: Use 2–3 turns of thick insulated copper wire (4 AWG or thicker, or copper bar). This produces low voltage (1.5–3V) but very high current.
Pro tip: If you can’t find thick wire, use copper strips from old busbars or even flatten copper pipe. The lower the resistance, the better.
3. Build The Electrodes
- Use copper rods (1/4” to 3/8” diameter) for best results. You can also use thick copper wire.
- Shape the ends into points or flats to fit your needs.
- Mount the electrodes in handles (wooden, plastic, or fiberglass) to keep your hands safe from heat and electricity.
- Attach the electrodes to the secondary wires using secure, tight connections.
4. Wiring And Enclosure
- Connect the primary winding to a switch (foot pedal or hand trigger) and then to the mains plug.
- Use thick, insulated wire for all high-current parts.
- Mount everything in a non-conductive enclosure. Wood or plastic boxes work well.
- Add strain reliefs and cable clamps to keep wires from pulling out.
5. Safety Checks
Before plugging in:
- Inspect all connections for tightness.
- Confirm the primary and secondary windings are not shorted.
- Test with a multimeter for continuity and insulation.
Important: Always use a properly rated fuse or circuit breaker between your welder and the wall outlet.
6. Testing And Tuning
- Start with short welds (less than 1 second) on scrap metal.
- Adjust the electrode pressure and contact area.
- If welds are weak, try increasing weld time or cleaning the metal.
- If welds burn through, reduce time or use thicker electrodes.
Non-obvious insight: The quality of the secondary winding is critical. Gaps or loose coils cause heat and power loss. Take your time making it neat and tight.
Diy Spot Welder Schematic
Here’s a simple wiring diagram for a basic MOT spot welder:
- Wall power → Fuse → Switch → Primary winding
- Secondary winding → Electrodes
For extra safety, add a thermal cutoff and an indicator light.
Adding A Timer For Consistency
Manual welders can be hard to control. For better results, add a simple timer circuit to control weld duration. You can use:
- Electronic relay timer modules (cheap on eBay/Amazon)
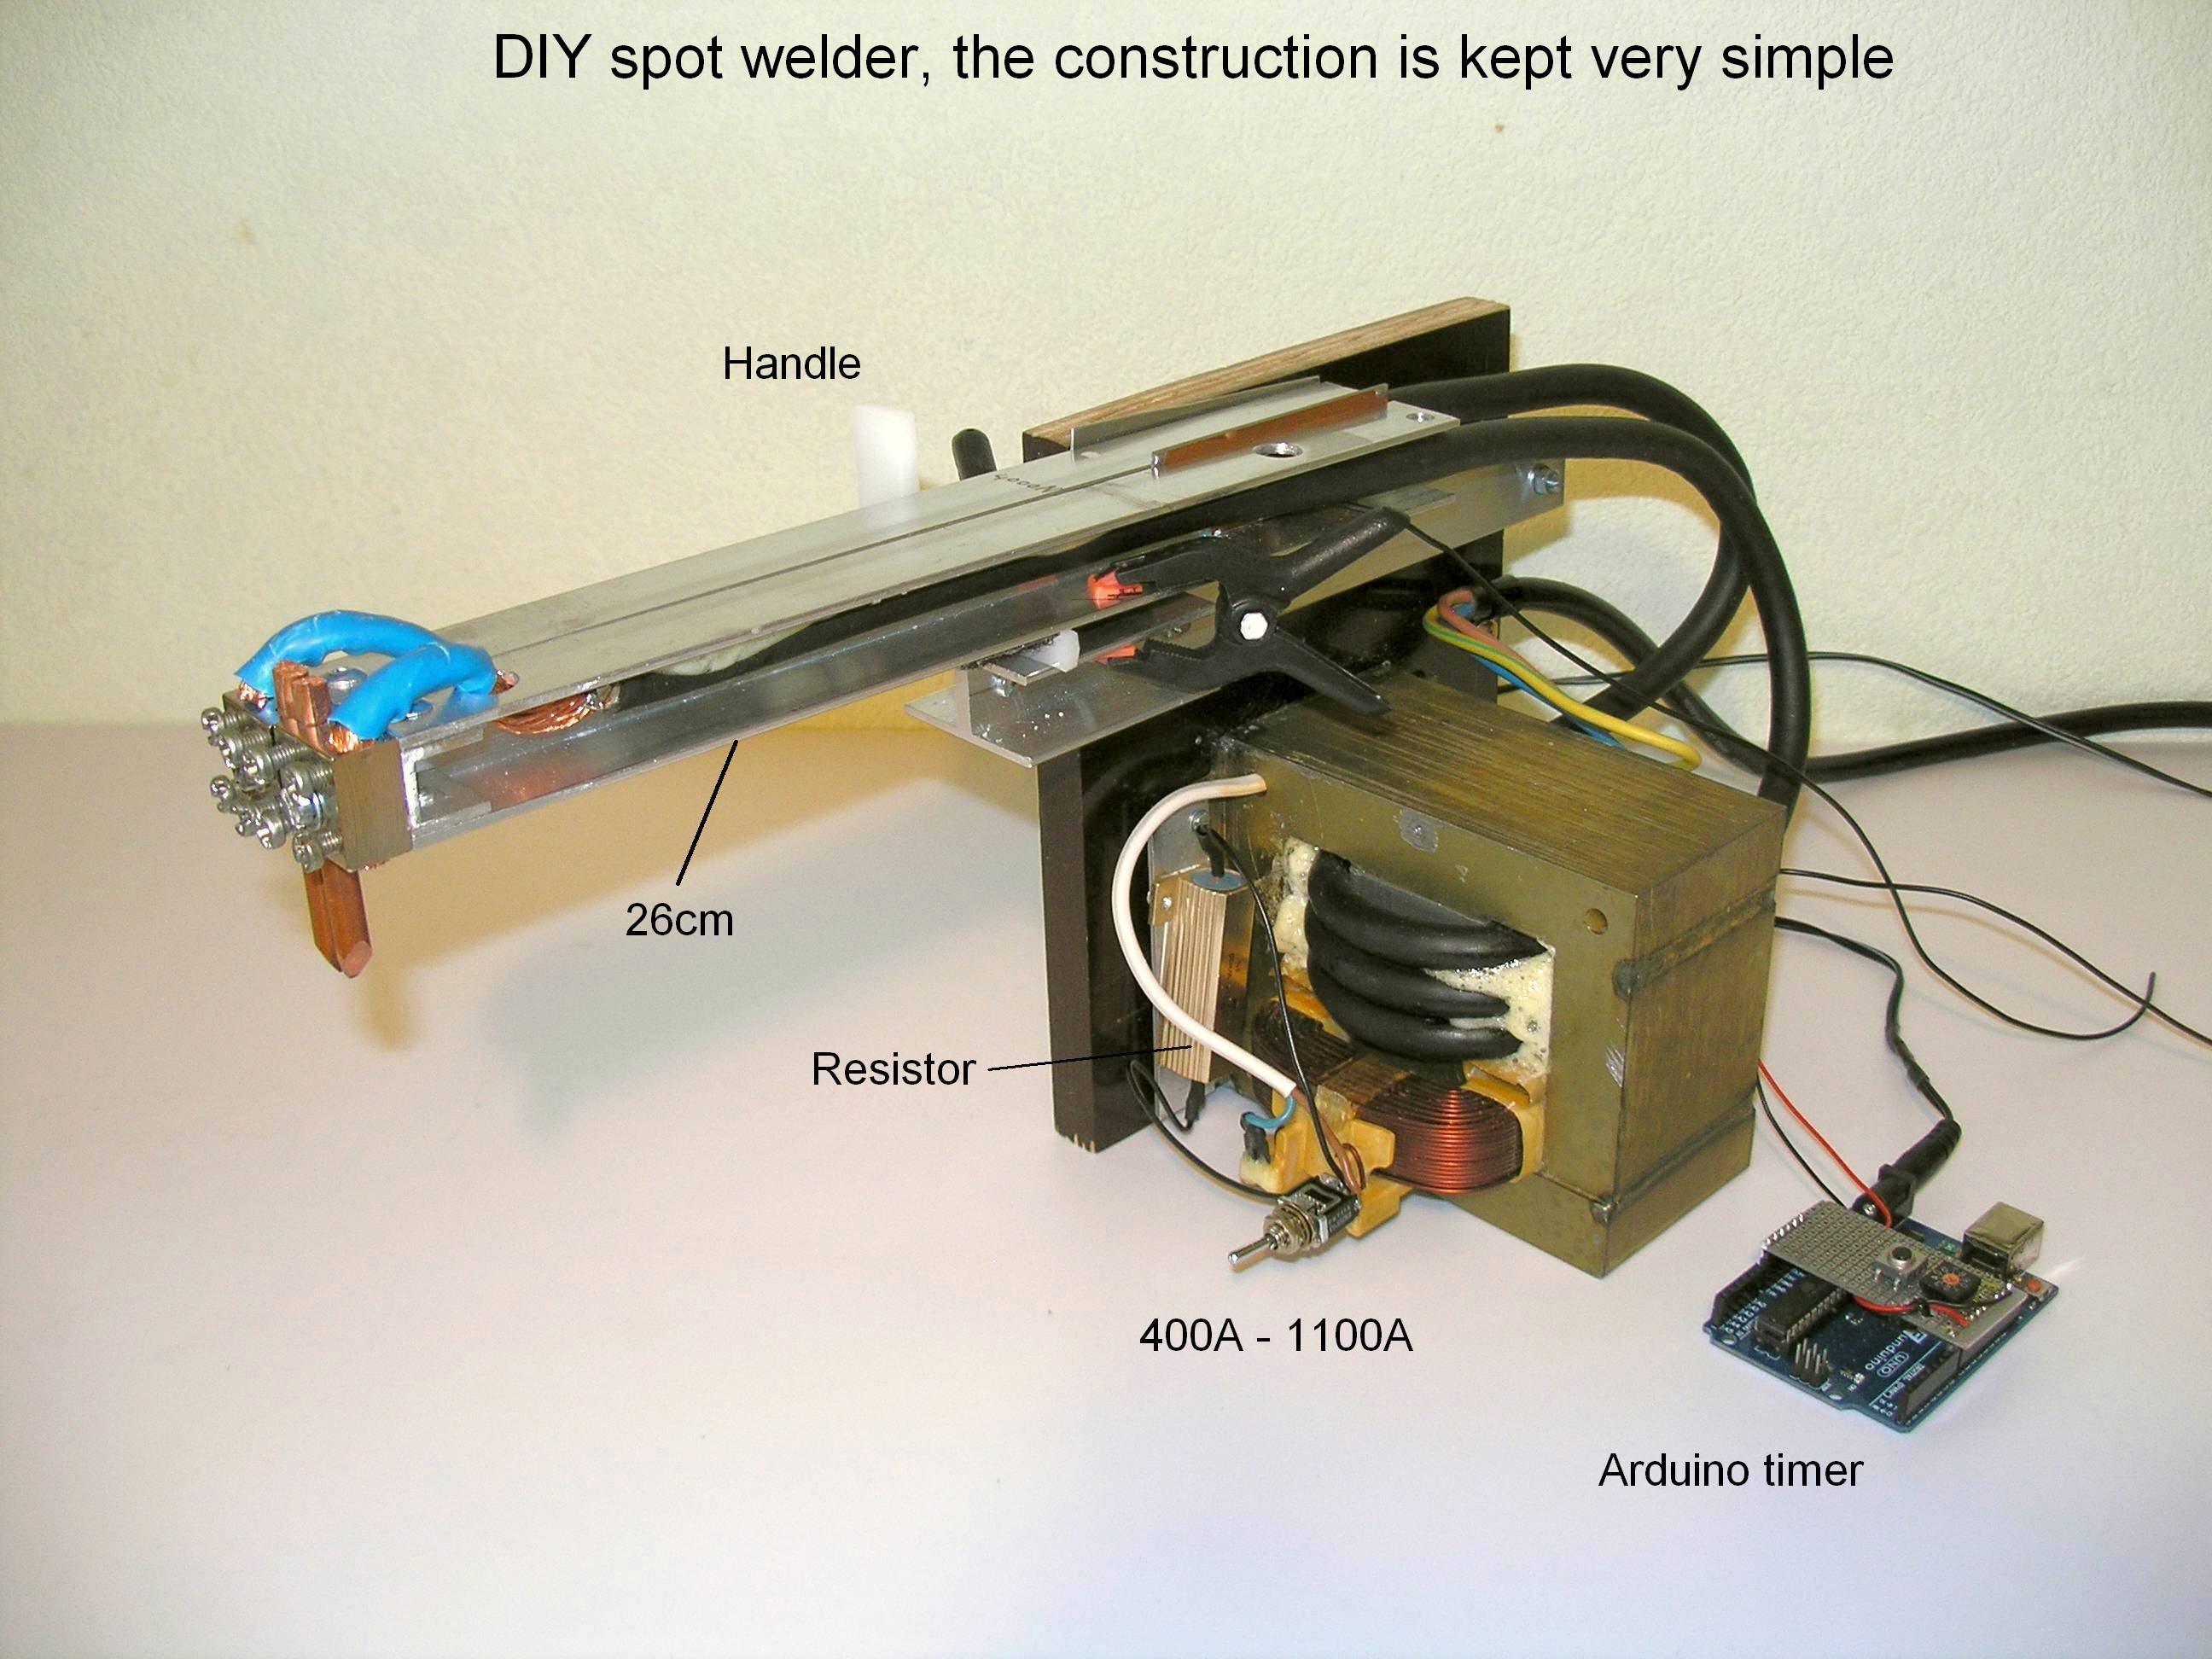
- Arduino or microcontroller (for advanced control)
- Mechanical timers (from appliances)
Set the timer to close the circuit for 0. 2–1 second, depending on your materials.
Pro tip: Consistent timing improves weld quality and repeatability, especially for battery packs.
Making And Mounting The Electrodes
Electrodes take a lot of abuse. Use copper for best conductivity and durability. You can make them from:
- Old heavy copper wire (8 AWG or thicker)
- Copper plumbing pipe (flattened and shaped)
- Salvaged welding cable lugs
Mount the electrodes in handles so you can apply pressure easily. Some builders use spring clamps or pliers for simple setups. For better control, make a lever arm to press the electrodes together.
Case Study: Building A Spot Welder For Battery Packs
One of the most popular uses for a homemade spot welder is making lithium battery packs. Commercial pack welders can cost $200–$500, but a DIY MOT spot welder can do the job for under $80.
Example build:
- Transformer: 1000W MOT from a 1200W microwave
- Secondary: 2 turns of 2 AWG copper wire
- Electrodes: 1/4” copper rod
- Switch: Foot pedal + 0.3-second timer relay
- Results: Welds 0.15 mm nickel strip to 18650 cells reliably
Non-obvious insight: For battery tabs, the clean contact between nickel and cell is as important as weld current. Clean both surfaces with isopropyl alcohol for best results.
Comparison: Diy Vs Commercial Spot Welders
How does your homemade spot welder stack up? Here’s a quick comparison:
| Feature | DIY MOT Spot Welder | Commercial Spot Welder |
|---|---|---|
| Cost | $50–$100 | $200–$500+ |
| Max Weld Thickness | 0.2–0.5 mm | 0.5–1 mm |
| Ease of Use | Medium | Easy |
| Reliability | Good (with care) | Excellent |
| Safety | Requires caution | More safeguards |
A well-built DIY spot welder works very well for most hobbyist tasks. For industrial use, commercial models offer more features and safety.
Safety Precautions
Spot welders can be dangerous if used carelessly. Here’s what you need to know:
- High current: The secondary can deliver hundreds of amps. Never touch exposed electrodes when powered.
- Mains voltage: The primary winding connects to wall power (120V or 240V). Always unplug before opening the case.
- Heat: Electrodes and wires get very hot. Use insulated handles and let the welder cool after several welds.
- Fire risk: Keep flammable materials away from the work area.
- Personal protection: Wear gloves, safety glasses, and avoid loose clothing.
Non-obvious insight: Most transformer failures come from overheating. If the transformer feels hot after a few welds, let it cool down to avoid burning out the windings.
Common Mistakes And How To Avoid Them
1. Using Thin Wire For The Secondary Winding
Thin wire can’t handle high current and will overheat or melt. Always use the thickest copper wire or bar you can fit.
2. Loose Connections
High current needs tight, clean connections. Solder or bolt everything securely.
3. No Fuse Or Circuit Breaker
Always use a fuse rated for your welder (20–30A). This protects you and your house wiring.
4. Wrong Timing
Too long welds burn through the metal; too short gives weak welds. Test on scrap and adjust.
5. Touching Live Parts
Cover all electrical connections and always unplug before servicing.
How To Improve Your Diy Spot Welder
After your basic build works, consider these upgrades:
- Add a digital timer for repeatable welds
- Use pedal control for hands-free operation
- Install a cooling fan to prevent transformer overheating
- Build a lever or clamp for consistent electrode pressure
- Add an ammeter to monitor welding current
These upgrades make your welder safer and easier to use.
Real-world Performance: What To Expect
A DIY MOT spot welder can reliably join:
- 0.1–0.2 mm nickel strip (battery tabs)
- Up to 0.5 mm sheet steel (with strong transformer and good electrodes)
- Small metal parts (washers, wire mesh, jewelry findings)
Don’t expect it to weld thick steel plate or aluminum—those require more powerful or specialized equipment.
Sourcing Parts: Where To Find What You Need
- Microwave transformers: Old appliances, recycling centers, classified ads
- Copper wire/bar: Electrical supply stores, scrap yards, old welding cable
- Copper rods: Hardware stores, plumbing suppliers
- Switches/relays: Electronics shops, online (eBay, Amazon)
- Enclosures: Project boxes, old tool cases
You can substitute and improvise, but always keep safety in mind.
Legal And Insurance Considerations
Homemade spot welders are not always approved by insurance companies. If you use your welder in a business, check local electrical codes and insurance policies. Never connect untested or unsafe equipment to a public power grid. If in doubt, consult a licensed electrician.
Troubleshooting Common Issues
- Weak welds: Check for clean contact, correct timing, and thick enough wire.
- Wires overheating: Use thicker wire or shorten the secondary winding.
- No weld at all: Confirm transformer wiring, check fuse, and test switch.
- Sparking or arcing: Tighten all connections and clean electrode tips.
If your transformer smells like burning, unplug immediately—overheating can ruin the unit or cause a fire.
When To Use A Homemade Spot Welder
DIY spot welders are perfect for:
- Building battery packs for e-bikes, tools, or DIY electronics
- Sheet metal repairs on cars or appliances
- Light fabrication in home workshops
They are not suitable for welding thick metal or critical structural parts.
Credit: hackaday.com
Wrapping Up
Building your own cheap spot welder can be a fun, useful project that saves money and provides real workshop capability. Take your time, put safety first, and don’t be afraid to experiment and improve your design as you learn. With careful work, your DIY spot welder will serve you well for many projects ahead.
Frequently Asked Questions
Can I Use Any Microwave Transformer For My Spot Welder?
Not all microwave transformers are the same. Larger, heavier units (from 900W+ microwaves) are better because they can deliver more current. Avoid transformers with physical damage or burnt smells.
Is A Mot Spot Welder Safe To Use At Home?
With proper safety precautions (enclosure, fuse, insulated handles), a MOT spot welder is reasonably safe for home use. Always unplug before servicing and never bypass safety features.
Can I Weld Aluminum With A Homemade Spot Welder?
No, DIY spot welders using MOTs are not suitable for aluminum. Aluminum requires special electrodes and much higher current. Stick to steel or nickel strips.
How Much Does It Really Cost To Build A Mot Spot Welder?
Most people spend $50–$100 using recycled parts. If you need to buy everything new, costs may reach $120–$150, but still much cheaper than commercial welders.
What Is The Ideal Weld Time For Battery Tabs?
For 0. 15 mm nickel strip, start at 0. 2–0. 3 seconds. Test on scrap and adjust. Consistent timing is key—use a timer relay for best results.