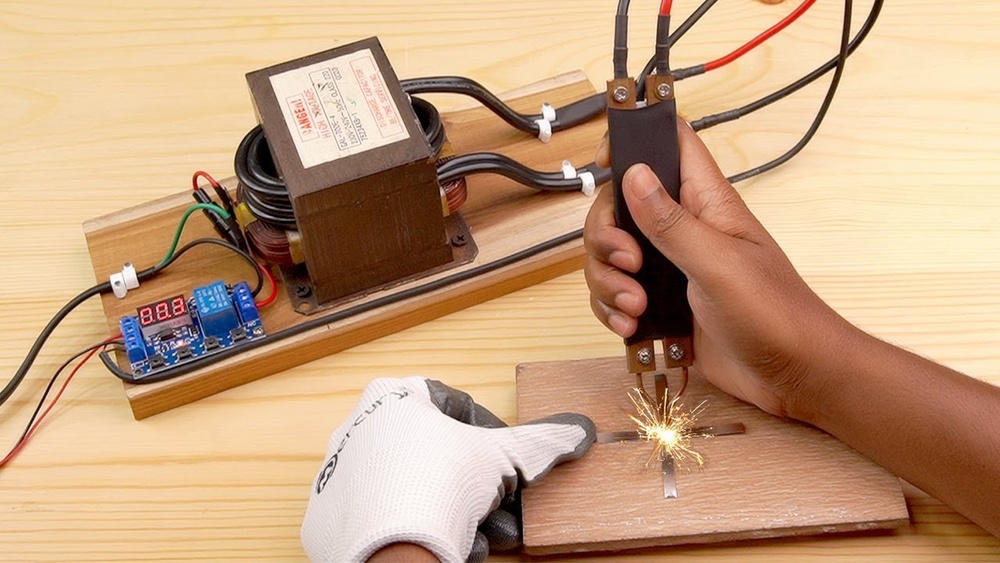
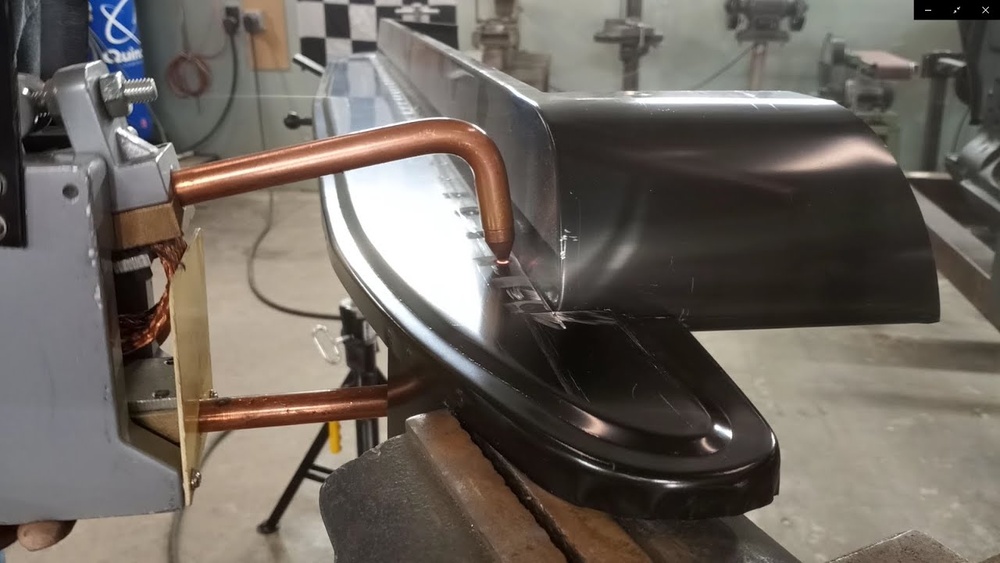
Building your own battery tab spot welder can be one of the most rewarding DIY projects for anyone interested in electronics, battery packs, or electric vehicles. If you want to connect nickel strips to lithium cells safely and efficiently, a spot welder is almost essential.
Many commercial spot welders cost hundreds of dollars and may not fit your needs. Making your own lets you customize for your projects and save money.
This guide will walk you through everything you need to know, from choosing the right components to assembling, testing, and using your spot welder.
Whether you’re a beginner or you have some experience with electronics, you’ll find practical advice, clear steps, and useful tips that make the process easier.
Understanding Battery Tab Spot Welding
Spot welding is a technique that uses electrical current to join metal pieces by heating them at a small point. For battery packs, it’s used to attach thin nickel strips to battery cells.
The process is fast, clean, and doesn’t overheat or damage the battery. Good spot welds are strong and conduct electricity well, which is vital for battery safety and performance.
Why Not Just Solder?
Soldering battery tabs can cause several problems. The heat from soldering can damage the battery’s internal chemistry, leading to reduced capacity or even safety risks. Spot welding uses a very short burst of current, so the battery remains cool and safe.
Also, solder doesn’t always make the best electrical connection, especially for high-current applications.
Types Of Spot Welders
There are three main types:
- Commercial spot welders – Expensive, reliable, but not always flexible.
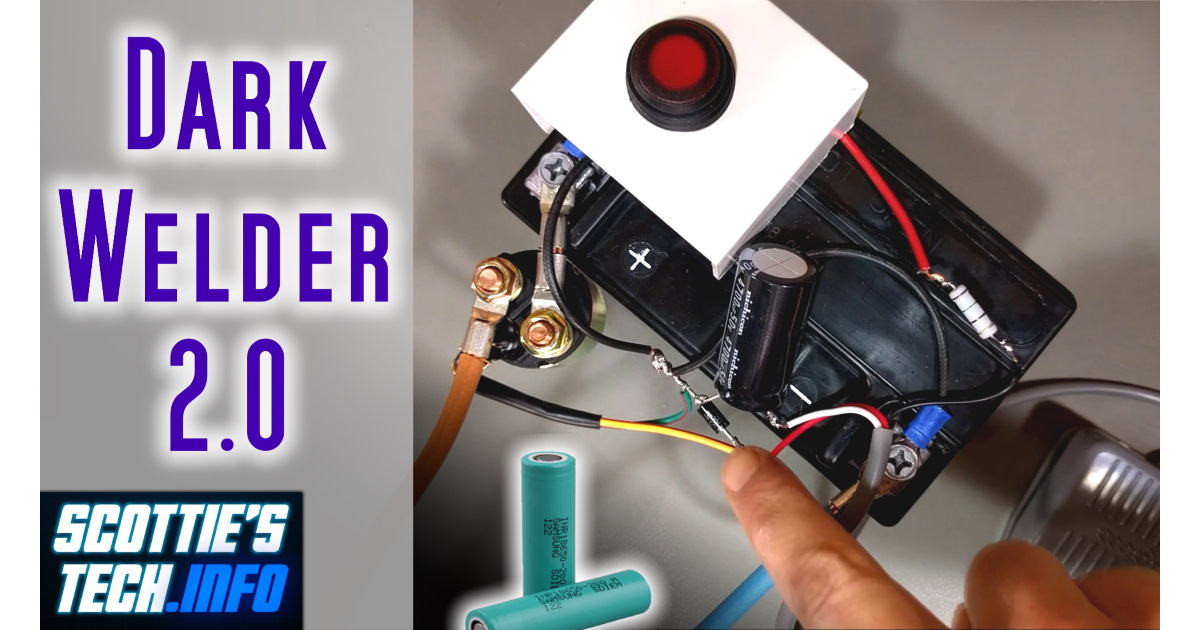
- DIY capacitor discharge welders – Great for home projects, easy to build, and powerful enough for most battery types.
- Transformer-based welders – Good for repeated use but harder to build and heavier.
For most DIY battery packs, the capacitor discharge spot welder is the best balance of cost, performance, and ease of construction.
Planning Your Spot Welder Build
Before you start gathering parts, you need to plan what you want your welder to do. Ask yourself:
- What battery types will you work with? (18650, 21700, etc.)
- What thickness of nickel strip will you weld? (0.1–0.3 mm is common)
- How much power do you need? (Welding thicker strips needs more energy)
- How portable should it be? (Bench-top or handheld?)
Capacitor Discharge Vs. Transformer-based
Let’s compare the two main DIY options:
| Feature | Capacitor Discharge | Transformer-Based |
|---|---|---|
| Build Complexity | Simple | Moderate |
| Portability | High | Low |
| Power | Adjustable | High, but less adjustable |
| Cost | Low | Moderate |
| Safety | Safer | Requires caution |
For most users, a capacitor discharge welder is easier and safer to build. That’s what we’ll focus on in this guide.
Gathering Materials And Tools
You’ll need a few key components. Here’s a typical list for a basic capacitor discharge spot welder:
- Large capacitor (e.g., 400V, 4700–10000μF)
- MOSFET or IGBT power transistor
- Microcontroller (Arduino, ESP32, or similar)
- Copper electrodes (thick copper wire or rods)
- Nickel strip (for testing)
- Power supply (12V–24V, capable of 5–10A)
- Switch (momentary push button)
- Wires (thick gauge for welding circuit, thin for control circuit)
- Enclosure (plastic or metal box)
- Insulation materials (heat shrink, electrical tape)
- Cooling fan (optional but recommended)
- Screws, nuts, bolts
- Safety gear (gloves, goggles)
You’ll also need basic tools:
- Screwdriver
- Wire stripper
- Soldering iron
- Drill
- Multimeter
Component Comparison
Choosing the right capacitor is critical. Here’s a quick comparison of common types:
| Capacitor Type | Voltage Rating | Capacitance | Approx. Cost | Size |
|---|---|---|---|---|
| Electrolytic | 400V | 4700μF | $10–$20 | Large |
| Polypropylene | 250V | 100μF | $15–$25 | Medium |
| Tantalum | 50V | 220μF | $20–$40 | Small |
For spot welding, electrolytic capacitors are most common due to their size and cost.
Step-by-step Building Instructions
Step 1: Wiring The Capacitor Bank
The capacitor stores energy for the weld. Connect several capacitors in parallel if you need more power. Use thick wires to handle high current. Make sure the voltage rating is above your supply voltage.
Tip: Mount capacitors securely, and add a fuse for safety.
Step 2: Setting Up The Power Transistor
The MOSFET or IGBT acts as a fast switch. It must handle high current (100A or more) for a short time. Connect the transistor between the capacitor bank and the electrodes. Use a heatsink if needed.
Non-obvious insight: Many beginners forget to check the transistor’s pulse rating. Continuous current isn’t enough—look for high pulse specs.
Step 3: Creating The Control Circuit
Use a microcontroller to control the transistor. Arduino is easy to program and affordable. Set up a timer so the weld duration is around 10–30 milliseconds. Connect a push button for manual control.
Practical tip: Add an LCD or LED indicator to show when the welder is ready.
Step 4: Making The Electrodes
For the electrodes, use copper rods (6–8 mm diameter works well). Shape the tips to a point for concentrated welds. Mount them on handles or arms for easy control.
Common mistake: Using thin wires or poor connections reduces weld quality.
Step 5: Assembling The Enclosure
Place all components in a sturdy box. Separate high-voltage and low-voltage circuits. Drill holes for the electrodes and control buttons. Add ventilation if using a fan.
Safety advice: Always insulate exposed wires and use heat shrink tubing.
Step 6: Final Wiring And Checks
Double-check all connections. Measure voltage across the capacitor bank to confirm proper charging. Check for shorts using a multimeter before powering up.
Extra tip: Label all connections for easy troubleshooting.

Credit: www.youtube.com
Testing Your Spot Welder
Before welding actual battery tabs, test your spot welder on scrap metal (nickel strip and steel plates). Check for:
- Good penetration
- No burning or melting
- Solid electrical contact
Adjusting Weld Parameters
Use your microcontroller to adjust weld time and capacitor voltage. Increase weld time for thicker nickel strips. Lower voltage for thinner strips.
Example: For 0.15 mm nickel strip, start with 15 ms weld time and 12V supply.
Safety Precautions
Spot welding involves high current and sometimes high voltage. Always:
- Wear safety goggles
- Avoid touching electrodes when power is on
- Use one hand when possible (reduces risk of current passing through the heart)
- Keep flammable materials away
Practical Tips For Better Welds
- Clean Contacts: Dirt or oxidation on the nickel strip or battery can cause weak welds. Clean surfaces before welding.
- Electrode Pressure: Apply firm, even pressure with the electrodes. Too much force can damage the battery, too little results in poor welds.
- Weld Spacing: Space welds 3–5 mm apart to avoid overheating.
- Nickel Strip Quality: Use pure nickel strip, not nickel-plated steel. Plated steel is cheaper but doesn’t weld as well.
- Cooling: If you weld many cells, let electrodes cool between welds. Overheated electrodes can damage the battery.
Troubleshooting Common Issues
- No Weld: Check capacitor charge and transistor wiring.
- Weak Welds: Increase weld time or voltage, check electrode tips.
- Burnt Spots: Reduce weld time or pressure.
- Stuck Electrodes: Use polished copper tips.
Upgrading And Customizing Your Spot Welder
Once you have a basic working welder, consider upgrades:
- Foot pedal control: Allows hands-free operation.
- Adjustable power: Add a potentiometer to control capacitor charge.
- Dual electrode arms: For faster production.
- Data logging: Record welds for quality control.
- Mobile power supply: Use batteries for portable operation.
Advanced Features
Some builders integrate Bluetooth control, smartphone apps, or automatic weld counting. These are not required for basic welding, but are fun for tech-savvy users.
Real-world Applications
DIY spot welders are popular among:
- Electric vehicle hobbyists
- Drone builders
- Solar energy enthusiasts
- Battery pack repairers
A custom-built spot welder can save hundreds of dollars and let you repair or build packs that fit your needs exactly.
Success Story Example
One hobbyist built a battery tab spot welder for under $50 using recycled capacitors and an Arduino Nano. It welded 0. 2 mm nickel strips onto 18650 cells reliably, helping build a 48V e-bike battery pack.
Comparing Diy Vs. Commercial Spot Welders
Is building your own spot welder worth it compared to buying one? Here’s a side-by-side look:
| Feature | DIY Spot Welder | Commercial Spot Welder |
|---|---|---|
| Cost | $30–$100 | $200–$600 |
| Customization | High | Limited |
| Ease of Use | Medium | High |
| Power Control | Adjustable | Fixed/Adjustable |
| Reliability | Depends on build quality | High |
| Learning Curve | Moderate | Low |
If you enjoy learning and saving money, the DIY option is excellent. But if you need plug-and-play reliability, a commercial welder is safer.
Safety And Legal Considerations
Spot welding can be dangerous if not handled properly. Always work in a safe environment, keep children away, and follow local electrical codes. Some areas require certification for building or operating high-current equipment. If you’re uncertain, check regulations or consult an expert.
Important insight: Many beginners overlook legal rules for homemade electrical devices. If you plan to sell or share your welder, research local regulations.
Credit: scottiestech.info
Maintenance And Troubleshooting
Keeping your spot welder in good condition ensures reliable performance.
- Inspect electrodes: Clean and polish tips regularly.
- Check wiring: Look for loose or corroded connections.
- Replace worn parts: Electrodes and switches wear out over time.
- Monitor capacitor health: Old or damaged capacitors can fail and cause hazards.
If you encounter problems, start by checking the power supply, then the control circuit, and finally the electrodes.
Where To Find Parts And Guides
Most parts can be found at local electronics stores, online retailers, or recycling centers. Capacitors and MOSFETs are often available used or surplus. Arduino boards and nickel strips are widely available online.
Wrapping Up
Building a battery tab spot welder is a practical and rewarding project. With careful planning, the right parts, and attention to safety, you’ll create a tool that can help with many battery-related projects. Take your time, follow the steps, and enjoy the satisfaction of building something useful from scratch.
Frequently Asked Questions
What Is The Ideal Weld Time For Battery Tab Spot Welding?
For most 18650 batteries and 0.15 mm nickel strips, the ideal weld time is about 10–20 milliseconds. Thicker strips or larger batteries may need longer times, but too long can burn the tab or damage the cell.
Can I Use A Car Battery As A Power Source?
It’s possible, but not recommended. Car batteries can deliver high current, but the control and timing are harder. Capacitor discharge setups give more precise control and safer operation.
How Do I Know If My Welds Are Strong Enough?
Check weld strength by trying to pull the nickel strip off the battery. A good weld will resist gentle pulls and only come off if you apply strong force. Also, measure the resistance with a multimeter; low resistance means a solid connection.
Is It Safe To Use Homemade Spot Welders?
Homemade spot welders can be safe if built carefully and used with proper precautions. Always use insulated wires, avoid exposed metal parts, and keep the area dry. Never weld near flammable materials.
What Materials Can I Weld With A Battery Tab Spot Welder?
You can weld nickel strips to lithium-ion, NiMH, or LiFePO4 batteries. Pure nickel is best. Some welders can also join thin steel or copper, but results vary depending on power and electrode design.