Expanding an exhaust pipe without specialized equipment is a common challenge in automotive fabrication, especially during quick repairs, custom exhaust fitting, or budget-conscious shop work.
Knowing how to expand exhaust pipe without tool methods can help you achieve a tighter slip fit when a proper pipe expander is unavailable, reducing leaks, vibration, and poor alignment that can lead to premature exhaust failure or difficult weld prep.
In real fabrication conditions, forcing mismatched pipe diameters together can distort the tubing, weaken clamp pressure, and create gaps that affect weld quality and exhaust flow. Using controlled expansion techniques helps maintain roundness and improves fit-up before welding or clamping.
This guide explains practical methods fabricators and DIY welders use to enlarge exhaust pipe ends with basic shop materials while minimizing damage to the tubing and avoiding unnecessary rework.
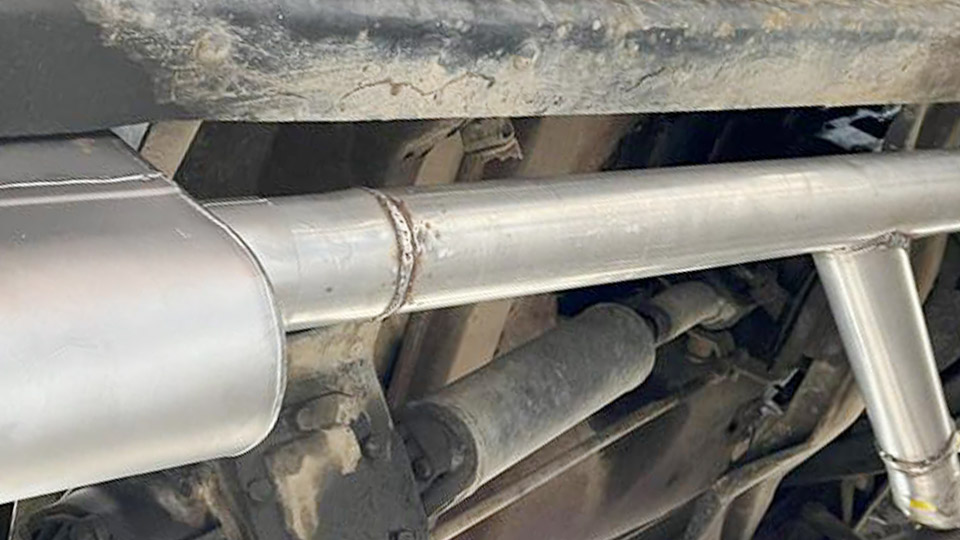
Image by ratrodsrule
Why Do We Expand Exhaust Pipes Anyway?
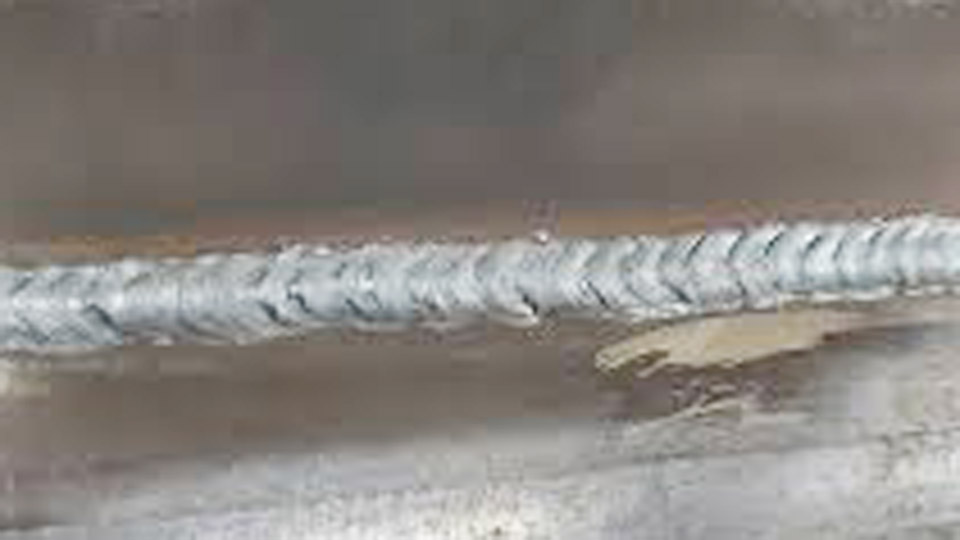
In the welding world, fit-up is 90% of the battle. Exhaust systems generally rely on a “bell and spigot” or slip-joint connection. This allows one pipe to slide inside the other, providing a larger surface area for a fillet weld or a high-quality exhaust clamp.
When you expand a pipe, you are essentially creating a socket. This socket gives you a mechanical advantage during assembly and a much more forgiving weld joint. Without the proper tool, we have to rely on thermal expansion, mechanical force, and old-school blacksmithing techniques to get that extra 1/16th of an inch.
The Heat and Beat Method: Using Thermal Expansion
This is the most common way to get it done when you’re in a pinch. It relies on the physical property that metal expands when heated and becomes more malleable.
What It Is and How It Works
You use an oxy-acetylene torch or a high-output propane torch to bring the end of the exhaust pipe to a dull cherry red. Once the molecular structure loosens up, you use a sacrificial piece of pipe or a solid steel mandrel to physically stretch the opening.
When to Use This
Use this on mild steel or aluminized tubing. It’s perfect when you need a minor adjustment—say, going from a 2.25-inch ID to fitting over a 2.25-inch OD pipe.
Practical Tips from the Shop
Uniform Heating: Don’t just heat one spot. Rotate the pipe constantly. If you get a “hot spot,” the metal will thin out there and give you an asymmetrical flare.
The “Cold Mandrel” Trick: Use a heavy-walled pipe that is the exact size of your desired ID. Drive it in while the workpiece is hot, then quench the outside of the workpiece. The sudden contraction can sometimes help “set” the new diameter.
The Slotted Relief Technique for Emergency Fitment
If you can’t get the metal to stretch enough through heat alone, you might have to “section” the pipe.
What It Is
This involves making small longitudinal relief cuts (slits) at the end of the pipe, allowing the “fingers” of the metal to splay outward.
How It Works
- Mark four equidistant points around the circumference.
- Use a thin cutoff wheel to cut roughly 1 inch deep.
- Taper the “fingers” outward slightly.
- Slide the other pipe in, then weld the slits shut before performing your final circumferential weld.
Why This Matters for Welders
This is a “fabricator’s secret” for heavy-walled tubing that refuses to stretch. However, it requires more welding. You aren’t just doing a lap weld anymore; you’re doing four plug/slot welds.
Pro Tip: Always use a 3/32″ or 1/8″ 6010 or 6011 rod for these slits if you’re stick welding. The deep penetration ensures you’ve actually fused the root of the slit.
Material Compatibility: What are you actually stretching?
Before you grab the torch, you need to know what you’re working with. Not all exhaust pipes react the same to “no-tool” expansion.
| Material Type | Heat Response | Difficulty | Welding Process Recommended |
| Aluminized Steel | Excellent | Low | MIG (GMAW) or Stick (SMAW) |
| 409 Stainless | Moderate | Medium | TIG (GTAW) or MIG with Trimix |
| 304 Stainless | Poor (Work Hardens) | High | TIG with Back Purge |
| Galvanized | Dangerous (Fumes) | Low | Stick (6011) – Clean coating first! |
Transitioning to the Weld: Preparation is Key
Once you’ve managed to expand the pipe, the job isn’t over. A DIY expansion often leaves the metal slightly thinner or uneven.
Joint Preparation
Clean the expanded area with a flap disc. If you used the heat method, there will be carbon scale. If you don’t remove this, your weld will have porosity. In the world of exhaust, porosity equals a “tick-tick-tick” sound that will drive a customer (or you) crazy.
Amperage and Settings for Thin-Walled Exhaust
Most exhaust tubing is 16-gauge to 14-gauge. This is thin.
- Stick Welding (SMAW): Use a 3/32″ E6013 rod. Set your machine between 40–65 Amps. 6013 is a “sheet metal” rod with a soft arc that won’t blow through as easily as 7018.
- MIG Welding (GMAW): Use .030″ or .025″ wire. Set your voltage low (around 16-17V) and keep a fast travel speed.
Common Mistakes to Avoid
- Overheating: If the metal starts throwing sparks, you’ve burnt the carbon out of the steel. It’s now brittle and will crack at the weld.
- Using a Hammer Directly on the Rim: Never hit the edge of the pipe with a hammer to expand it. It will mushroom the edge and make it impossible to slide the other pipe in. Use a “drift” or a piece of solid round stock.
- Ignoring Zinc Fumes: If you are expanding galvanized pipe with heat, stop. The yellow-green smoke is toxic. Grind off the galvanization at least 2 inches back from the heat zone.
Step-by-Step: The “Socket-and-Bar” Manual Expansion
This is the most reliable way to expand a pipe without a dedicated tool.
Step 1: Selection
Find a heavy-duty impact socket that is just slightly larger than the ID of your pipe.
Step 2: The Setup
Secure the pipe in a sturdy bench vise. Use “soft jaws” or scrap wood to prevent the vise from crushing the pipe into an oval.
Step 3: Driving the Expansion
Place the socket into the pipe. Use a heavy ball-peen hammer or a small sledge to drive the socket in.
Step 4: Smoothing the Transition
Work your way around the pipe, tapping the outside diameter against the socket to “iron out” any ripples. This mimics what a professional hydraulic expander does by applying internal pressure while you manage the external shape.
Understanding Electrode Selection for Exhaust Repairs
If you are stick welding your newly expanded joint, your rod choice is everything.
- E6011: Great for dirty, rusty exhaust. It digs deep. Use this if you couldn’t get the pipe perfectly clean.
- E6013: The “pretty” rod. Use this for new, clean aluminized pipe. It has shallow penetration, which is exactly what you want on thin walls to avoid blow-through.
- E7018: Generally too “hot” for thin exhaust unless you are an expert at “stacking dimes” with a whip-and-pause technique.
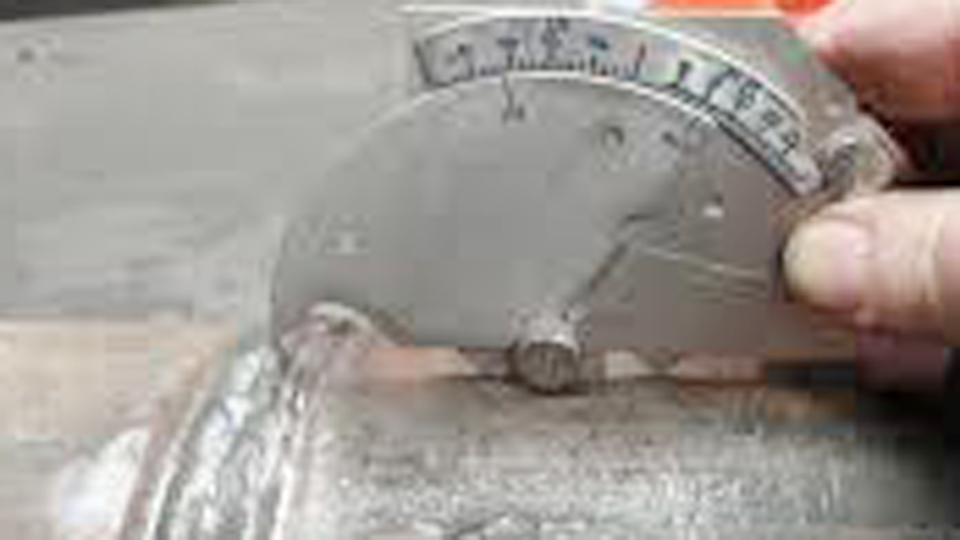
Handling Distortion and Alignment
When you expand a pipe manually, you often introduce a slight “tilt.” If your expansion is crooked, your entire exhaust move 3 inches off-target by the time it reaches the bumper.
Tack Welding Strategy
Always use four small tacks at the 12, 6, 3, and 9 o’clock positions. Check the alignment of the entire exhaust run after the first two tacks. It is much easier to break a tack and re-align than it is to cut a full bead.
Practical Application: The “Real World” Scenario
Imagine you’re fixing a farm truck. The pipe is 2.5 inches, and the replacement piece is also 2.5 inches. You have no tool, just a Lincoln AC-225 “Tombstone” welder and a torch.
- Heat the receiving pipe until it’s glowing.
- Drive a 1-7/8″ impact socket (check OD measurements) into the pipe to create a flare.
- Clean the soot off with a wire brush.
- Set the welder to 50 Amps DC- (if you have DC) or AC.
- Weld using a 3/32″ 6013 rod, keeping the arc on the thicker part of the joint (where the pipes overlap).
Reflecting on Manual Fabrication
Expanding an exhaust pipe without a dedicated tool is more than just a workaround; it’s a fundamental skill that forces you to understand the limits of your materials. Whether you’re using the heat-and-beat method or driving an impact socket into the end of a tube, the goal remains the same: a tight, professional fit-up that makes the welding process easier and the final product more durable.
By focusing on gradual expansion and maintaining heat control, you avoid the common pitfalls of thinning the metal or creating brittle zones. Remember, a weld is only as good as the gap it’s filling. When you take the time to properly expand and prep your joints, even without “fancy” tools, you’re ensuring the structural integrity of the entire system.
Pro-Level Tip
When welding the final expanded joint, always “aim” your arc at the edge of the expanded (outer) pipe. The outer pipe can handle more heat than the inner pipe. By favoring the outer edge, you let the puddle naturally flow down onto the inner pipe, creating a perfect fillet weld without risking a blow-through on the inner wall.
Frequently Asked Questions
Can I expand stainless steel exhaust pipe without a tool?
It is significantly harder. Stainless steel (especially 304) work-hardens, meaning the more you hit it, the tougher it gets. You must use heat, but be careful not to “cook” the chromium out of the metal, or it will rust.
How much can I safely expand a pipe manually?
Generally, you can only expect to gain about 1/16″ to 1/8″ in diameter without specialized tools. Any more than that and you risk splitting the seam of the pipe.
What do I do if I split the pipe during expansion?
Don’t panic. Stop expanding immediately. Grind a small “V” into the crack and weld it shut before continuing. If the crack is too long, you’ll need to cut that section off and try again with more heat and more patience.
Is it better to use a torch or a heat gun?
A heat gun will not get exhaust-grade steel hot enough to expand. You need a torch capable of reaching at least 1,200°F (dull red) to make the metal move easily.