Many fabricators and hobbyists struggle when joining brass components. The metal’s zinc content causes rapid oxidation, poor solder flow, or weak joints that fail under pressure or heat.
Learning how to solder brass together correctly delivers reliable, leak-free, and structurally sound connections for plumbing fittings, model engineering, decorative work, or repairs—without resorting to higher-temperature brazing or welding.
Proper technique, material selection, and heat control make the difference between a professional result and a failed assembly. This guide provides the practical details professionals and serious DIYers need.
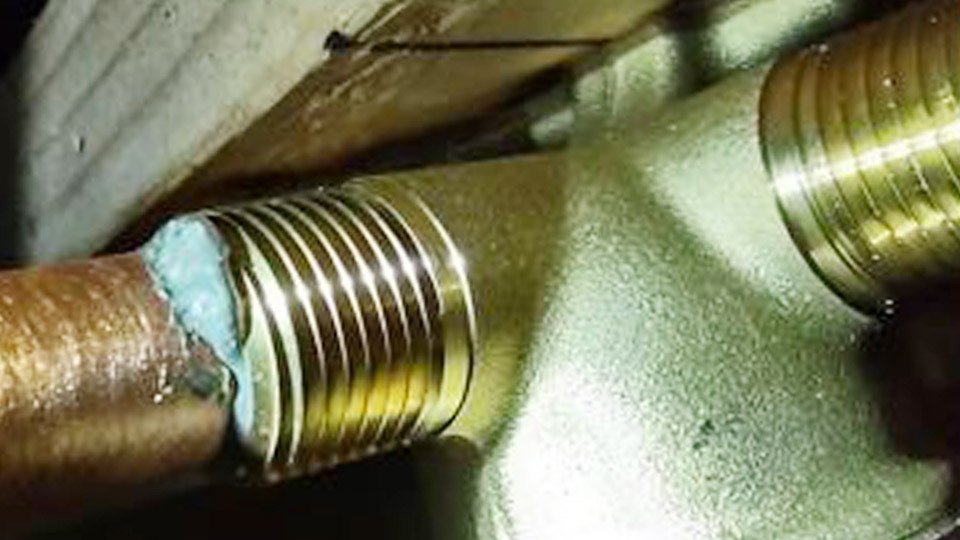
Image by reddit
Why Brass Requires Specific Soldering Approaches
Brass (typically 60-70% copper and 30-40% zinc) presents unique challenges compared to pure copper. Zinc lowers the melting point and increases oxidation sensitivity. Overheating drives off zinc (dezincification), weakening the base metal and creating porous joints.
Soldering brass uses filler metals that melt below 840°F (450°C), preserving the base metal’s properties. This contrasts with brazing, which operates above that threshold and often requires different fluxes and higher heat inputs.
For most non-structural applications like fittings, models, or thin sections, soldering provides sufficient strength with less risk of distortion.
Solder and Flux Selection for Brass
Lead-Free vs. Leaded Solders
Modern regulations favor lead-free options, but performance varies:
Tin-Silver-Copper (Sn-Ag-Cu) alloys, such as SAC305, offer good strength and flow for general work. Melting range: approximately 217–220°C.
Traditional 60/40 or 63/37 tin-lead solders remain popular in non-potable applications for easier flow and lower melting points (183–190°C). Use only where permitted.
Silver-bearing solders (e.g., 4-6% silver) enhance strength and capillary action, ideal for load-bearing or vibration-prone joints.
For high-strength needs, consider low-temperature silver solders like Stay-Brite or equivalent formulations around 430°F.
Flux Types and Performance
Flux removes oxides and prevents new formation during heating:
- Water-soluble (OA) fluxes: Aggressive cleaning for plumbing; easy cleanup but more corrosive if residues remain.
- Rosin-based (RMA/RA): Milder for electronics or model work; less post-cleanup needed.
- Paste fluxes (e.g., La-Co or specialty brass fluxes): Provide superior adhesion and heat resistance on brass surfaces.
Apply flux liberally to both surfaces immediately after cleaning. Reapply if heating takes longer than expected.
Recommended Combinations:
| Application | Solder Type | Flux Type | Melting Range |
|---|---|---|---|
| Plumbing fittings | Lead-free Sn-Ag-Cu | Water-soluble paste | 217–220°C |
| Model engineering | 60/40 tin-lead or silver-bearing | Rosin or specialty paste | 183–430°F |
| High-strength | 56% silver content | Black or high-temp flux | ~600–1200°F (brazing range if needed) |
Surface Preparation Techniques
Cleanliness determines success more than any other factor.
Start with mechanical cleaning using emery cloth, Scotch-Brite pads, or fine steel wool to remove tarnish, scale, and old solder. Target a bright, shiny surface. Avoid contaminating with oils—wipe with acetone or isopropyl alcohol afterward.
For fittings, use a dedicated pipe brush or emery cloth wrapped around a dowel. Remove burrs from cuts to ensure proper fit-up. Joint clearance should be 0.002–0.005 inches (0.05–0.13 mm) for optimal capillary action. Tighter gaps hinder flux and solder flow; wider gaps reduce strength.
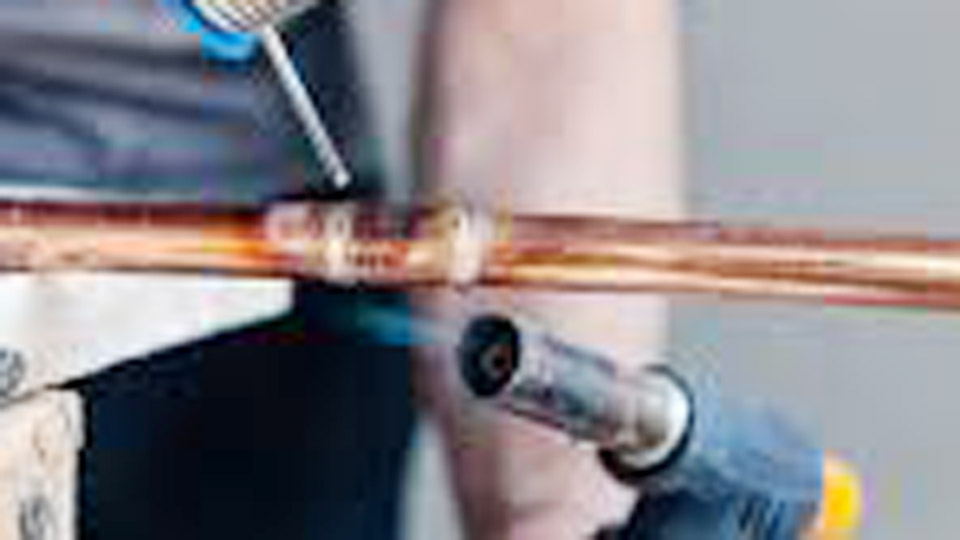
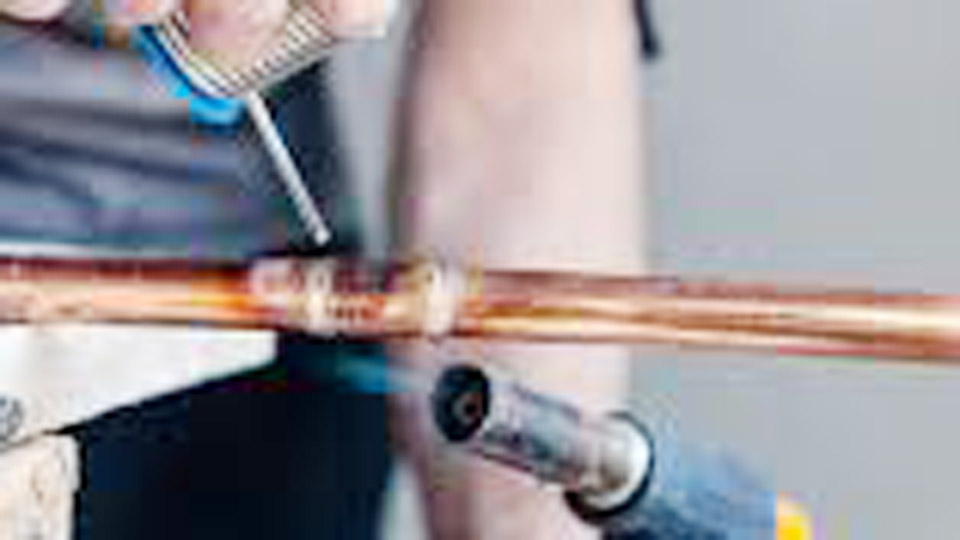
Heat Sources and Control Strategies
Torch Selection
- Propane or MAPP gas torches: Suitable for small to medium fittings. MAPP reaches higher temperatures faster, helpful for larger brass masses.
- Oxy-acetylene or butane micro-torches: Better for precision model work or thin sections.
- Soldering irons: Limited to very small or thin brass pieces (under 1/8 inch) due to heat sinking.
Apply heat evenly around the joint, concentrating on the heavier mass first. Brass conducts heat well but oxidizes quickly, so work efficiently—aim to complete the joint in under 30–60 seconds once flux activates.
Monitor temperature by flux behavior: it should bubble and become clear or glassy when the joint is ready. Solder flows when the base metal reaches the correct temperature; never melt solder directly with the flame.
Step-by-Step Soldering Process for Brass-to-Brass Joints
Fit-up: Assemble pieces dry to verify alignment and gap. Secure with clamps, jigs, or temporary tack methods if needed. Avoid methods that interfere with heat or flux.
Clean and flux: Thoroughly clean, then apply flux to joint and surrounding area (1/2–1 inch beyond).
Preheat: Warm the assembly gently to drive off moisture and activate flux.
Apply heat: Direct flame to heat the joint uniformly. Rotate the piece or move the torch for even distribution on complex shapes.
Feed solder: Touch solder to the joint opposite the heat source. It should melt and draw in via capillary action. Use just enough to form a small fillet—excess creates weak, brittle joints.
Cool and clean: Allow natural cooling. Quench in water only if using certain fluxes or for oxide removal. Remove residues with hot water, baking soda paste, or appropriate cleaners to prevent corrosion.
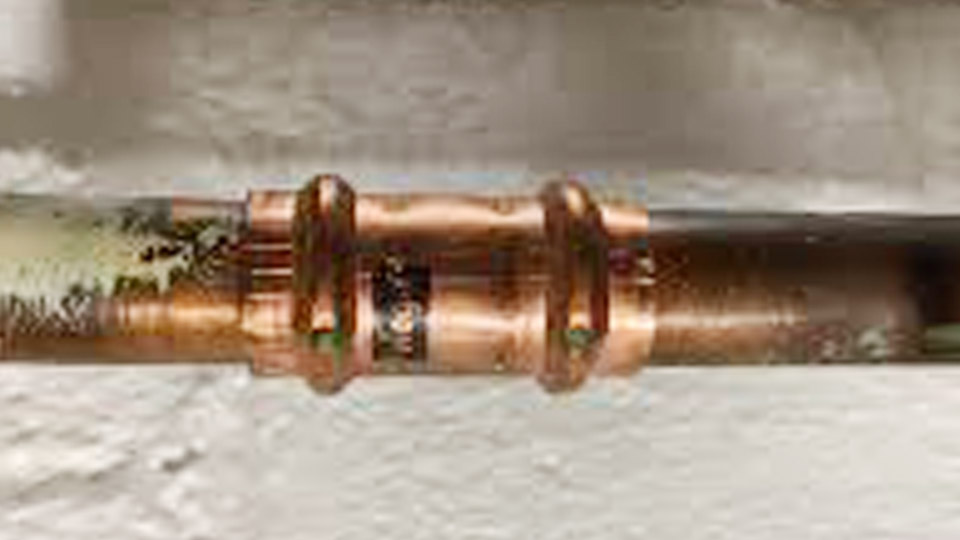
Soldering Brass Fittings in Plumbing Applications
Brass fittings demand extra attention due to thermal mass and potential lead content in older valves.
Heat the fitting and pipe evenly. Brass absorbs more heat than copper, so extend dwell time slightly while avoiding overheating.
Apply solder to the pipe-fitting interface, allowing it to wick around the joint. For drop-ear elbows or valves, protect internal components from excessive heat.
Test joints under pressure after cooling. Leaks often stem from insufficient cleaning or movement during solidification.
Model Making and Precision Brass Soldering
Hobbyists and model engineers frequently join thin brass sheets or tubes. Use lower-heat sources and finer solders to minimize distortion.
Silver-bearing solders excel here for clean fillets and strength. Support pieces with heat sinks (e.g., wet rags or aluminum blocks) on delicate areas. Multiple low-heat passes can build complex assemblies without warping.
Common Joint Configurations and Techniques
Butt joints: Require precise fit-up and backing if possible. Strength relies heavily on solder fillet.
Lap joints: Preferable for maximum surface area and strength. Overlap at least 3–4 times the material thickness.
T-joints and fillets: Build up solder gradually for reinforcement. Use stay-put jigs to maintain position.
For dissimilar metals (brass to copper), techniques mirror brass-to-brass but account for differing heat capacities.
Troubleshooting Poor Flow and Weak Joints
Solder beads up instead of flowing: Usually dirty surfaces, insufficient flux, or inadequate temperature. Re-clean and re-flux.
Joint appears soldered but leaks: Likely cold joint (solder didn’t fully wet) or pinholes from gas entrapment. Increase heat slightly and ensure full penetration.
Discoloration or pitting: Overheating—reduce flame intensity or use a more focused tip.
Flux burns off prematurely: Apply more or use a higher-temperature formula. Work faster once heating begins.
Equipment and Safety Considerations for Brass Soldering
Use proper ventilation—solder fumes, especially from leaded alloys or zinc oxides, require extraction. Wear eye protection and heat-resistant gloves. Keep a fire extinguisher nearby, as fluxes and solders can produce flammable residues.
Maintain torch tips clean and soldering irons properly tinned. Calibrate temperature if using temperature-controlled stations.
Advanced Techniques and Material Considerations
Post-soldering heat treatment can relieve stresses in critical applications. For maximum corrosion resistance, select compatible alloys and ensure complete flux removal.
When deciding between soldering and brazing, evaluate service temperature, mechanical loads, and appearance. Soldered joints perform well below 300–400°F continuous; higher demands may require silver brazing alloys.
Experiment with solder paste formulations for production or repetitive joints—they combine flux and filler for consistent results.
Real-world Performance Takeaway
Successful brass soldering hinges on rapid, even heating after meticulous preparation. Prioritize capillary-friendly gaps, active flux, and just enough filler metal. Pros achieve repeatable success by treating every joint as a heat-management exercise rather than a simple melting task.
This approach yields durable assemblies that match or exceed base metal expectations in non-extreme service.
FAQ
What is the best solder for soldering brass?
Silver-bearing lead-free or 60/40 tin-lead solders paired with an active paste flux deliver the most reliable flow and strength. Match the alloy to your application’s strength and regulatory needs.
Can you solder brass without flux?
No. Brass oxidizes rapidly; flux is essential for oxide removal and proper wetting. Skipping it almost always results in weak or failed joints.
How do you solder brass to copper?
Follow the same cleaning, fluxing, and even-heating process. Copper heats faster, so direct more initial heat toward the brass side for balanced temperature.
Is soldering brass stronger than brazing?
No—brazing generally produces stronger, higher-temperature joints. Soldering suffices for most plumbing, hobby, and low-load applications while minimizing distortion risk.