how to braze weld cast iron is critical when conventional fusion welding would lead to heat-affected zone failures, distortion, or costly rework.
Unlike standard welding, brazing operates below the base metal’s melting point, reducing thermal shock and preserving structural integrity—especially important for engine blocks, housings, and repair work.
Poor heat control or incorrect filler selection can result in weak joints, porosity, or premature failure under load. Brazing offers a controlled alternative, but only when applied with the correct technique and preparation.
In this guide I’ll focus on the practical process—surface prep, heat management, filler compatibility, and torch control—so you can produce reliable, low-stress joints in cast iron without introducing cracks or compromising performance.
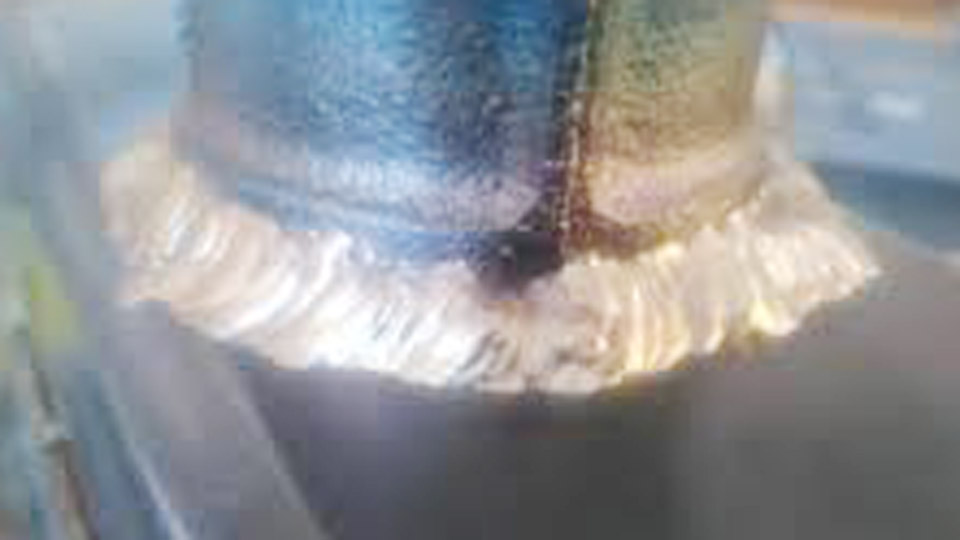
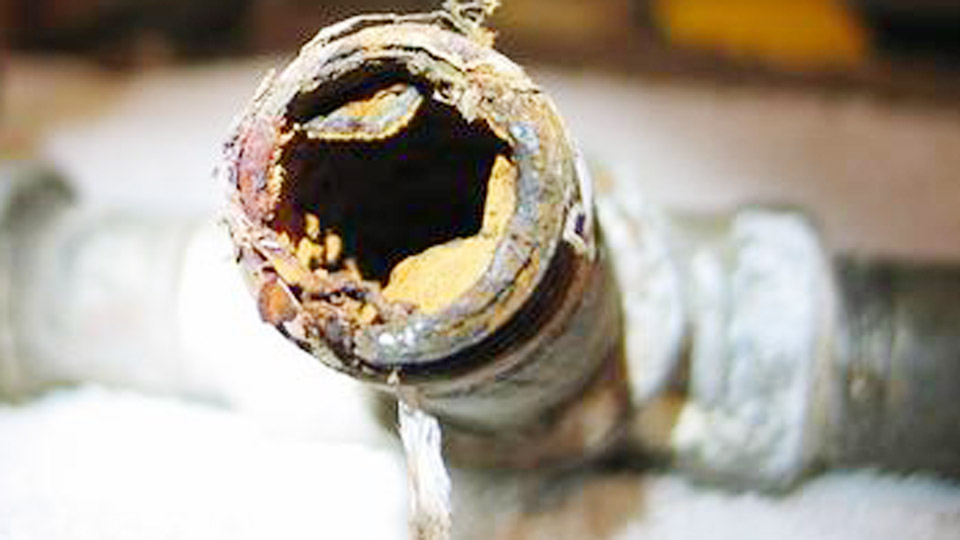
Image by reddit
Why Choose Brazing Over Traditional Welding for Cast Iron?
When we talk about cast iron, we’re dealing with a material high in carbon—usually between 2% and 4%. When you hit that with an intense arc from a Stick or TIG welder, that carbon migrates, and the cooling process often creates a hard, brittle structure.
What is Braze Welding?
Unlike standard fusion welding, braze welding doesn’t melt the cast iron. Think of it as a high-strength “glue” job where the “glue” is a bronze filler rod. We heat the cast iron to a dull red (around 1,500°F to 1,600°F), which is well below its melting point, and flow a brass or bronze rod into the joint.
How it Works
The process relies on “tinning.” When the base metal is clean and at the right temperature, the molten bronze spreads across the surface and bonds at a molecular level without actually mixing with the iron. It’s a capillary-adjacent action, but since we are often building up a V-groove, we call it braze welding rather than just brazing.
When and Why Use It?
- Complex Castings: When the part has varying thicknesses that would warp under an arc.
- Dirty Iron: Older castings soaked in oil or carbon are notoriously difficult to arc weld but can often be “sweated out” and brazed.
- Machinability: Bronze is softer than iron. If you need to drill or tap the repair later, brazing is your best friend.
Getting Your Shop Ready: Tools and Materials
Before you even crack the valves on your Oxy-Acetylene rig, you need the right consumables. Using the wrong rod is the fastest way to a failed repair.
Selecting the Right Filler Rod
In the US, you’ll most commonly find RBCuZn-C (Low-Fuming Bronze). This is the gold standard for cast iron repair. It contains small amounts of silicon which helps control the fumes and acts as a deoxidizer, ensuring the puddle stays fluid and clean.
The Role of Flux
You cannot braze weld cast iron without flux. It breaks down the oxides on the surface of the iron, allowing the bronze to “wet out.”
Tip: I prefer the paste flux for the initial coating and then dipping my hot rod into dry powder flux as I work. If the iron doesn’t “take” the bronze, 90% of the time, it’s a flux or cleanliness issue.
Comparison: Brazing vs. Stick Welding (SMAW) for Cast Iron
| Feature | Braze Welding (Oxy-Fuel) | Stick Welding (Nickel Rod) |
| Base Metal Melting | No | Yes |
| Preheat Required | Always (Full part preferred) | Often (or cold-weld method) |
| Crack Risk | Low | High |
| Machinability | Excellent | Good (if using high Nickel) |
| Strength | Very High (Adhesion-based) | High (Fusion-based) |
Step 1: The Critical Art of Joint Preparation
If you skip the prep on cast iron, don’t even bother lighting the torch. Cast iron is porous; it holds onto oil, grease, and graphite like a sponge.
Cleaning and Degreasing
Start by degreasing the part with a solvent. If it’s an old engine part, you might even want to bake it at a low temperature to sweat the oil out of the pores.
Grinding the V-Groove
You need to create a “V” or “U” groove along the crack. Aim for a 60-degree to 90-degree included angle.
Pro Tip: Avoid using a high-speed grinding wheel for the final pass. Grinding wheels can smear the graphite flakes across the surface of the iron, which prevents the bronze from sticking. Use a carbide burr or a file to finish the surface for the best “tinning” results.
Stop-Drilling the Crack
If you are repairing a crack, drill a small hole (about 1/8″) roughly 1/4″ past the visible ends of the crack. This stops the crack from “running” when you apply heat.
Step 2: Preheating—The Secret to Success
You cannot “point and shoot” with braze welding. If you heat only the crack, the surrounding cold metal will expand and contract at different rates, leading to new cracks.
How to Preheat Correctly
For small parts, you can use your torch to bring the whole piece up to temperature. For larger castings, a weed burner or even a charcoal fire can work. You are looking for a temperature where a drop of water sizzles off instantly, or ideally, use a Tempil stick to hit about 500°F–600°F as a baseline before you start the local heating.
Why It Matters
Preheating minimizes the thermal shock. It also helps burn off any remaining deep-seated impurities that could cause porosity in your bronze bead.
Step 3: Managing the Torch and the Puddle
Settings on your Oxy-Acetylene rig are vital. For braze welding, you want a slightly oxidizing flame.
Setting the Flame
- Set a neutral flame (equal parts Oxygen and Acetylene).
- Slowly increase the oxygen until the inner cone shortens slightly and becomes a bit “sharper.”
- Why? An oxidizing flame helps to burn off the carbon (graphite) on the surface of the cast iron, which allows the bronze to bond more effectively.
The Tinning Phase
This is the most important part of the process. Heat the starting point until the iron is a dull cherry red. Touch your fluxed rod to the surface.
- If the bronze beads up like water on a waxed car: The metal is too cold or too dirty.
- If the bronze flows out thinly and coats the surface like solder: You’ve achieved “tinning.”
Once the surface is tinned, you can begin to build up the weld by adding more filler rod into that tinned base.
Step 4: Post-Weld Cooling (The Danger Zone)
The job isn’t done when the flame goes out. In fact, this is where most people fail. Cast iron needs to cool as slowly as possible.
The Slow-Cool Method
Immediately after finishing the weld, bury the part in a bucket of dry sand, oil-dri, or a welding blanket. I’ve even used wood ashes in a pinch. The goal is to keep the heat in and let it drop to room temperature over several hours (or even overnight).
What to Avoid
- Never quench the part in water.
- Never leave it on a cold concrete floor.
- Never expose it to a drafty room.
Common Mistakes to Avoid
- Overheating the Bronze: If you see white smoke (zinc fumes), you’re burning the alloys out of your rod. Back the torch off. Those fumes are toxic and indicate you’re weakening the weld.
- Poor Flux Coverage: If the puddle looks “crusty” or won’t flow, you need more flux. Don’t be stingy.
- Incomplete Penetration: Make sure you’ve ground deep enough. Brazing is strong, but a surface-level “scab” won’t hold under mechanical stress.
Real-World Application: Repairing a Cracked Exhaust Manifold
Exhaust manifolds are the ultimate test for braze welding. They undergo extreme heat cycles.
- Prep: Grind the crack and use a carbide burr.
- Preheat: Get the whole manifold hot—not just the crack.
- Weld: Use a high-quality Nickel-Bronze rod for better heat resistance.
- Cool: Bury it in sand for at least 4 hours.
- Result: A repair that expands and contracts with the engine heat without snapping.
Summary of Settings and Materials
| Material | Rod Recommendation | Flame Type | Preheat Temp |
| Grey Cast Iron | Low-Fuming Bronze | Slightly Oxidizing | 500°F – 800°F |
| Malleable Iron | Bronze / Nickel-Bronze | Slightly Oxidizing | 400°F – 600°F |
| Ductile Iron | Bronze | Neutral to Oxidizing | 600°F |
Final Thoughts on the Process
Learning how to braze weld cast iron is about patience more than it is about “fancy” footwork with a torch. It’s a rhythmic process: heat, flux, tin, fill. When you see that bronze flow out and “wet” the iron perfectly, you know you’ve got a bond that will likely outlast the rest of the machine.
By respecting the chemistry of the iron and the cooling needs of the casting, you can turn “unrepairable” scrap back into functional equipment. It takes a little more time than grabbing the MIG gun, but for cast iron, it is often the only way to do the job right the first time.
Pro-Level Tip
If you’re working on a critical casting and you aren’t sure if it’s “clean” enough, do a “test tin” on a hidden corner. If the bronze doesn’t spread like butter, stop and re-clean. It is much easier to fix a cleaning issue before you have a massive glob of bronze stuck to the part.
Frequently Asked Questions
Can I braze weld cast iron with a propane torch?
Generally, no. Propane doesn’t produce the concentrated heat required to bring a large casting up to the necessary “dull red” temperature (1,500°F) quickly enough. You need the intensity of Oxy-Acetylene to manage the heat sink effect of the iron.
Is brazing as strong as welding for cast iron?
In many cases, yes. While the tensile strength of the bronze itself might be lower than the iron, the bond area in a properly V-grooved braze is very large. Because brazing doesn’t create the brittle “white iron” transition zone that fusion welding does, the overall repair is often much more reliable.
Why did my braze weld crack immediately after cooling?
This usually happens because the part cooled too fast or wasn’t preheated enough. The cast iron shrinks faster than the bronze can accommodate, putting the joint in tension. Always use a sand bath or an insulation blanket for slow cooling.
Do I need to remove the flux after I’m done?
Yes. Braze flux is corrosive over time. Once the part is completely cool, use a wire brush and warm water to scrub off the glassy flux residue. If you plan on painting the part, this step is mandatory or the paint will peel.