Selecting the correct amperage for a 6010 electrode directly impacts penetration, arc stability, and weld integrity. A 6010 Welding Rod Amperage Chart provides the baseline ranges needed to match current settings with rod diameter, joint type, and position.
Running too hot leads to excessive spatter, burn-through, and distortion; too cold results in poor fusion, slag entrapment, and failed inspections—especially in open-root passes and pipe work where 6010 excels.
Because 6010 is a fast-freeze, deep-penetrating rod, its performance window is narrower than many beginners expect. Proper amperage control ensures a stable digging arc, consistent keyhole, and sound root profile across varying material thicknesses.
I’ll discuss recommended amp ranges, how to adjust for position and fit-up, and how machine characteristics (AC vs. DC+) affect results, so you can set current confidently and reduce rework on critical welds.
indiamart
Why is the 6010 Electrode the King of Root Passes?
What it is and how it works
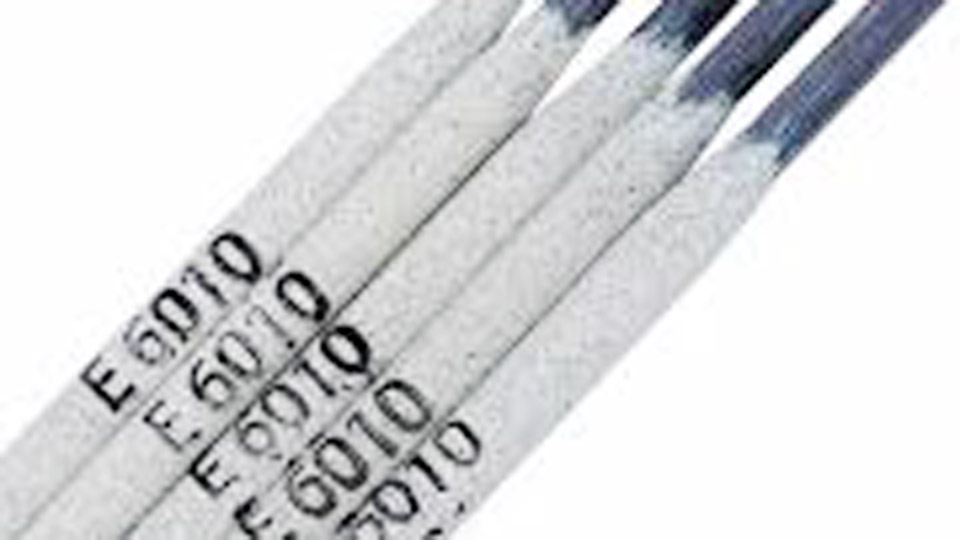
The E6010 is a shielded metal arc welding (SMAW) electrode recognizable by its red or gray cellulosic coating. Unlike the smoother-running 7018, the 6010 is designed to dig.
The “60” stands for 60,000 psi of tensile strength, the “1” means it can be used in all positions (flat, horizontal, vertical, and overhead), and the “0” indicates the coating type and the required DC positive (DCEP) current.
The magic happens in the arc force. The cellulose coating burns off and creates a high-velocity gas shield that literally pushes the molten metal through the gap of your joint.
This is why we use it for the “root”—the very first pass at the bottom of a joint. It ensures that the two pieces of metal are fused all the way through to the back side.
When and why it should be used
You reach for a 6010 when you can’t get to the back side of a weld but need 100% penetration. It’s the go-to for API 1104 pipe welding and heavy structural plates. Because it has a “fast-freeze” puddle, the metal solidifies almost instantly, allowing you to bridge gaps and weld vertically without the puddle falling out of the joint.
Practical Tip: Don’t try to run 6010 on a cheap AC-only buzz box. These rods require a constant current (CC) DC machine with a high “Open Circuit Voltage” (OCV). If your machine doesn’t have “dig” or “arc force” control, you’ll find the arc snuffing out frequently.
The Master 6010 Amperage Chart
Settings vary based on the thickness of your material and the width of your root opening (the gap). However, these ranges are the “sweet spots” I’ve found over years of burning rods in various shop conditions.
Recommended Amperage Ranges by Rod Diameter
| Rod Diameter | Amperage Range (General) | Root Pass Sweet Spot | Material Thickness |
| 3/32″ | 40 – 70 Amps | 50 – 65 Amps | 1/8″ to 3/16″ |
| 1/8″ | 75 – 125 Amps | 80 – 95 Amps | 3/16″ to 1/2″ |
| 5/32″ | 110 – 160 Amps | 120 – 140 Amps | 3/8″ and up |
| 3/16″ | 140 – 210 Amps | 150 – 175 Amps | Heavy Wall Pipe/Plate |
Why “Root Pass” Amperage is Lower
You’ll notice the “Root Pass Sweet Spot” is often on the lower end of the rod’s overall capability. This is because, during a root pass, you don’t have a “shelf” of metal to hold the heat. You are welding into thin air in the gap. If you run a 1/8″ rod at 115 amps on a root, you’ll likely blow a hole the size of a nickel in your project.
How to Set Your Machine for Success
The Importance of Polarity
Always check your leads. 6010 is designed for DCEP (Direct Current Electrode Positive), also known as “Reverse Polarity.” This puts about 70% of the heat at the electrode, which is exactly what provides that “digging” action.
If you accidentally run it on DCEN (Electrode Negative), the arc will feel soft, the penetration will be shallow, and the bead will sit on top of the metal like a cold caterpillar.
Understanding “Dig” or “Arc Force”
Many modern inverter machines (like those from Miller or Lincoln) have a “Dig” setting. For 6010 rods, you want to turn this up.
- Low Dig: The machine stays at a steady amperage even if the arc length changes.
- High Dig: The machine senses when the rod is getting close to the metal (shortening the arc) and “boosts” the amperage momentarily to prevent the rod from sticking.
- Pro Setting: Set your Dig to 50–70% for 6010 roots. It gives you that aggressive arc that won’t die out when you’re “burying” the rod into the gap.
Preparing the Joint: The Secret to a Clean Root
You can have the perfect amperage, but if your prep is sloppy, your root will be too. 6010 is a “deep-digging” rod, but it isn’t magic.
1. The Land (The Root Face)
Don’t bring your bevel to a razor-sharp point. You need a “land”—a flat spot on the edge of the bevel. For a 1/8” 6010 rod, I typically recommend a 3/32″ to 1/8″ land. This acts as a heat sink and prevents the arc from immediately blowing through the edge.
2. The Gap (The Root Opening)
Space your pieces using a “spacer” or the rod itself. A 3/32″ gap is standard for most pipe and plate roots. If the gap is too tight, you won’t get “keyhole” action. If it’s too wide, you’ll be struggling to bridge the gap without creating a mess of slag.
3. Cleaning
6010 can handle a bit of rust and mill scale better than 7018, but “better” isn’t “good.” Take a flap disc or a wire wheel and get that metal down to bright white at least one inch back from the bevel. This prevents porosity and ensures the slag doesn’t get trapped in the puddle.
The “Whip and Pause” Technique
To get a clean root with a 6010, you can’t just drag the rod. You have to use the Whip and Pause method.
The Strike: Start your arc slightly ahead of where you want to begin, then move back to the start point to pre-heat the metal.
The Keyhole: Wait for a small circular hole to form at the leading edge of the puddle. This is the “keyhole.” It tells you that you are penetrating through both sides of the metal.
The Whip: Move the rod forward (out of the puddle) about two rod diameters. This allows the puddle to cool slightly and “freeze.”
The Pause: Bring the rod back into the front edge of the puddle to deposit more metal.
Repeat: Watch the keyhole. If it starts getting too big, whip further or faster. If it closes up, slow down your travel or turn up your heat.
Common Mistakes and How to Fix Them
1. “Long-Arcing”
If you pull the rod too far away from the metal, the voltage jumps and the arc becomes unstable. This causes massive spatter and a lack of shielding gas coverage.
- Fix: Keep a tight arc. You should almost feel like you are “shoving” the rod into the joint.
2. Running Too Cold
If your amperage is too low, the rod will “stutter,” and you’ll find thick islands of slag trapped between the weld and the base metal.
- Fix: Bump your machine up 5 amps at a time until the rod stops sticking and the arc stays lit effortlessly.
3. Ignoring the “Tack”
Beginners often weld right over their tacks without thinking. This leads to a “hump” in the root.
- Fix: Feather your tacks with a grinder. Grind the start and stop of each tack into a thin “ramp” so that when you weld over it, the 6010 can easily consume the metal and maintain a flat, consistent profile.
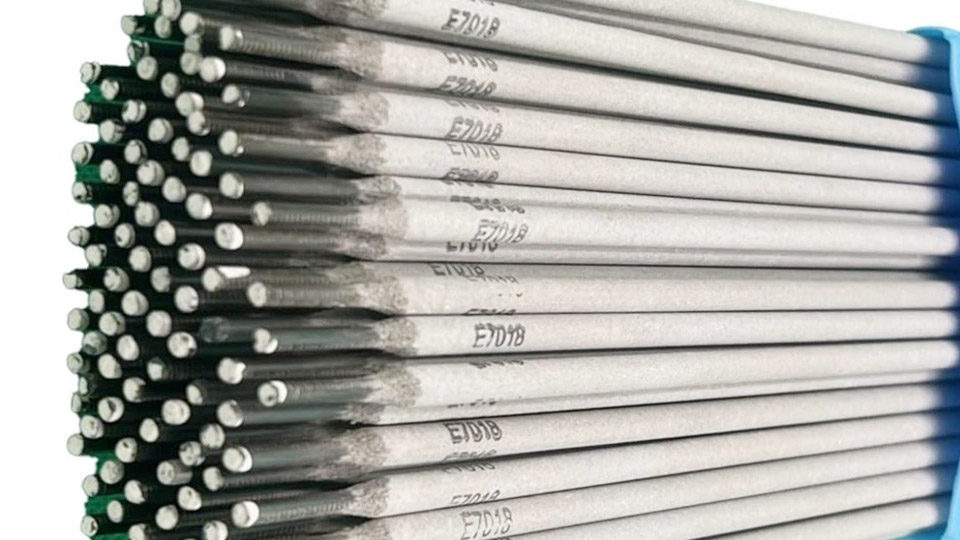
6010 vs. 7018: When to Switch?
In most professional scenarios, the 6010 is used only for the root pass and sometimes the “hot pass” (the second layer). After that, we switch to 7018 (low hydrogen) electrodes for the “fill and cap.”
- 6010 Pros: Deep penetration, works on dirty metal, fast-freeze for out-of-position work.
- 6010 Cons: High spatter, rough finish, not as strong (ductile) as 7018, prone to hydrogen cracking in high-carbon steels.
- 7018 Pros: Extremely strong, beautiful “glassy” finish, very little spatter.
- 7018 Cons: Shallow penetration, requires perfectly clean metal, rod must be kept in a rod oven to stay dry.
Safety First in the Shop
Burning a 6010 is a “violent” process compared to other rods. It creates a lot of sparks and smoke.
Ventilation: Cellulose rods produce significant fumes. Work in a well-ventilated area or use a fume extractor.
PPE: Because 6010 spatters so much, ensure your leathers are on. A stray spark from a 6010 can easily burn through a cotton shirt and ruin your day.
Eye Protection: Use a shade 10 or 11 lens. The arc is very bright and intense because of the high gas volume.
Moving Forward with Confidence
Once you master the 6010 root, you’ve crossed the threshold from “someone who can stick metal together” to a “real welder.” It’s a skill that requires a rhythmic connection between your hand, your eyes, and the sound of the machine.
Use the amperage chart as your starting point, but don’t be afraid to adjust. If you’re welding on a hot summer day in Texas, your machine might run hotter than it would in a snowy shop in Montana.
Pro-Level Tip
When you’re finishing a rod, don’t just pull away. Instead, “flick” the rod into the keyhole and quickly pull back. This fills the crater and prevents “crater cracks,” which are a common fail point during inspections. Master the “flick” and your inspector will love you.
Frequently Asked Questions
Why does my 6010 rod keep sticking even at the recommended amperage?
This usually happens because your “Arc Force” or “Dig” is too low, or you are using a machine with a low Open Circuit Voltage (OCV). Try increasing your “Dig” setting or slightly increasing your amperage. Also, ensure you aren’t “long-arcing,” which causes the voltage to drop and the rod to freeze to the work.
Can I use 6011 if I don’t have 6010?
Yes, 6011 is essentially the AC-compatible version of 6010. It provides similar penetration and fast-freeze characteristics. If you are using an older AC transformer machine, 6011 is your only choice for a deep-penetrating root.
How do I know if my root pass is “good” without an X-ray?
Look for “pushed-through” metal on the back side of the joint. A good root should look like a small, consistent bead on the inside of the pipe or plate. It should be flush or slightly convex. If you see a “valley” (suck-back), you likely had too much heat or didn’t provide enough filler metal during your pause.
Is it okay to use 6010 for the entire weld?
While you can, it’s rarely recommended for structural or high-pressure applications. 6010 is relatively brittle compared to 7018. For anything that needs to hold weight or pressure, use 6010 for the root and 7018 for the remaining passes to ensure maximum ductility and strength.