Soldering a pressurized or partially filled line is one of the most common plumbing repair challenges, especially during emergency fixes or system modifications where full drainage is not possible.
Knowing how to solder a copper pipe with water in it matters because even a small amount of residual water can absorb heat, prevent the joint from reaching soldering temperature, and lead to weak connections, pinhole leaks, or repeated rework.
In real jobsite conditions, failed solder joints waste material, increase downtime, and can compromise long-term system reliability. The issue is not just applying more heat—it is controlling moisture, heat transfer, and joint preparation so the solder flows correctly without overheating the pipe or fittings.
I’ll guide explain the practical methods used to manage trapped water, maintain proper heating conditions, and produce a clean, leak-free copper pipe joint when complete drainage is not an option.
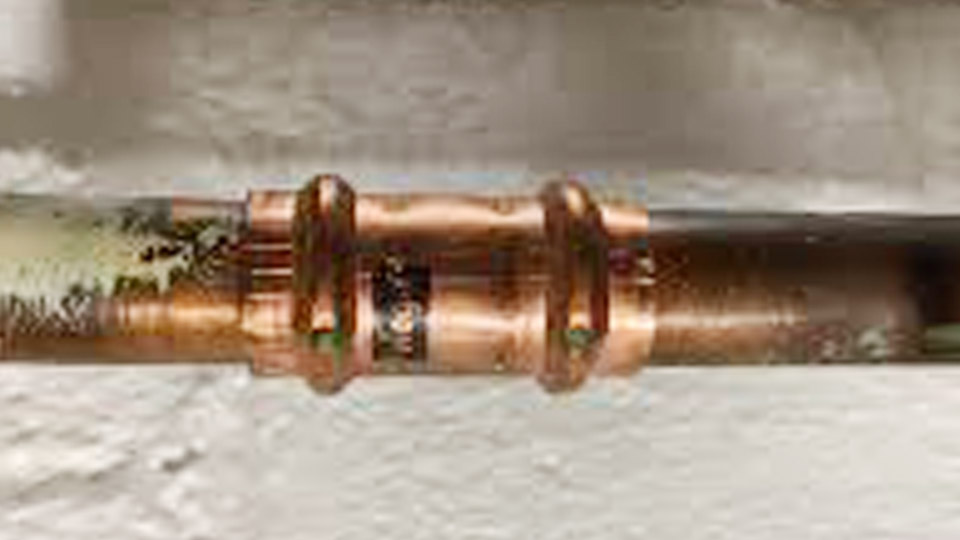
Image by reddit
Why Water Ruins Copper Soldering Joints
Water absorbs significant heat and flashes into steam at soldering temperatures (around 400–500°F for lead-free solder). This creates turbulence and pressure that displaces molten solder before it wets the joint fully. Even small amounts—drops or film—generate enough steam to cause pinhole leaks or incomplete capillary action.
Understanding heat dynamics helps: copper conducts heat rapidly, but water maintains a lower temperature zone until fully vaporized and expelled. Successful soldering demands either complete water removal or controlled management of steam escape and joint heating.
Assessing the Situation Before Attempting the Repair
Pipe Diameter, Location, and Water Volume
Evaluate pipe size first. ½-inch and ¾-inch lines respond better to temporary plugs or vacuum methods than larger diameters with higher residual volumes. Vertical runs drain more effectively by gravity than horizontal sections. Check for multiple low points or traps where water collects.
Measure or estimate standing water distance from the joint. If water sits more than 12–18 inches away, simpler methods often suffice. Closer proximity or active dripping requires stronger interventions.
System Pressure and Accessibility
Determine if isolation valves exist upstream. Partial shutdowns reduce flow to drips rather than full pressure. Accessibility affects tool choice—tight joist spaces limit torch maneuverability and vacuum hose placement.
Consider downstream fixtures: opening faucets creates an exit path for steam and residual water, reducing backpressure.
Primary Methods to Remove or Control Water
Gravity Drainage and Air Purging
Start with the simplest approach. Shut off the main supply, open the lowest fixture on the line, and allow gravity to drain as much as possible. For remaining water, use compressed air (80–100 psi) through a Schrader valve adapter or blow-out fitting inserted into an open end. Direct air from the highest point toward the work area.
Combine with gentle heating along the pipe run (away from the joint) to encourage evaporation without overheating fittings. This method works well for short runs with good access.
Wet/Dry Vacuum Extraction
A shop vacuum provides powerful suction for standing water. Insert a narrow hose or tube into the pipe past the joint area while opening a downstream faucet to break vacuum lock. Multiple short bursts prevent overheating the vacuum motor.
For best results, create a temporary seal around the vacuum hose using a rag or tape. This extracts water several feet into the line effectively on horizontal and vertical sections.
The Plumber’s Bread Technique
Insert a dense wad of white bread (crust removed) 6–12 inches past the joint using a pencil or dowel. The bread absorbs residual moisture and acts as a temporary dam. Solder quickly, then flush the system thoroughly once complete—the bread dissolves and flushes out without clogging aerators or valves in most cases.
This classic method remains popular for emergency repairs, though professionals often prefer it only when other options are limited due to potential residue concerns.
Advanced Water Blockage Solutions
Expanding Pipe Plugs and Test Plugs
Professional-grade inflatable or mechanical expanding plugs insert past the joint and seal the pipe interior. Slide the fitting over the plug stem, solder, then deflate and remove. These tools provide clean, reusable blockage without leaving debris.
Select plug size matching the pipe ID precisely. They excel in critical potable water lines where contamination must be avoided.
Dissolvable or Meltable Plugs
Specialized wax or dissolvable capsules push into the pipe, expand or seal when wet, and later melt with targeted heat or dissolve during flushing. These offer a hands-off approach after insertion.
Compression and Push-Fit Alternatives
When soldering risks remain high, transition to compression fittings, shark-bite style push-to-connect, or propress systems for the problematic joint. These eliminate heat entirely while maintaining code compliance in many jurisdictions. Use them strategically to isolate sections for traditional soldering elsewhere.
Optimal Soldering Techniques with Residual Moisture
Joint Preparation Standards
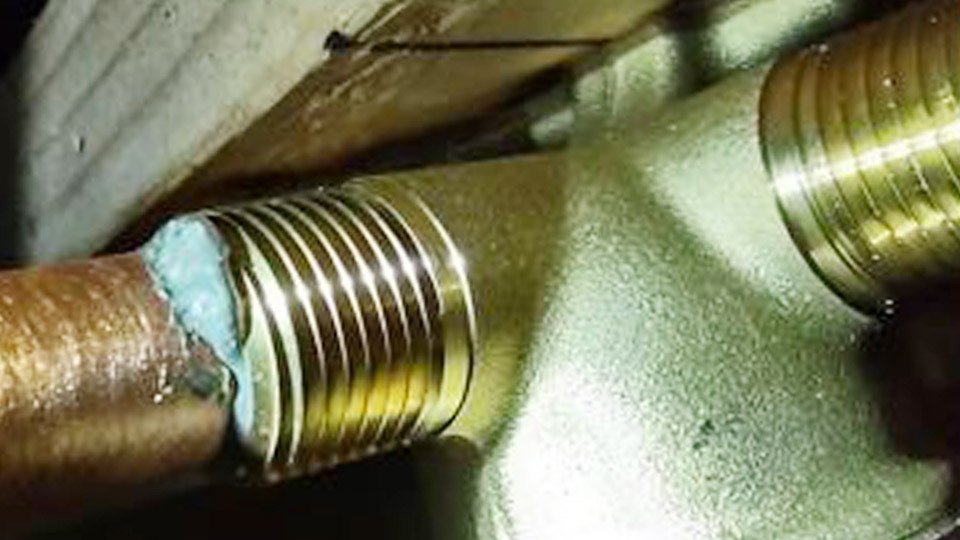
Cut pipe square and deburr inside and out. Clean mating surfaces to bright metal using emery cloth or a dedicated pipe cleaning tool—oxidation prevents solder wetting regardless of water presence. Apply flux liberally to both pipe and fitting interior. Flux helps clean remaining oxides and promotes flow, but it cannot overcome active water.
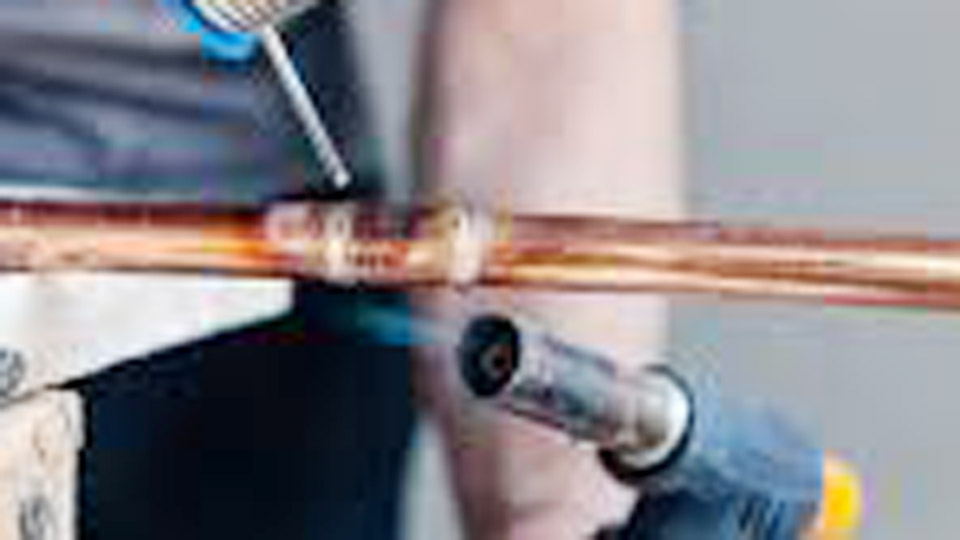
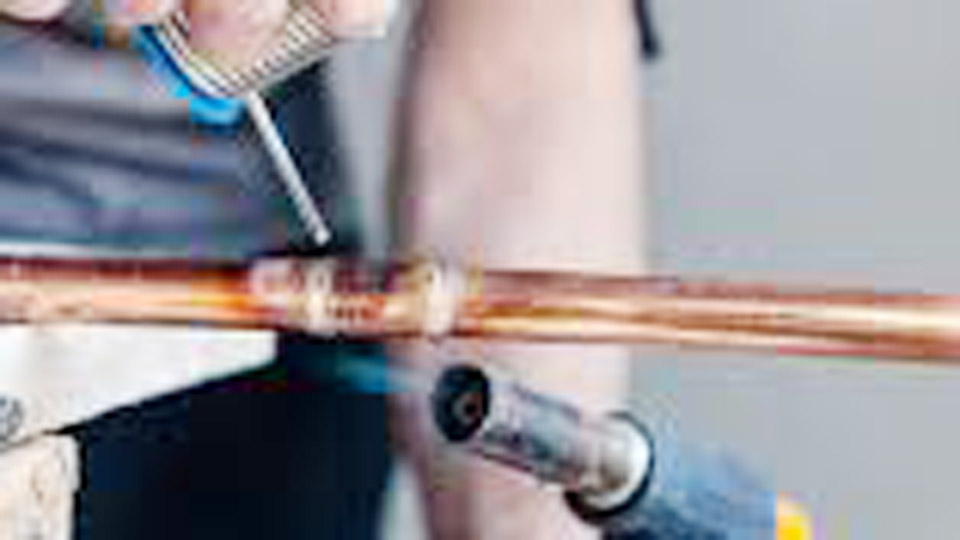
Torch Control and Heat Application
Use a focused flame torch—propane for smaller pipes, MAPP or acetylene for faster heating in challenging conditions. Heat the fitting mass first, not the pipe, allowing heat to conduct evenly. Apply solder to the opposite side of the joint from the flame once the flux bubbles and cleans.
With potential water, work in short heating cycles. Watch for steam escape; pause if excessive pressure builds. Successful joints show solder drawing fully around the cup by capillary action, often appearing as a small fillet at the edge.
Solder Selection for Water Lines
Always use lead-free solder (typically 95/5 tin-antimony or SAC alloys) for potable water. Lead-bearing solders suit non-potable drainage only. Tinning flux provides extra margin in marginal conditions by pre-coating surfaces.
Temperature Management and Joint Integrity
Monitor joint temperature indirectly through solder behavior rather than relying solely on color. Lead-free solder flows at approximately 450°F. Overheating causes flux to burn off prematurely and can anneal the copper, weakening it.
In water-present scenarios, aim for the minimum effective temperature and time. Excessive heat increases steam volume and joint oxidation risk.
Common Failure Modes and Diagnostics
Diagnosing Incomplete Joints
A joint that appears soldered but leaks often suffered steam interference. Signs include solder beading externally without full penetration or a “frosty” appearance from rapid cooling. Reheat and add more solder only after confirming dryness—repeated attempts on wet joints compound the problem.
Pressure testing post-repair reveals hidden issues before closing walls. Use air or low-pressure water tests.
Material Interactions
Different copper types (Type M, L, K) have varying wall thicknesses affecting heat requirements. Type L is standard for residential. Ensure fittings match pipe type and are wrought copper, not cast, for best capillary action.
Equipment and Material Checklist
- Tubing cutter or reciprocating saw with fine blade
- Deburring tool
- Emery cloth or pipe brush
- Lead-free flux and solder
- Propane/MAPP torch with appropriate tip
- Wet/dry vacuum or compressor
- Bread, plugs, or alternative blocking methods
- Safety gear: gloves, eye protection, fire-resistant cloth
When to Avoid Soldering Altogether
Evaluate total system impact. Extensive water presence, inaccessible joints, or time constraints often justify mechanical connections or pipe section replacement. Professional plumbers weigh labor time against reliability—multiple failed solder attempts waste more resources than switching methods upfront.
Real-World Application Insights
In renovation projects, mapping the entire line and creating temporary bypasses or isolation zones minimizes disruption. New construction allows full drainage planning, but repairs demand adaptability. Experience shows that combining vacuum extraction with a bread plug handles 80% of residential cases effectively.
Performance takeaway: Prioritize water management over torch skill. The cleanest, driest joint always produces the strongest connection. Advanced practitioners develop a feel for steam behavior and adjust heat direction dynamically, often achieving reliable joints in conditions that defeat beginners.
This technical decision-making—assessing volume, selecting the right blockage, controlling heat precisely—separates consistent success from repeated leaks.
FAQ
Can you solder copper pipe with a small amount of water inside?
Small amounts usually prevent proper solder flow due to steam formation. Use vacuum, bread, or plugs to minimize moisture first. Complete dryness remains the most reliable path.
What is the best solder for copper pipes with potential moisture?
Lead-free tin-antimony or proprietary lead-free formulations with tinning flux perform best. They offer higher melting points and better flow characteristics under marginal conditions.
How do plumbers solder copper pipes without shutting off the water?
They employ vacuum extraction, mechanical plugs, bread dams, or compression alternatives. Speed and precise heat application are critical in these scenarios.
Will MAPP gas help solder wet copper pipes?
MAPP gas provides hotter, faster heating that can overcome minor moisture better than propane, but it does not replace proper water removal. Use it as a supporting tool, not a complete solution.
(Word count: approximately 2,150)