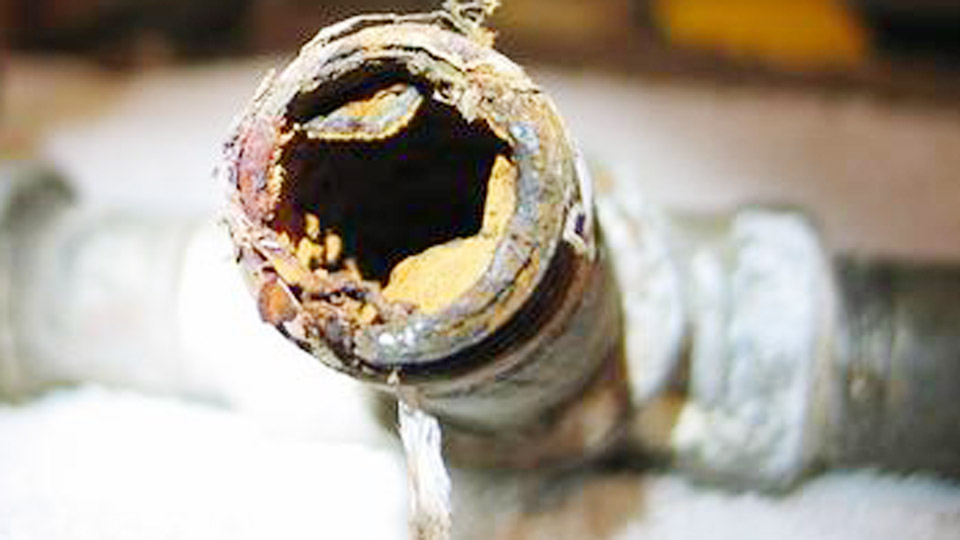
Many DIY welders and hobbyists run into frustration when first tackling stainless steel. The material retains heat longer than mild steel, leading to warping, distortion, or loss of corrosion resistance if parameters are off.
Learning how to weld stainless steel at home delivers clean, strong, corrosion-resistant joints for projects like custom fabrication, repairs, or food-grade equipment, but it demands precise control over heat input, filler selection, and shielding.
This guide provides practical, real-world guidance for home setups using common processes—TIG (GTAW), MIG (GMAW), and stick (SMAW)—with specific settings, techniques, and decisions that matter for successful results.
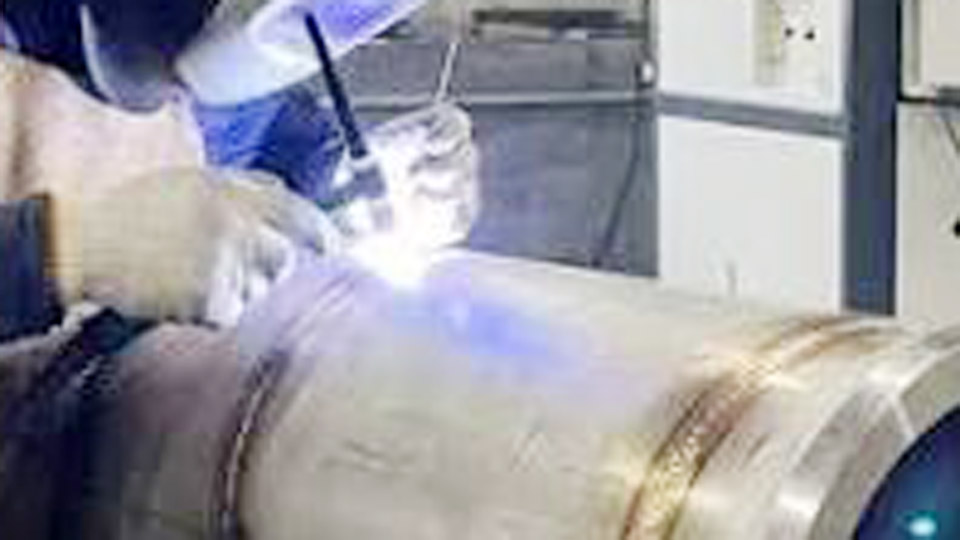
Image by kindle-tech
Understanding Stainless Steel for Home Welding
Key Grades and Their Welding Implications
Austenitic grades dominate home and hobby projects. 304/304L offers good general corrosion resistance and weldability for indoor or mild environments. 316/316L adds molybdenum (2-3%) for superior resistance in chloride, marine, or chemical exposure, making it preferable for outdoor or harsh conditions.
The “L” designation indicates low carbon (<0.03%), which minimizes carbide precipitation (sensitization) during welding that can reduce corrosion resistance in the heat-affected zone (HAZ). For most home work on sheet or thin plate, choose 304L or 316L base material and matching low-carbon fillers like ER308L or ER316L.
Ferritic and martensitic grades appear less often at home but require different approaches: ferritics need low heat to avoid brittleness, while martensitics often need preheating.
Material Properties Affecting Weld Decisions
Stainless steel has lower thermal conductivity than carbon steel, so heat concentrates and causes more distortion. Its higher coefficient of thermal expansion amplifies warping. It also forms oxides rapidly, necessitating excellent shielding.
These traits favor processes with precise heat control like TIG for visible or thin work, and faster MIG for thicker sections or production-like runs.
Equipment and Setup for Home Stainless Welding
Choosing the Right Welder and Accessories
For home shops, a multi-process machine (TIG/MIG/Stick capable) with DC output and pulse features offers versatility. TIG excels for thin materials (<1/8″) and aesthetic welds. MIG suits thicker pieces or faster work. Stick works for repairs but produces more cleanup.
Essential accessories include:
- Dedicated stainless wire brushes and grinding wheels (never cross-contaminate with carbon steel).
- Tungsten electrodes: 2% lanthanated (blue) or similar for DCEN TIG.
- Gas: Pure argon for TIG; 98% Ar/2% CO2 or tri-mix (90% He/7.5% Ar/2.5% CO2) for MIG.
- Clamping and backing bars (copper or aluminum) to manage heat.
Maintain a clean workspace and separate tools for stainless to prevent rust contamination.
Pre-Weld Preparation
Cleanliness is non-negotiable. Remove oils, dirt, and oxides with acetone and a stainless brush. Bevel edges for thicker material (>1/8″) to ensure penetration. Fit-up should be tight—gaps increase heat input needs and distortion risk. For pipe or tube, plan back-purging with argon to protect the root side.
TIG Welding Stainless Steel at Home
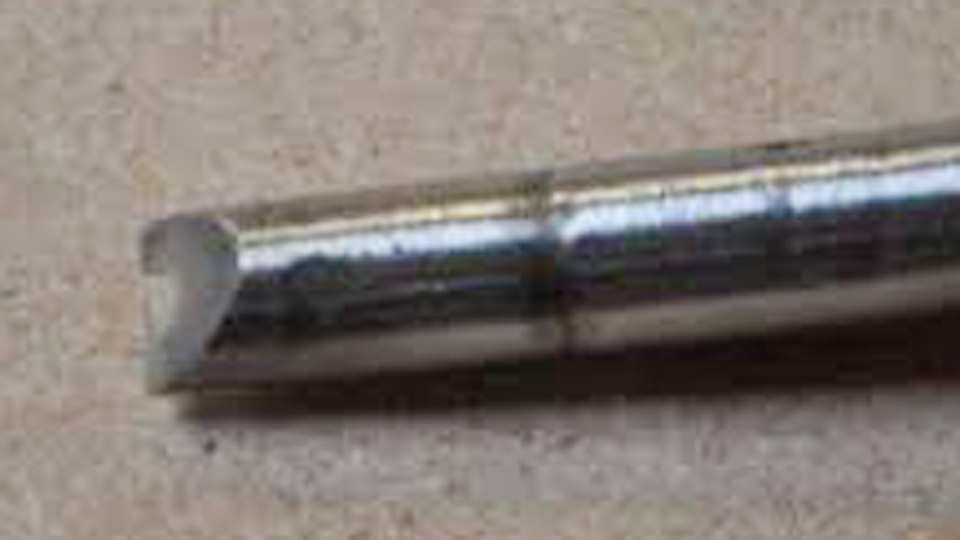
Tungsten and Polarity Setup
Use DCEN polarity. Select tungsten diameter based on amperage: 1/16″ for up to ~150A, 3/32″ for higher. Grind to a point with 2.5x diameter taper, longitudinal strokes only. A #7 or #8 cup with gas lens improves shielding.
Amperage, Technique, and Heat Control
Rule of thumb: ~1 amp per 0.001″ of thickness as a starting point, adjusted for travel speed. For 1/16″ (0.062″) material, target 60-80A; for 1/8″ (0.125″), 110-140A. Use pulse (e.g., 1-2 PPS, background 20-50% of peak) for thin sections to reduce overall heat.
Maintain short arc length (~1/8″ or 3mm). Dab filler rod (one size smaller than mild steel equivalent) at a 15-20° torch angle, pushing the puddle. Travel speed must stay consistent—too slow causes burn-through or excessive discoloration; too fast risks lack of fusion. Trail the torch slightly for gas coverage.
For outside corners or thin sheet, lower background current in pulse settings aids control.
Filler Selection and Back Purging
Match filler closely: ER308L for 304, ER316L for 316. Keep rods clean and dry. Back purge tubing or critical joints with argon (10-15 L/min) until the root bead shows silver/gold color, not black oxide. Post-flow 8-15 seconds protects the cooling weld.
MIG Welding Stainless Steel at Home
Wire, Gas, and Transfer Mode Choices
Use 0.030″ or 0.035″ ER308L/ER316L wire. Short-circuit transfer suits thin material; spray or pulsed for thicker. Tri-mix gas provides best bead profile and reduced spatter on stainless.
Parameter Settings by Thickness
Approximate starting points (adjust for your machine and joint):
- <0.125″ (thin sheet): 0.030″ wire, 80-140A, 18-20V, short-circuit, 98%Ar/2%CO2.
- 0.125-0.25″: 0.035″ wire, 130-190A, tri-mix.
- Thicker: 0.045″ wire, higher ranges up to 250+ A.
Push technique (torch angled 5-15° trailing) minimizes oxidation and improves visibility. Maintain 3/8-1/2″ stickout. Inductance around 50% helps puddle fluidity.
Technique for Distortion Control
Use skip welding or back-stepping on long seams. Clamp with heat sinks. MIG’s speed helps limit total heat compared to slower processes, but monitor interpass temperature (<300°F for many grades).
Stick Welding Stainless Steel at Home
Stick works for thicker material or field repairs where gas is impractical. Use E308L-16 or E316L-16 electrodes. Flat or horizontal positions are easiest at home.
Set amperage per electrode recommendations (e.g., lower end for vertical to control fluid puddle). Drag technique with a short arc. Slag removal is required between passes. Expect more spatter and post-cleanup than TIG or MIG. Suitable for repairs but less ideal for cosmetic home projects.
Managing Common Challenges: Distortion, Sensitization, and Discoloration
Heat Input and Distortion Control
Calculate approximate heat input: (60 × Amps × Volts) / (Travel Speed in IPM) = kJ/in. Keep it low through pulsing, faster travel, and proper sequencing. Copper backing bars absorb excess heat. Tack frequently with proper spacing to allow expansion.
Preventing Sensitization and Maintaining Corrosion Resistance
Stay below sensitization range (800-1600°F) for as little time as possible by controlling heat and using low-carbon grades. Post-weld cleaning (brushing or pickling paste) restores the passive layer. Avoid quenching in water; allow slow cooling.
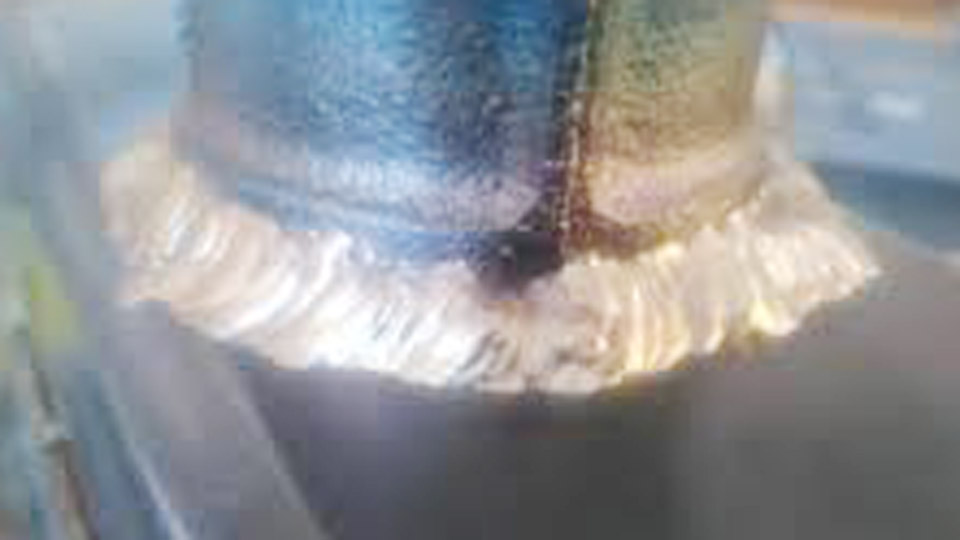
Weld Color and Aesthetics
Straw/gold indicates good shielding; blue/purple is acceptable for many applications; black/gray signals oxidation and potential weakness. Proper gas coverage and post-flow are key. For critical applications, back purge and chemical passivation.
Joint Design and Advanced Techniques for Home Welders
Common Joints and Prep
Butt joints on sheet benefit from tight fit-up. T-joints or laps may need more filler. For thicker plate, V or U grooves with 60-70° included angle ensure penetration. Multi-pass welds require interpass cleaning.
Pulse and Advanced Features
Modern home machines with pulse or waveform control (e.g., RMD for MIG) improve results on thin stainless. Experiment with settings: pulse frequency 1-2 Hz for TIG helps stack dimes appearance.
Dissimilar Welding Considerations
Welding stainless to mild steel? Use 309L filler to accommodate differences. Remove zinc from galvanized material first. These joints require testing for service conditions.
Post-Weld Processing and Inspection
Clean welds immediately with dedicated stainless tools or passivation solutions to remove heat tint and restore corrosion resistance. Visually inspect for cracks, undercut, or porosity. For pressure or load-bearing applications, consider dye penetrant testing.
Grind or polish visible welds for aesthetics, but avoid overheating during finishing.
Wrapping Up
Mastering stainless at home comes down to deliberate parameter selection, contamination control, and heat management tailored to your material thickness and joint. Prioritize low-carbon grades, matching fillers, and appropriate shielding for reliable corrosion performance.
With practice on scrap, you’ll achieve professional-quality results that hold up in real-world use—whether building durable kitchen fixtures or custom outdoor gear.
The key advanced insight: treat every weld as a balance of metallurgy and physics, where minimal effective heat input preserves both strength and the passive chromium layer that defines stainless performance.
FAQ
What gas is best for MIG welding stainless steel at home?
Tri-mix (90% helium, 7.5% argon, 2.5% CO2) or 98% argon/2% CO2 provides stable arcs, good wetting, and minimal oxidation. Pure CO2 or standard steel mixes contaminate the weld.
Can I weld 304 stainless to 316 stainless?
Yes, typically with ER308L or ER316L filler. ER316L may offer slightly better corrosion resistance in some environments. Match technique to the thinner or more critical member.
How do I avoid warping when welding thin stainless sheet?
Use low heat input via pulsing, fast travel speeds, skip welding, copper backing, and strong clamping. TIG with foot pedal control gives the best results for thin material.
Is TIG or MIG better for home stainless steel welding?
TIG for precision, thin material, and appearance. MIG for speed and thicker sections. Many home setups use both depending on the project.