There is a specific sound you look for when you strike an arc on a piece of plate—that deep, consistent “frying bacon” sizzle that tells you the puddle is behaving exactly how it should. But getting to that point on quarter-inch plate isn’t always a “set it and forget it” affair.
Whether you are building a heavy-duty workbench or repairing a trailer frame, finding the right stick welding settings for 1/4″ steel is the difference between a structural bond and a glob of bird poop sitting on top of cold metal.
Quarter-inch steel is the “sweet spot” of fabrication. It’s thick enough to require serious heat and proper penetration, yet thin enough that an amateur can easily blow a hole through it or warp the workpiece if their travel speed is sluggish.
If your amperage is too low, you’ll fight stuck electrodes and slag inclusions all day. Too high, and you’ll deal with excessive spatter and undercut that weakens the joint. This guide is built from years of burnt gloves and shop-floor trial and error to help you dial in your machine perfectly.
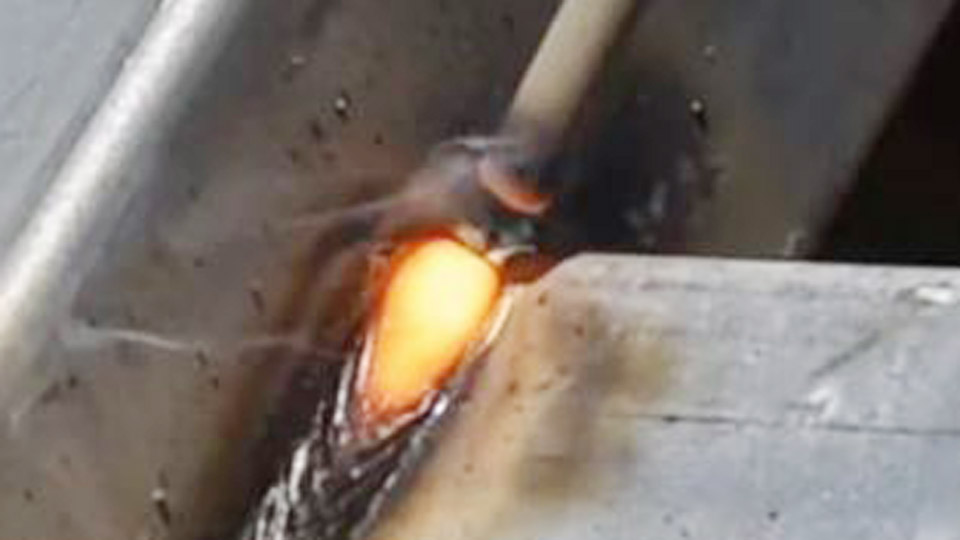
Image by tooliom
Why 1/4″ Steel is the Ultimate Test for Your Settings
In the welding world, 1/4″ (6.4mm) material is considered medium-duty plate. It is the most common thickness for structural brackets, farm implements, and off-road bumpers. Understanding the physics of this specific thickness is vital because it requires a balance of “soaking” heat into the metal while maintaining a controlled puddle.
Heat Dissipation and Penetration
When you’re working with thinner sheet metal, the heat stays localized. With 1/4″ steel, the surrounding mass acts like a heat sink, drawing energy away from the weld zone.
This means you need enough “oomph” (amperage) to ensure the base metal actually melts and fuses with the filler rod. If you don’t achieve full penetration, the weld might look pretty on the surface but will fail under a load.
Managing Distortion
Because you are pumping significant heat into a relatively rigid piece of steel, thermal expansion is your enemy. Improper settings lead to longer arc times, which increases the “heat-affected zone” (HAZ). This can cause your carefully squared project to pull out of alignment as it cools.
Choosing the Right Electrode: 6010, 6011, or 7018?
Before you even touch the dial on your Lincoln or Miller machine, you have to pick your weapon. For 1/4″ steel, three rods dominate the industry. Each requires slightly different settings to perform correctly.
The “Deep Diggers”: 6010 and 6011
These are cellulose-based rods. 6010 (DC only) and 6011 (AC/DC) are designed to “dig” deep into the metal.
- What they are: Fast-freeze rods that create a forceful arc.
- When to use them: For the “root pass” on 1/4″ plate or when the steel is rusty, painted, or galvanized. They “blast” through the junk.
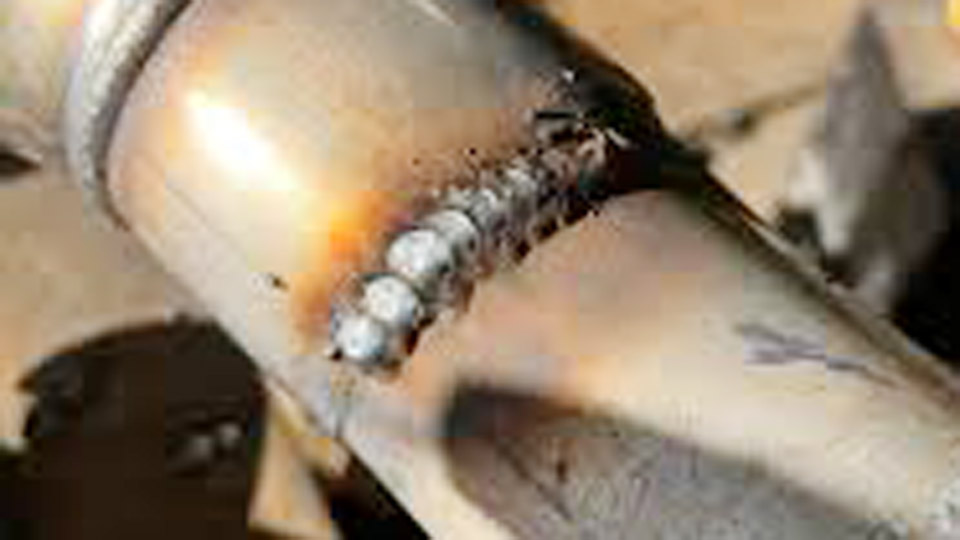
- Practical Tip: Don’t expect a smooth, buttery finish. These leave a ripple pattern that looks like stacked dimes.
The “Smooth Operators”: 7018
This is a low-hydrogen rod and is the gold standard for structural welding.
- What it is: A fill-and-freeze rod that produces a very strong, ductile weld with a smooth finish.
- When to use them: For your final passes or when strength is the absolute priority. 7018 loves clean, shiny steel.
- Practical Tip: Keep these rods dry. If they’ve been sitting out in a humid shop, they’ll produce porosity (tiny holes) in your weld.
Dialing in Your Amperage: The Real-World Ranges
You’ll often see a wide range of suggested amperages on the side of a rod box. For 1/4″ steel, those ranges can be misleading because they don’t account for your welding position or the specific joint type. Here is the breakdown for the most common diameters used on this thickness.
1/8″ Diameter Electrodes (The Industry Standard)
For 1/4″ plate, a 1/8″ rod is usually the best choice. It carries enough current to penetrate without being overly clunky.
| Electrode Type | Amperage Range for 1/4″ Steel | My “Sweet Spot” |
| 6010 / 6011 | 75 – 125 Amps | 90 Amps |
| 7018 | 110 – 165 Amps | 125 – 135 Amps |
| 7014 | 110 – 160 Amps | 140 Amps |
3/32″ Diameter Electrodes
If you are worried about burning through or if you are welding vertically, you might drop down to a 3/32″ rod.
- 7018 (3/32″): 80 – 95 Amps.
- 6011 (3/32″): 65 – 85 Amps.
How to Set Your Machine Like a Pro
Walking up to a machine and just spinning the dial is a rookie move. Every machine runs a little “hot” or “cold” compared to its digital display or analog markings.
The “Scrap Plate” Test
Always have a piece of 1/4″ scrap on your bench that matches your workpiece.
- Strike an arc and run a 2-inch bead.
- Listen: Does it sound like a loud, erratic crackling? Your amperage is likely too high. Does it hum softly and then stick? It’s too low.
- Look at the rod: If the electrode starts glowing red after half the rod is gone, you are running way too hot.
Adjusting for Position
Gravity is a factor. If you are welding flat (1G), you can crank the heat up to 135A with a 7018. However, if you are welding vertical up (3G), that same setting will cause the molten metal to fall out of the joint and onto your boots. Drop your amperage by about 10–15% when moving from flat to vertical.
Joint Preparation: Don’t Weld Over the “Gunk”
One of the biggest mistakes I see in shops is trying to weld 1/4″ steel as it comes from the mill. This material often has “mill scale”—a dark, flaky oxidation layer.
Why Cleanliness Matters
Stick welding (SMAW) is more forgiving than TIG or MIG, but mill scale is still an insulator. It can cause arc wander and trapped slag.
What to do: Take a flap disc or a wire wheel to the edges. You want “bright metal” at least half an inch back from the weld zone.
Beveling: For 1/4″ steel, a full bevel isn’t always necessary for a lap joint, but for a butt joint, you should grind a 30-degree bevel on both pieces to create a “V”. This ensures the weld goes all the way through the thickness rather than just sitting on the surface.
Step-by-Step: Welding a 1/4″ Tee-Joint (Fillet Weld)
The Tee-joint is the most common weld in fabrication. Here is how to nail it with 7018 settings.
Step 1: Tacking
Secure your work. Use 125 Amps to strike a quick “tack” weld on both ends of the joint. This prevents the metal from pulling and closing the gap as you weld the main bead.
Step 2: Rod Angle
Hold your electrode at a 45-degree angle between the two plates. Then, tilt it about 10–15 degrees in the direction you are traveling (this is called a “drag” technique).
Step 3: Maintain a Short Arc
This is critical. For 7018, you want a very tight arc. If you pull the rod too far away (long-arcing), you’ll increase voltage, create massive spatter, and lose penetration. You almost want to feel the rod “dragging” on the flux.
Step 4: Watch the Puddle, Not the Light
Beginners watch the bright flash. Professionals watch the molten pool of metal behind the rod. Ensure the puddle is filling both the bottom and top plate equally. If it looks like it’s sagging, speed up your travel.
Common Mistakes and How to Fix Them
1. The Slag Inclusion (The “Valley” Problem)
If your amperage is too low on 1/4″ steel, the slag won’t have enough heat to float to the top. Instead, it gets trapped underneath the metal.
- The Fix: Increase your amps by 5–10 and ensure you are cleaning the slag thoroughly between passes with a chipping hammer and wire brush.
2. Undercut
This looks like a small “gutter” or groove burnt into the base metal right at the edge of the weld. It’s a structural killer.
- The Fix: This is usually caused by too much heat or a travel speed that is too fast. Lower your amperage or slow down to let the puddle fill that void.
3. Porosity
If your weld looks like Swiss cheese, you have gas trapped in the metal.
- The Fix: This usually happens with 7018 rods that have absorbed moisture. Switch to a fresh rod or check if you are “long-arcing.” Keep your arc gap no wider than the diameter of the metal core of the rod.
Comparison: Stick Welding vs. Other Processes on 1/4″
| Feature | Stick (SMAW) | MIG (GMAW) | TIG (GTAW) |
| Portability | Excellent | Moderate | Low |
| Wind Resistance | High (Great for outdoors) | Low | Low |
| Speed | Moderate | High | Slow |
| Cleanliness | Low (Smoky/Slag) | High | Very High |
For 1/4″ steel in a repair or outdoor setting, Stick is almost always the winner because it doesn’t require shielding gas tanks that can blow away in a breeze.
Safety First: Don’t Get “Flash Burn”
Welding 1/4″ steel requires higher amperages, which means a brighter, more intense UV arc.
Lens Shade: Use at least a Shade 10 or 11 lens. A Shade 9 is okay for low-amp TIG, but it will leave your eyes feeling like they have sand in them after a day of 125-Amp stick welding.
PPE: At these heats, sparks will fly. Wear a leather apron and high-top boots. Never weld with your sleeves rolled up; “welder’s tan” is actually a painful UV burn.
Real-World Insight on Heavy Fabrication
When I’m out in the field and the wind is howling, and I’ve got to fuse two heavy plates of 1/4″ steel together, I don’t reach for a fancy multi-process machine. I grab an old-school transformer welder and a handful of 1/8″ 6011s for the first pass and 7018s for the cap.
The beauty of 1/4″ steel is its resilience. It’s thick enough to handle a bit of “abuse” as you dial in your machine, but it’s unforgiving enough that it will teach you exactly what happens when your travel speed is off. Remember, the machine’s dial is just a suggestion—the puddle is the truth.
To recap the essentials: start your 1/8″ 7018 at around 125 Amps, keep a tight arc, and ensure your steel is ground clean. If you can master these settings on quarter-inch plate, you’ve got the foundation to tackle almost any structural repair that comes through your shop doors.
Pro-Level Tip: If you’re struggling with the rod sticking when you start, try “striking a match” rather than pecking at the metal. Also, keep a small piece of wood or a “strike plate” nearby to warm up the tip of a cold rod before moving to your actual workpiece. A warm rod restarts much smoother than a cold one.
Frequently Asked Questions
Can I weld 1/4″ steel with a 110v welder?
Technically, some high-end 110v inverters can do it, but you are pushing the machine to its absolute limit. You’ll likely hit the duty cycle in minutes, and penetration will be questionable. For 1/4″ plate, a 220v machine is highly recommended to ensure the weld doesn’t just “sit” on top.
Should I use AC or DC for stick welding 1/4″ plate?
If your machine allows it, always use DC+ (Direct Current Electrode Positive). It provides smoother arc starts and better penetration. AC is generally reserved for when you are dealing with “arc blow” (magnetic interference) or if you are using an older “buzz box” welder that only has an AC output.
How many passes do I need for a 1/4″ butt joint?
If you bevel the edges to a “V,” you should be able to do it in two passes: a root pass with 6011 to get deep into the gap, and a cover pass with 7018 to fill it and make it pretty. On a flat lap joint, one well-placed pass with a 1/8″ 7018 is usually sufficient.