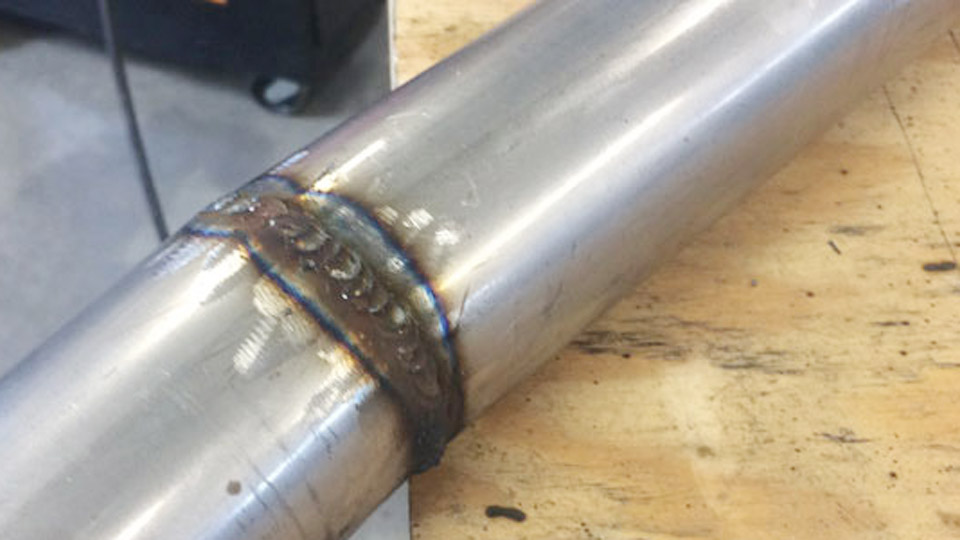
Your MIG welder suddenly starts popping like popcorn during a bead, flinging spatter everywhere and leaving a weak, inconsistent weld. This common frustration signals an unstable arc where the wire isn’t melting smoothly into the puddle.
Why is my MIG welder popping? It usually stems from mismatched voltage and wire feed speed, contaminated consumables, poor electrical contact, or shielding gas issues.
Understanding and fixing it prevents weak joints, excessive cleanup, and wasted time—critical for DIY projects, repairs, or professional fabrication.
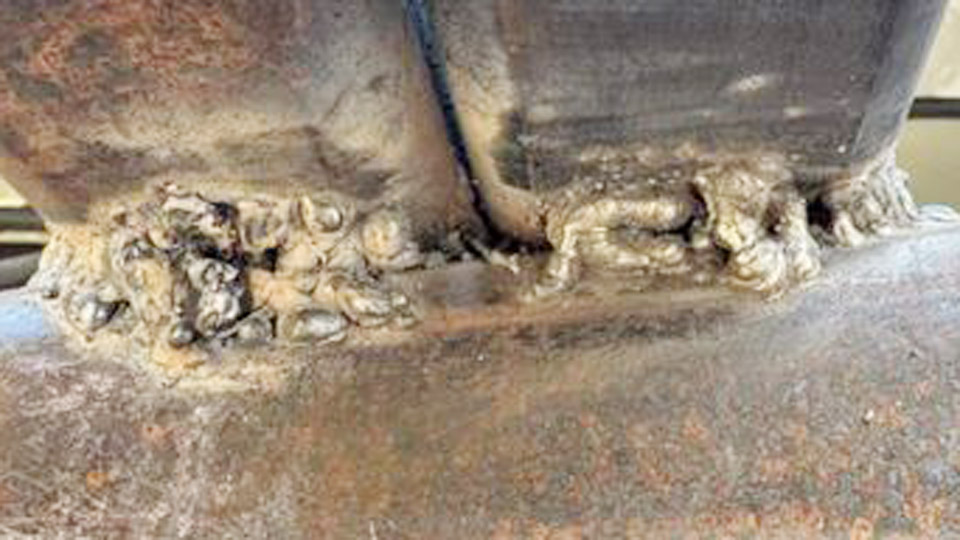
Image by r/Welding
Electrical Parameters: Voltage and Wire Feed Speed Imbalance
The arc stability in MIG (GMAW) welding depends primarily on the balance between voltage (arc length and heat) and wire feed speed (WFS, deposition rate). Popping often occurs in short-circuit transfer when this balance breaks.
Voltage Too Low or Wire Speed Too High
Low voltage fails to maintain a consistent arc gap. The wire stubs into the workpiece before melting fully, causing explosive pops as the arc reignites. This produces excessive spatter and a narrow, convex bead with poor fusion.
For example, on 1/8-inch mild steel with 0.030-inch wire, starting around 17-18V with 150-180 IPM WFS is common. Dropping below 17V while pushing WFS higher leads to stubbing. Increase voltage in 0.5-1V increments while listening for a smooth “sizzle” rather than snaps.
Voltage Too High or Wire Speed Too Low
High voltage lengthens the arc excessively. The wire melts back toward the contact tip (burnback), creating popping as the arc extinguishes and restarts. This also causes undercut and a concave bead.
Adjust by raising WFS to match the faster melt rate. On many machines, fine-tune voltage first for arc sound, then WFS for penetration and bead profile.
Material Thickness and Parameter Charts
Settings vary significantly by thickness and wire diameter. Use these as starting points for 75/25 Ar/CO2 on mild steel with ER70S-6 wire (approximate values; always test on scrap):
| Thickness | Wire Size | Voltage (V) | Wire Speed (IPM) | Typical Amps |
|---|---|---|---|---|
| 20-18 ga (~1mm) | 0.023″ | 15-17 | 90-150 | 40-90 |
| 1/8″ (3mm) | 0.030″ | 17-19 | 150-220 | 90-140 |
| 3/16″ (5mm) | 0.030-0.035″ | 18-20 | 180-280 | 140-200 |
| 1/4″ (6mm) | 0.035″ | 19-22 | 220-350 | 180-250 |
Test on scrap of the same material and thickness. Clean surfaces first—mill scale or rust amplifies instability.
Consumables and Hardware: Contact Tip, Liner, and Drive System
Even perfect settings fail with faulty hardware. Popping frequently traces to interruptions in wire feeding or current transfer.
Worn or Incorrect Contact Tip
The contact tip transfers current to the wire. A tip sized for 0.035-inch wire with 0.030-inch wire creates poor contact and arcing inside the tip, causing popping and burnback. Worn tips (enlarged bore from use) do the same.
Replace every 1-2 hours of arc time or at signs of spatter buildup. Keep spares matched to your wire diameter. Clean spatter from the tip orifice frequently with a reamer or file.
Dirty or Kinked Gun Liner
Debris, rust flakes from wire, or kinks restrict smooth feeding. The wire jerks, causing inconsistent stickout and arc instability. Blow out the liner with compressed air periodically and replace if damaged. Use quality copper or Teflon liners for aluminum.
Drive Rollers and Tension
Slipping rollers (too loose) or crushed wire (too tight) cause erratic feeding. Grooves must match wire size—V for solid wire, U for flux-cored. Clean rollers of debris and adjust tension so the wire doesn’t slip when you pull it by hand but doesn’t deform.
Shielding Gas and Environmental Factors
Shielding gas protects the weld pool. Disruptions lead to popping, porosity, and oxidation.
Incorrect Flow Rate or Gas Type
Too low flow (under 15-20 CFH for mixed gas) allows air contamination, causing erratic arc and pops. Too high creates turbulence that sucks in air. Aim for 20-30 CFH indoors for most setups; test higher in drafty areas.
Use 75/25 Ar/CO2 for general mild steel. Pure CO2 is cheaper but produces more spatter and requires slightly different voltage. For stainless or aluminum, match gas precisely—wrong mixtures destabilize the arc.
Leaks, Contaminated Gas, or Drafts
Check hoses, regulator, and connections for leaks with soapy water. Drafts from fans or doors disrupt coverage—use screens or increase flow slightly. Contaminated cylinders (rare but possible) cause consistent issues.
Technique and Workpiece Preparation
Operator factors and material condition contribute heavily.
Stickout (CTWD) and Gun Angle
Excessive contact tip to work distance (CTWD, typically 3/8″ to 3/4″ for short-circuit MIG) increases resistance and weakens the arc. Keep it consistent—too long reduces penetration and promotes popping.
Maintain 10-15° push or drag angle. Dragging on dirty material pulls contaminants into the pool.
Material Cleanliness and Grounding
Oil, paint, rust, or mill scale vaporizes and destabilizes the arc. Grind or wire-brush to bright metal. A poor ground (loose clamp, painted surface, or rusty connection) causes resistance, voltage drop, and erratic popping. Clamp directly to clean metal near the weld zone.
Advanced Troubleshooting: When Basics Don’t Fix It
Inductance and Machine-Specific Settings
Some machines have inductance controls. Lower inductance gives a snappier arc (more spatter); higher smooths it for thicker material. Experiment for your setup.
Wire Quality and Storage
Cheap or old wire with moisture or surface rust feeds poorly. Store sealed and use quality brands. Flux-cored wire behaves differently—self-shielded types tolerate wind but may need different parameters.
Polarity and Machine Issues
MIG typically runs electrode positive (DCEP). Reverse polarity causes massive spatter and poor penetration. Check connections. Inspect for loose internals or failing capacitors on older machines.
For intermittent popping, inspect the trigger switch and gun wiring for intermittent contact.
Real-World Decision Making for Different Applications
Choose settings based on goals:
- Thin sheet metal: Lower voltage/WFS to avoid burn-through. Short stickout and forehand (push) technique.
- Thick plate: Higher parameters for penetration. May switch to spray transfer above ~180-200A (requires higher voltage and often different gas).
- Outdoors or windy: Flux-cored wire or higher gas flow. Consider dual-shield.
- Aluminum: Pure argon, push technique, longer stickout, and specialized wire to combat porosity.
Always prioritize testing on scrap matching your job. Document successful settings for repeatability.
Performance-Based Takeaway
Mastering MIG welder popping comes down to systematic elimination: start with voltage/WFS balance and clean consumables, then address gas and technique. Consistent, quiet arc sound indicates proper transfer—aim for that stable sizzle over explosive pops.
Pro-level insight: Track your CTWD religiously and treat the gun liner as a precision component; small inconsistencies here compound into major arc instability on critical welds. Fine-tuning these delivers stronger, cleaner beads with less post-weld grinding.
FAQ
Why does my MIG welder pop at the start of a weld?
Initial popping often results from cold wire, incorrect pre-flow settings, or spatter in the nozzle. Ensure gas pre-flow, clean the tip, and use a slight trigger tap or run-in speed adjustment if available.
Can wrong shielding gas cause MIG popping?
Yes. Inadequate coverage from low flow, leaks, or wrong mixture introduces air, leading to unstable arcs, porosity, and popping. Verify flow (20-30 CFH typical) and gas suitability.
How do I stop wire burnback and popping in MIG?
Increase wire feed speed or reduce voltage. Check contact tip size and condition. Maintain proper stickout to balance melt rate with feed.
Does dirty metal cause MIG welder popping?
Absolutely. Contaminants create resistance and gas reactions that destabilize the arc. Always clean to bare metal for reliable results.