Joining dissimilar metals can be challenging, especially when corrosion resistance, thermal conductivity, and long-term joint reliability are critical. Understanding How to Solder Stainless Steel to Copper is important for plumbing, HVAC, electrical, and fabrication applications where welding may be impractical or introduce excessive heat.
Stainless steel’s passive oxide layer and copper’s high heat conductivity create unique soldering challenges that can lead to poor wetting, weak bonds, leaks, or premature joint failure if the correct preparation and materials are not used.
A successful soldered connection depends on proper surface cleaning, flux selection, temperature control, and compatible filler metals. These factors directly affect bond strength, corrosion performance, and the overall durability of the assembly.
By understanding the requirements of both metals and the techniques that promote reliable solder flow, fabricators and technicians can produce stronger, more consistent joints while minimizing rework and inspection issues.
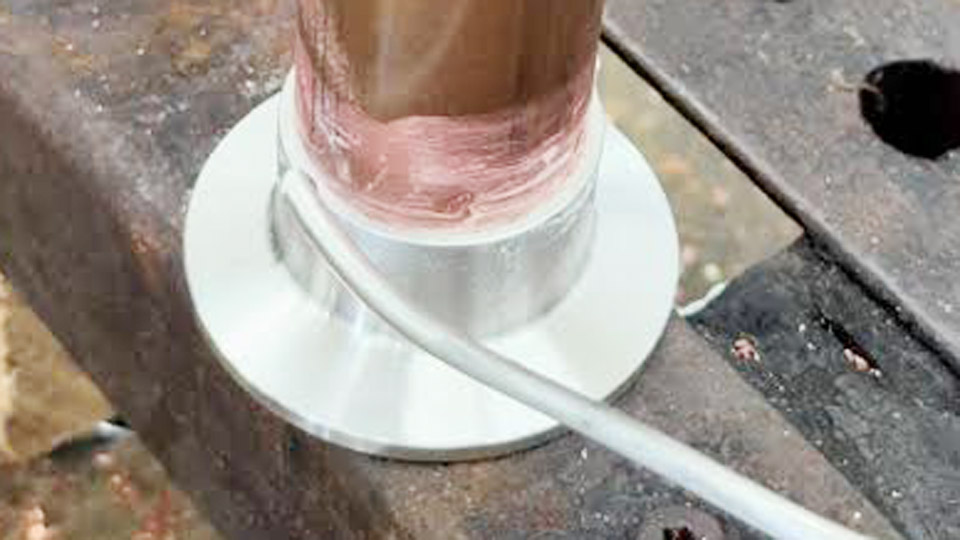
Image by @copperstillco
Material Challenges in Dissimilar Metal Soldering
Thermal and Metallurgical Differences
Copper conducts heat exceptionally well (thermal conductivity around 400 W/m·K), causing rapid heat sinking away from the joint. Stainless steel (typically 304 or 316) has much lower conductivity (around 16 W/m·K) and forms a tenacious oxide layer that standard fluxes cannot easily penetrate.
These properties create uneven heating: overheating copper risks melting or distortion, while insufficient heat on stainless prevents proper solder flow.
Coefficient of thermal expansion also differs (copper ~17 × 10⁻⁶/°C vs. stainless ~17-19 × 10⁻⁶/°C but with different behavior under heat), introducing stress during cooling that can crack weak joints.
When Soldering Beats Brazing or Welding
Soft soldering (below 840°F/450°C) suits low-to-moderate temperature applications like potable water lines or decorative work, preserving base metal properties better than higher-heat brazing.
Brazing (silver-bearing alloys above 840°F) provides higher strength for structural or high-vibration uses but anneals copper, potentially reducing overall system pressure ratings.
Choose soldering when service temperatures stay below ~250°F and maximum strength is not critical. Opt for brazing when joints must exceed base metal strength or handle higher pressures.
Surface Preparation for Optimal Wetting
Cleaning Protocols for Each Metal
Thorough cleaning is non-negotiable. For copper, remove oxides, oils, and debris using emery cloth (120-220 grit), wire brushes, or dedicated pipe cleaners until the surface shines brightly. Deburr cut ends to ensure proper fit-up.
For stainless steel, mechanical abrasion (emery cloth, stainless wire brush, or Scotch-Brite) breaks the passive oxide layer. Follow with solvent cleaning (acetone or isopropyl alcohol) to eliminate contaminants. Avoid touching cleaned surfaces with bare hands.
A tight fit-up (0.002-0.005″ clearance for capillary action) is essential—solder does not bridge large gaps.
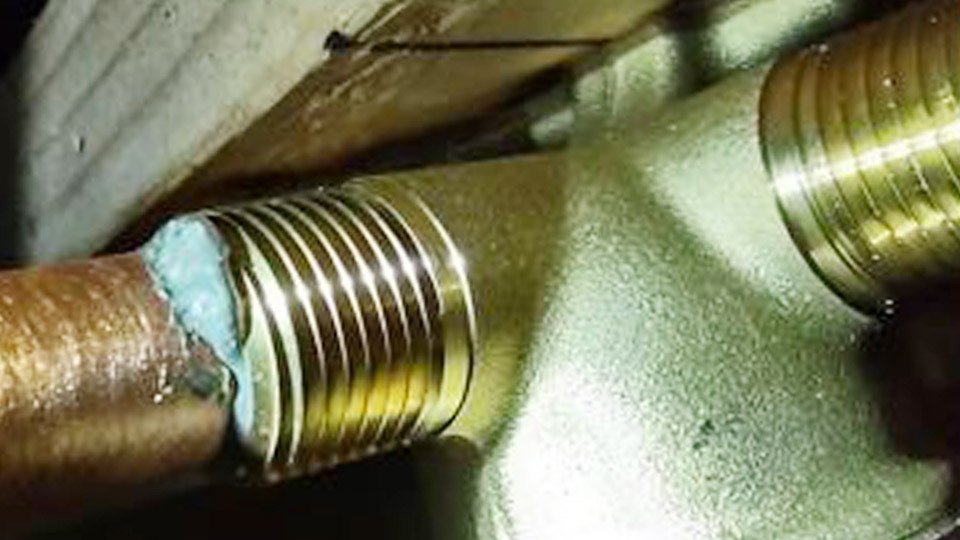
Flux Application Timing and Coverage
Apply flux immediately after cleaning to prevent re-oxidation. Use aggressive, stainless-specific fluxes (e.g., phosphoric acid-based or proprietary formulations like Harris Stay-Clean or equivalents with fluorides). These activate at higher temperatures and remove chromium oxides that plumbing fluxes cannot handle.
Cover the entire joint area generously on both metals. Some fluxes change color to indicate optimal temperature.
Selecting Solder Alloys and Fluxes
Soft Solders for Stainless-Copper Joints
Standard tin-lead or lead-free plumbing solders (e.g., 95/5 tin-antimony) often fail on stainless. Prefer silver-bearing soft solders like Sn96/Ag4 or Sn95/Ag5 for improved wetting and strength. These flow at ~430-500°F and bond better to stainless.
For higher performance, consider specialized low-temperature alloys compatible with both metals.
Silver Brazing Alloys for Demanding Applications
For stronger joints, use high-silver content brazing rods (e.g., 45% Ag) with borax-based or active fluxes. These flow at 1100-1500°F and produce joints often stronger than soft-soldered ones, suitable for vibration or pressure. Phosphorus-bearing alloys (Sil-Fos) work well for copper-to-copper but poorly with stainless steel.
Alloy Comparison Table:
| Alloy Type | Melting Range | Typical Use | Joint Strength | Notes |
|---|---|---|---|---|
| Sn96/Ag4 Soft Solder | ~430-500°F | Plumbing, low-pressure | Good for shear | Lead-free, food-safe options |
| 45% Silver Braze | ~1100-1400°F | Structural, vibration | High (up to 50k+ psi shear) | Requires careful heat control |
| Standard 50/50 Tin-Lead | ~360-420°F | Non-critical | Moderate | Avoid on stainless |
Heat Management Techniques
Torch Selection and Flame Control
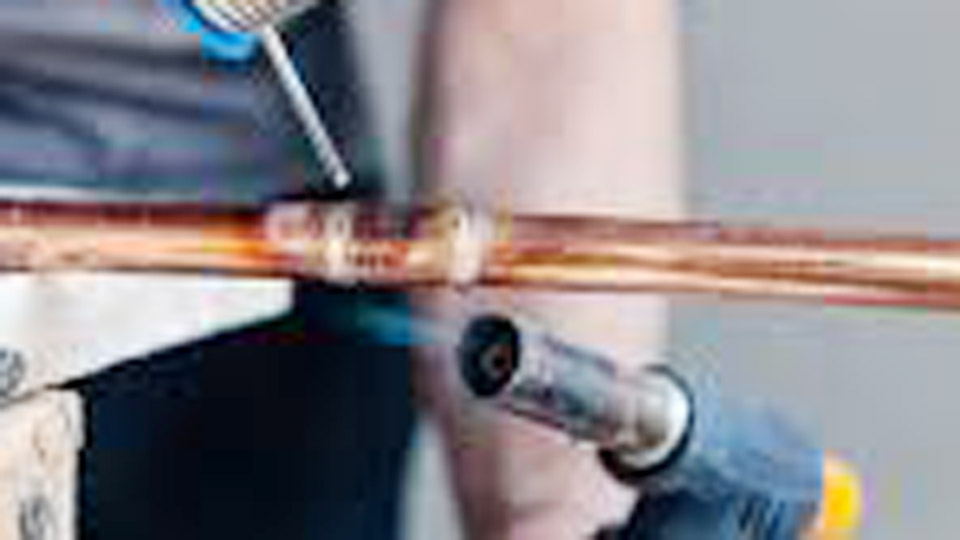
Propane or MAPP gas torches suffice for smaller joints; oxy-acetylene offers better control for larger or thicker sections. Use a neutral or slightly reducing flame. Heat the copper primarily and allow conduction to the stainless to avoid overheating the latter.
Monitor temperatures: stainless needs enough heat to activate flux (surface should reach ~600-800°F locally), but copper must not exceed its softening point unnecessarily.
Avoiding Common Heat-Related Failures
Direct excessive flame on stainless risks sugaring (heavy oxidation) or distortion. Move the torch continuously, focusing 60-70% on copper. For large fittings, preheat broadly then concentrate on the joint. Use heat sinks or wet rags on adjacent copper sections if needed to control spread.
Step-by-Step Soldering Process
- Prepare and Assemble: Clean, flux, and fit parts securely (clamp if necessary).
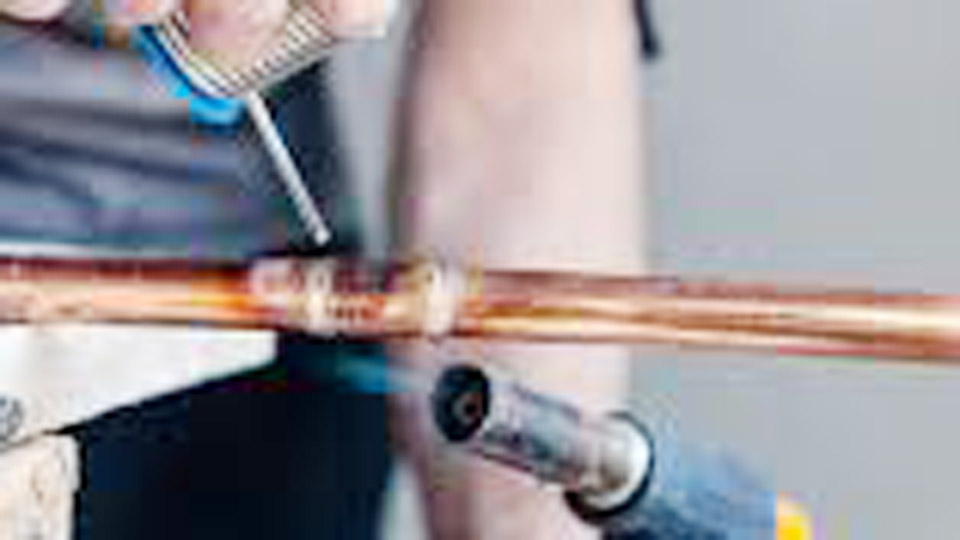
- Initial Heating: Apply heat to copper side, bringing the joint to temperature gradually.
- Flux Activation and Solder Application: When flux bubbles or changes, touch solder to the joint opposite the flame. Allow capillary action to draw it in. Feed additional solder as needed for a full fillet.
- Cooling: Let cool naturally—quenching can induce cracks due to differential contraction.
- Post-Clean: Remove flux residues thoroughly with warm water, baking soda solution, or appropriate neutralizer to prevent corrosion.
For larger joints or production, induction heating can provide uniform temperature control.
Testing and Quality Assurance
Leak and Pressure Testing
Pressure test with air or water (use soapy solution for air leaks). Hydrostatic testing at 1.5-2x operating pressure verifies integrity. For critical applications, perform dye penetrant or ultrasonic inspection on sample joints.
Strength Evaluation
Shear and tensile testing per application standards. Soft-soldered joints typically handle plumbing pressures well when properly executed, while brazed joints excel in mechanical load.
Applications and Real-World Considerations
Plumbing and Fluid Systems
Common in custom stills, heat exchangers, and hybrid piping where copper’s conductivity pairs with stainless durability. Ensure compatibility with media—avoid aggressive fluxes in potable systems without full cleaning.
HVAC, Refrigeration, and Industrial
Brazed joints predominate here for vibration resistance. Soldering suits repair or low-temp sections.
Fabrication and Artistic Work
Allows aesthetic copper-stainless combinations with minimal distortion.
Factors Affecting Long-Term Joint Durability
Corrosion and Galvanic Effects
Copper and stainless are relatively compatible, but residual flux or dissimilar metal exposure in electrolytes can accelerate issues. Proper cleaning and passivation (e.g., citric acid for stainless) mitigate risks. Tin-rich solders help minimize galvanic corrosion.
Temperature and Mechanical Limits
Soft-soldered joints lose strength above ~250°F. Factor in creep, fatigue, and thermal cycling. Design with adequate overlap (3x wall thickness rule for full strength in brazed joints).
Joint Design Best Practices
Maximize overlap area, incorporate fillets for stress distribution, and avoid sharp transitions. For pipes, ensure proper insertion depth.
Advanced Techniques for Professionals
Tinning Stainless First
Pre-tin the stainless surface with silver-bearing solder and aggressive flux, then join to copper using standard methods. This improves initial wetting.
Hybrid Approaches
Combine mechanical support (e.g., press-fit or fasteners) with soldering for redundancy in high-stress areas.
Equipment Upgrades
Invest in temperature-controlled torches, infrared thermometers, or induction systems for repeatability in shop settings.
Real-World Application Insight
In high-cycle environments like heat exchangers or stills, prioritize brazed silver joints with 45% Ag alloy and active flux, accepting the higher heat input for superior fatigue resistance over soft soldering.
The key decision hinges on balancing base metal annealing against required mechanical performance—test prototypes under actual service conditions rather than relying solely on published ratings.
An Advanced Insight
Successful long-term dissimilar joints often depend more on post-joint passivation and stress-relief cycles than on the initial solder flow, especially when thermal expansion mismatches accumulate over thousands of cycles.
FAQ
Can you solder stainless steel to copper with regular plumbing solder?
No. Regular fluxes lack aggressiveness to break stainless oxides. Use stainless-specific or silver-bearing solders with active flux for reliable wetting.
Is brazing or soldering stronger for copper to stainless joints?
Brazing generally produces stronger, more heat-resistant joints, but soft soldering suffices for many low-pressure applications and preserves copper temper better.
What flux works best for stainless to copper?
Aggressive phosphoric or fluoride-based fluxes designed for stainless (e.g., equivalents to Superior No. 71 or Harris Stay-Clean). Clean residues thoroughly afterward.
How do you prevent leaks in soldered stainless-copper joints?
Achieve bright cleaning, tight fit-up, proper flux, controlled heating for full capillary fill, and complete flux removal. Always pressure test.