
Welded fabrications often emerge from the shop with visible bead ripples, spatter remnants, heat-affected zones, and surface inconsistencies that ruin paint adhesion and final appearance.
One persistent confusion for DIY welders, fabricators, and professionals is what grit to wet sand before clear coat to achieve strong mechanical bonding without visible scratches telegraphing through the finish.
This step is critical because clear coat amplifies every imperfection while providing gloss, UV protection, and corrosion resistance—especially on custom motorcycle frames, automotive panels, truck beds, or architectural steel.
Getting the grit progression and technique right prevents peeling, orange peel texture, and premature failure under real-world stress.
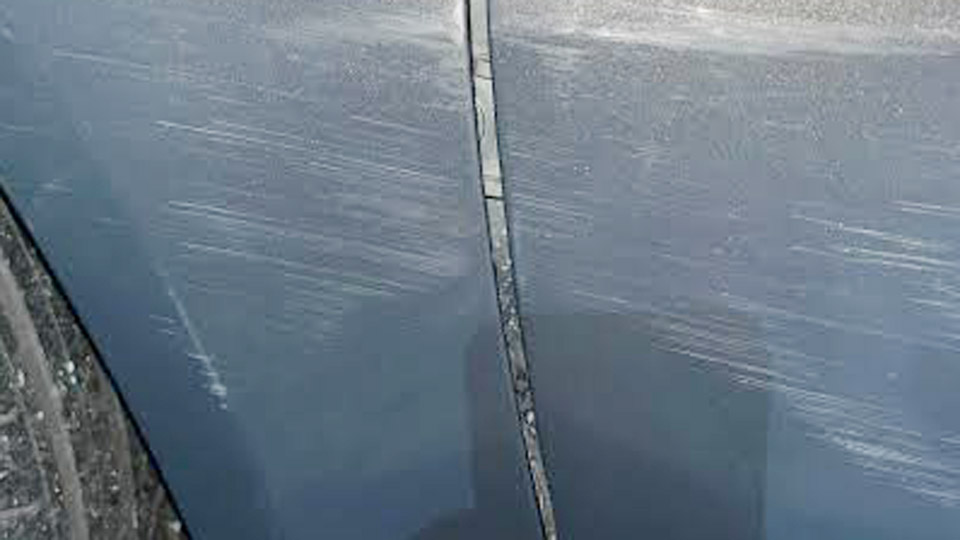
Image by r/CarTalkUK
Understanding Surface Preparation After Welding
Why Post-Weld Sanding Differs from Raw Metal Prep
Welded surfaces introduce unique challenges: slag, oxide layers, uneven bead profiles, and microstructural changes in the heat-affected zone (HAZ). Aggressive grinding with 40-80 grit flap discs removes bulk defects but leaves deep scratches unsuitable for thin-film paint systems.
Wet sanding bridges the gap between structural cleanup and coating-ready smoothness by progressively refining the profile while minimizing heat buildup that could warp thin metal or embed contaminants.
For most welded steel projects heading into a 2K primer + base + clear system, target a final surface roughness (Ra) around 1.6–3.2 μm before primer. This provides adequate “tooth” for adhesion without allowing scratches to show.
Metal-Specific Considerations
Mild Steel: Tolerates slightly coarser starting grits due to higher hardness but requires thorough removal of mill scale and flash rust.
Aluminum: Highly sensitive to contamination and oxide reformation. Use dedicated abrasives to avoid cross-contamination from steel tools; lighter pressure prevents loading or smearing.
Stainless Steel: Demands uniform scratch patterns for aesthetic finishes. Avoid aggressive grits that create deep gouges difficult to blend.
Initial Post-Weld Cleanup Before Any Sanding
Mechanical Removal of Weld Imperfections
Begin with non-sanding tools for efficiency. Use a 60-80 grit zirconia or ceramic flap disc on an angle grinder to knock down high spots, spatter, and excessive reinforcement. Focus on feathering the weld toes into the base metal for seamless transitions.
On aluminum or stainless, switch to finer 80-120 grit or dedicated non-woven pads to prevent embedding abrasive particles.
Inspect under angled lighting. Any remaining sharp edges or undercuts must be addressed—chamfering before welding helps here, but post-weld grinding is often necessary.
Chemical Degreasing and Contaminant Removal
Solvent wipe with acetone or a dedicated wax-and-grease remover before and after mechanical work. Grinding can drive oils deeper into the surface.
For aluminum, immediate brushing with a stainless steel wire brush removes the oxide layer that reforms quickly. Delay between cleaning and coating risks flash rust on steel or re-oxidation on aluminum.
Grit Progression for Pre-Primer and Pre-Base Sanding
Coarse to Medium Grits for Weld Blending
80-120 Grit: Heavy contouring and initial leveling of weld beads. Ideal for structural fab where high-build primers will fill minor imperfections.
150-220 Grit: Refines scratches from coarser stages. This is the sweet spot for final metal prep before epoxy primer on most welded projects. Use consistent linear or overlapping circular patterns to maintain uniformity.
Stop here for powder coating or thick DTM (direct-to-metal) enamels. For high-end clear coat systems, proceed finer.
Finer Scuffing Before Clear Coat Application
What grit to wet sand before clear coat depends on the layer:
- After epoxy primer or surfacer: 320-400 grit dry or wet to de-nib and promote intercoat adhesion.
- After basecoat (especially metallic): 600-800 grit wet for light scuffing. This creates mechanical bite without disturbing metallic flakes.
| Project Type | Pre-Primer Grit | Pre-Base/Intercoat | Before Clear (Wet) | Expected Outcome |
|---|---|---|---|---|
| Structural Steel (e.g., trailer) | 80-180 | 220-320 | 600 | Durable, chip-resistant |
| Aluminum Custom Fab | 120-220 | 320-400 | 800 | Smooth, corrosion-resistant |
| Automotive Restoration | 180-220 | 400 | 600-800 | Show-quality gloss |
| Stainless Architectural | 220-320 | 400-600 | 800-1000 | Mirror-like finish |
Wet Sanding Techniques for Optimal Adhesion and Finish
When and Why to Switch to Wet Sanding
Wet sanding with silicon carbide waterproof paper (starting around 400-600 grit and finer) lubricates the surface, reduces clogging, cools the metal, and produces a finer, more uniform scratch pattern than dry methods. It excels before clear coat because it levels minor orange peel in primer or base without removing excessive material.
Step-by-Step Wet Sanding Process (Selective Execution)
- Soak sandpaper in soapy water (a drop of dish soap) for 10-15 minutes.
- Use a soft sanding block or flexible pad for even pressure. Work in straight overlapping passes, changing direction 90 degrees with each finer grit.
- Keep the surface flooded; rinse frequently to remove slurry.
- Wipe dry and inspect under light—previous scratches must disappear before progressing.
- Final solvent wipe and tack before spraying.
For welded areas, feather outward 4-6 inches to blend with surrounding metal.
Material and Tool Selection for Professional Results
Abrasives by Metal and Stage
Silicon carbide for wet sanding on finer grits (excellent cutting and fracture behavior). Aluminum oxide or zirconia for initial dry grinding on steel. Avoid steel wool or contaminated tools on aluminum or stainless.
Power tools: DA sander for large panels (with vacuum if available); hand sanding for contours and welds. Trizact or film-backed discs maintain consistent performance in wet conditions.
Environmental and Timing Factors
Sand and coat in a controlled environment (50-80°F, low humidity). Apply primer or clear within 30-60 minutes of final sanding on steel to avoid flash rust. For aluminum, even faster action is ideal.
Common Challenges in Welded Clear Coat Prep
Handling Heat-Affected Zones and Distortion
HAZ can be harder or more prone to cracking. Use lighter pressure and progressive grits to avoid exposing subsurface issues. On thin sheet metal, support the piece to prevent oil-canning during sanding.
Avoiding Scratch Telegraphing
Scratches deeper than the combined primer + base + clear thickness will show. Always progress through grits fully—jumping from 220 to 800 leaves visible lines under gloss clear. Test on scrap welded coupons matching your project.
Metallic Base Coats and Clear
Light 800-1000 grit wet scuff minimizes flake disturbance while ensuring intercoat adhesion. Heavier sanding risks haze or color shift.
Advanced Techniques for High-Performance Finishes
Multi-Stage Systems and Build-Up
High-build epoxy primers allow slightly coarser final sanding (400-600 grit) because they fill better. For thin 2K urethane systems, finer 600-800 grit wet is mandatory. Some pros apply a guide coat (light mist of contrasting color) before final sanding to highlight lows and highs.
Post-Clear Corrections
While the question focuses on pre-clear prep, note that after full cure (typically 24-48 hours or per manufacturer), wet sand defects starting at 1000-1500 grit, progressing to 2000-3000+ before polishing. But prevention through proper pre-sanding is far superior.
Equipment Integration
In a professional shop, combine mechanical prep with chemical pretreatments (e.g., conversion coatings for aluminum) for maximum durability. For hobbyists, meticulous hand work with quality abrasives yields comparable results to machine-heavy workflows.
Decision-Making Framework for Your Next Project
Choosing the right grit sequence boils down to balancing adhesion, smoothness, and durability for the specific metal, paint system, and service environment. For most welded steel with clear coat, 600-800 grit wet after primer or base delivers reliable results.
Aluminum and show-quality work push toward 800-1000. Always verify with manufacturer technical data sheets for your exact coatings, as cure times and compatibility vary.
This approach ensures your welded fabrications not only look professional but withstand years of exposure, vibration, and handling.
The advanced insight: in high-end fab, treat every weld as a potential show surface—uniform scratch patterns from consistent grit progression create optical harmony under clear that random grinding never achieves, elevating functional welds into engineered art.
FAQ
What grit is best for wet sanding primer before basecoat on welded steel?
600-800 grit wet provides excellent leveling and adhesion without excessive material removal. Follow with a tack wipe.
Can I wet sand directly on bare welded metal before clear coat?
Generally no—use epoxy primer first for corrosion protection. Direct clear on bare metal risks failure. Sand to 400-600 grit before priming.
How fine should I go when wet sanding metallic base before clear?
800-1000 grit maximum. Finer risks reducing mechanical bond and disturbing flakes.
Does grit choice differ significantly for aluminum vs. steel welds?
Yes—aluminum benefits from 800 grit wet and dedicated non-contaminating abrasives; steel handles 600 grit more aggressively. Always clean thoroughly between steps.


