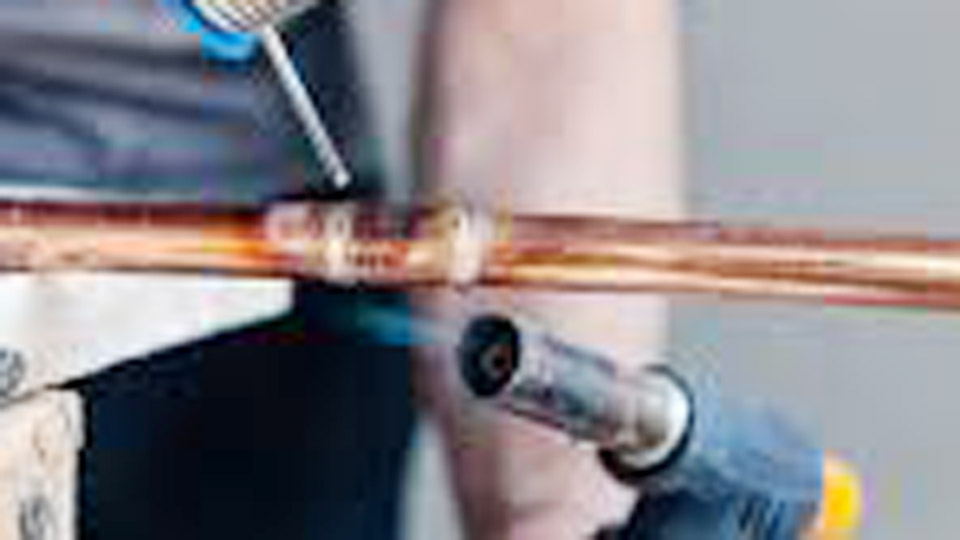
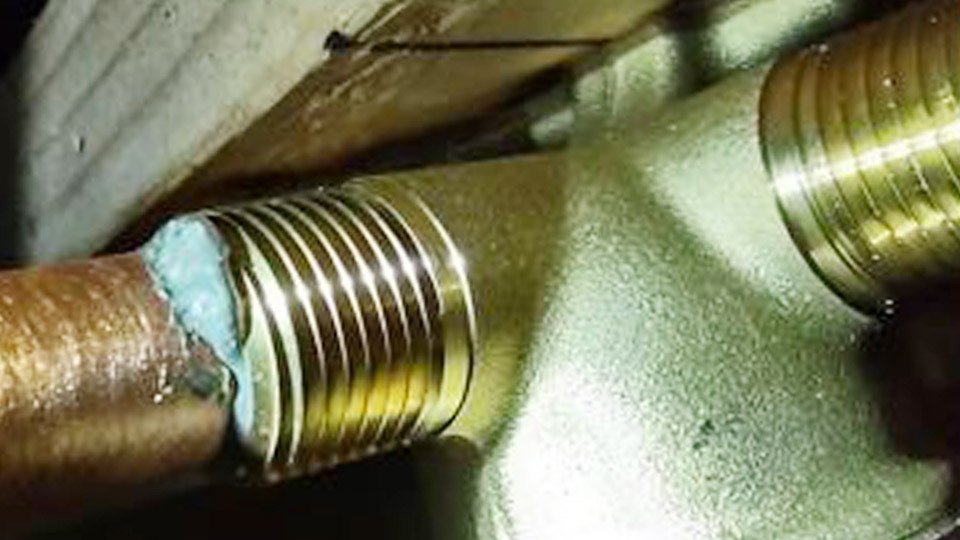
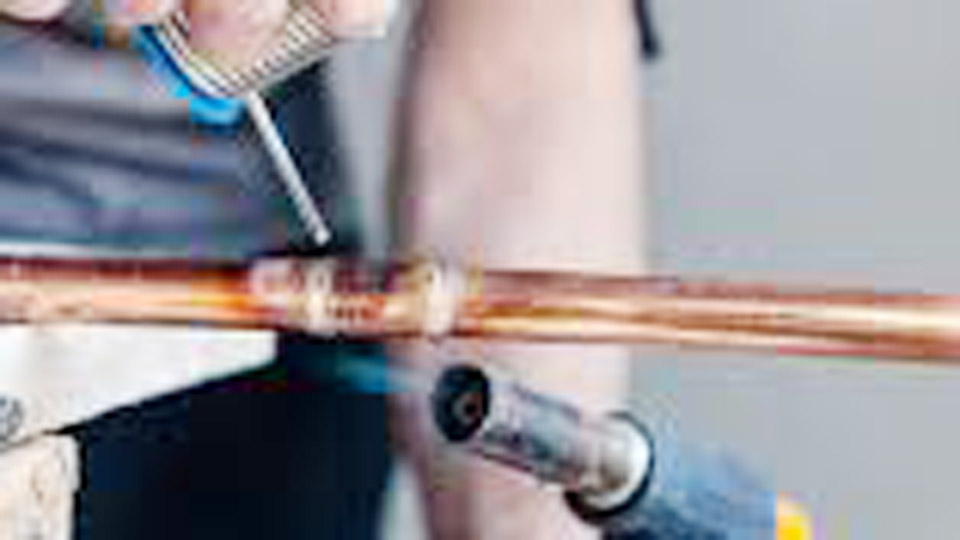
Brazing copper tubing often fails in the field due to inconsistent heat delivery, internal oxidation, or poor filler flow, leading to leaks in HVAC, refrigeration, or plumbing systems.
Many DIYers and pros reach for MAPP gas (or MAP-Pro) torches expecting easy results on small-to-medium copper lines, but without precise technique, joints weaken under pressure or vibration.
Learning how to braze copper with MAPP gas delivers reliable, leak-free connections for line sets, repairs, and fabrications when you master flame control, joint preparation, and capillary action.
This process suits hobbyists, students, and professionals handling copper up to about 7/8″ diameter in accessible locations.
MAPP gas provides a flame hot enough (around 2,925°C in air) for silver-phosphorus or similar fillers, offering portability without full oxy-acetylene setups. Success hinges on reaching 650–870°C at the joint for proper filler melting while avoiding base metal damage.
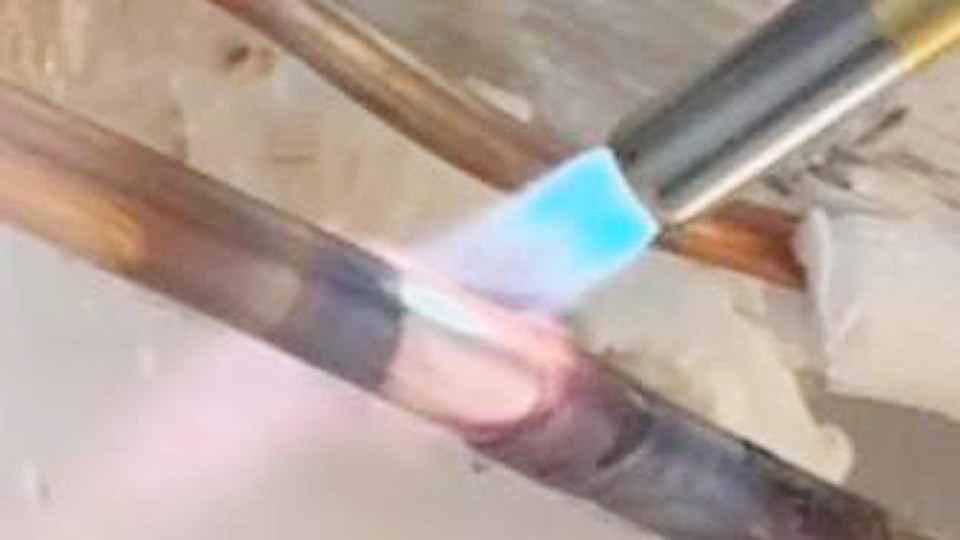
Image by Staycoolhvac
Understanding MAPP Gas Performance for Copper Brazing
Flame Characteristics and Heat Output
MAPP gas (methylacetylene-propadiene mixture) burns hotter than standard propane, delivering faster heat transfer to copper. In air, it achieves effective working temperatures for brazing alloys that melt between 1,100–1,500°F (593–816°C), with joint soak needed around 1,200–1,450°F depending on the rod.
The torch’s vortex design concentrates heat better than propane, reducing dwell time on the joint. This minimizes external oxidation and heat spread to nearby components.
However, the flame lacks the pinpoint precision of oxy-fuel mixes, making it best for joints under 1″ where mass isn’t excessive. Larger fittings or thick walls demand prolonged heating, risking uneven temperatures.
Limitations Compared to Oxy-Acetylene
MAPP excels in portability for rooftop or confined work but struggles with diameters over 7/8″ or high-wind conditions where heat dissipates quickly. Oxy-acetylene offers superior control and higher temperatures for critical or larger jobs.
For MAPP, select high-intensity trigger-start torches with adjustable flames to maintain a neutral to slightly reducing flame, avoiding excess oxygen that promotes oxidation.
Real-world decision: On 1/4″ to 1/2″ refrigerant lines, MAPP often matches or exceeds propane efficiency. Test your setup on scrap first—monitor for cherry-red glow without melting the copper (which occurs near 1,950°F).
Essential Tools and Materials
Torch and Gas Selection
Use a compatible MAPP/MAP-Pro torch kit with a swirl or high-output tip sized for the joint (e.g., larger tip for bigger pipes). Genuine MAP-Pro cylinders ensure consistent pressure. Avoid cheap disposables that run cold mid-job.
Pair with a stable stand or holster for safety during cooling. For enhanced performance, consider oxy-MAPP hybrids on demanding jobs, though pure air-MAPP suffices for most copper-to-copper work.
Filler Metals and Flux
Phosphorus-copper alloys (e.g., 0–6% silver like Stay-Silv 5 or 6%) are self-fluxing on copper-to-copper joints, flowing well at lower temperatures. For higher strength or dissimilar metals, use 15% silver rods (Stay-Silv 15), which require flux and offer better ductility.
Flux (water-mixed paste or liquid) protects against oxidation on non-self-fluxing rods. Apply generously to the joint. Pre-fluxed rods simplify the process but verify compatibility.
Recommended fillers:
- 0–5% silver phos-copper: General plumbing/HVAC, lower cost.
- 15% silver: Higher strength, vibration resistance in AC lines.
Preparation and Support Tools
- Sharp tube cutter for square ends.
- Deburring tool for inside/outside edges.
- Abrasive pads or wire brushes for bright, oxide-free surfaces.
- Heat shields or fire blankets for nearby materials.
- Nitrogen purge setup (regulator, hose, and low-flow capability) for refrigerant work.
Dry-fit all joints and support pipes to prevent movement during heating.
Joint Preparation Techniques
Cutting and Deburring
Cut tubing square to ensure full contact and capillary flow. Ragged cuts create gaps or restrictions. Immediately deburr inside and outside—burrs block flow and create turbulence in refrigerant lines. A clean, square fit-up is non-negotiable for structural integrity.
Cleaning for Optimal Flow
Scrub mating surfaces to bright metal using emery cloth or dedicated copper cleaners. Remove oils, oxides, and fingerprints. Residual contaminants prevent wetting and cause voids. For repairs on installed lines, flush thoroughly. Cleaning directly impacts filler penetration depth and joint shear strength.
Fit-Up and Alignment
Ensure 0.002–0.005″ clearance for capillary action—too tight blocks flow; too loose weakens the bond. Dry-fit and mark positions. Secure with clamps or supports so thermal expansion doesn’t shift the joint mid-braze. In HVAC, align for proper refrigerant flow direction.
Brazing Process with MAPP Gas
Setup and Purging (Refrigerant Systems)
For closed systems, flow dry nitrogen at a low rate (few liters per minute) to displace oxygen. This prevents internal scale formation, which flakes and clogs TXVs, driers, and compressors. Purge throughout heating and until cooled.
Hook up the regulator upstream, cap or vent the downstream end. A “whisper” flow suffices—excess cools the joint or disrupts the flame.
Heating Strategy
Light the torch and adjust to a focused, neutral flame. Heat the heavier mass (fitting or larger tube) first, then move to the joint area with steady circular motion. Avoid directing the flame straight into the gap or melting the rod prematurely.
Watch for temperature indicators: flux becomes clear and runny, copper shows dull red/cherry glow. The joint must reach filler melting point uniformly. MAPP requires patience on larger pieces—rush and you get cold laps or incomplete penetration.
Applying Filler Metal
Once at temperature, touch the rod to the joint opposite the flame. Capillary action draws molten filler into the gap, forming a fillet. Feed steadily without overheating. A good flow appears shiny and smooth, encircling the joint. Remove heat once filled; additional passes risk porosity.
For vertical or overhead joints, work from the bottom up, using gravity and heat direction to control flow.
Cooling and Post-Processing
Allow natural air cooling to prevent cracking from thermal shock. Do not quench with water. Clean flux residue with hot water or wire brush—hardened flux is glassy and corrosive if left. Inspect for full fillet, no pinholes, and even color.
Common Challenges and Solutions
Heat Management on Different Pipe Sizes
Small diameters (1/4–3/8″) heat quickly—risk of burn-through if flame lingers. Use smaller tips and faster movement. For 1/2–3/4″, balance dwell time to soak heat without excessive oxidation. Beyond 7/8″, MAPP often underperforms; switch to oxy-fuel.
Monitor discoloration: Light straw is acceptable; dark purple/black signals overheating and potential weakness.
Wind and Environmental Factors
Outdoor or attic work dissipates heat. Use wind barriers or larger tips. Pre-warm larger fittings. In cold conditions, joints take longer—account for this in purge timing.
Filler Flow Issues
Poor flow often stems from insufficient cleaning, wrong temperature, or incorrect clearance. Reheat and reapply if needed, but grind out bad joints for critical applications rather than layering filler.
Advanced Techniques for Stronger Joints
Nitrogen Purging Optimization
Beyond basic flow, use purge kits with indicators for consistent results. In long line sets, segment purging or use plugs. Post-braze, maintain slight positive pressure during cooldown.
Multi-Joint Sequencing
On manifolds or assemblies, braze smallest or innermost joints first to minimize heat-affected zones on previously completed ones. Plan heat paths to avoid remelting.
Material Combinations
Copper-to-copper is straightforward with phos-copper. For copper-to-brass or steel, use fluxed silver alloys and adjust temperatures carefully—brass melts lower. Test compatibility on scrap.
Inspection and Testing
Visual: Smooth, concave fillet without voids. Pressure test with nitrogen (e.g., 300–500 psi per specs) and soap solution for leaks. For HVAC, follow with evacuation and micron gauge readings.
Safety and Workspace Considerations
Work in well-ventilated areas to disperse fumes. Wear appropriate PPE: gloves, eye protection (shade 5 recommended for intense flames), and flame-resistant clothing. Keep extinguishers nearby. Secure cylinders upright and away from heat. Handle hot parts with tongs or pliers.
Decision-Making Summary for Brazing Copper with MAPP Gas
MAPP gas enables efficient, portable brazing of copper when joint size, preparation, and heat control align with its capabilities. Prioritize thorough cleaning, nitrogen purging for system work, and uniform heating to achieve capillary-filled joints that withstand pressure and thermal cycling. For occasional repairs or smaller lines, it outperforms propane in speed and reliability.
True joint strength emerges not from flame intensity alone but from understanding heat-soak dynamics and metallurgical compatibility—mastering when to let capillary action dominate over brute force application separates durable installations from callback-prone ones.
FAQ
Can MAPP gas braze larger copper pipes effectively?
MAPP works well up to 1/2–3/4″ with proper torch tips and technique, but larger than 7/8″ often requires longer heat times or oxy-acetylene for consistent results. Test on practice pieces and consider joint mass.
Is nitrogen purge necessary when brazing with MAPP gas?
Yes, especially for refrigerant lines. It prevents internal oxide scale that contaminates components downstream. A low flow during heating and cooling is standard best practice.
What filler rod should I use with MAPP gas on copper?
Self-fluxing phos-copper rods (0-6% silver) for standard copper-to-copper; 15% silver with flux for higher strength or specific applications. Match melting range to your torch’s sustained output.
How do I know if my braze joint is good?
Look for a complete, shiny fillet around the joint with no gaps. After cooling and cleaning, pressure test and inspect for cracks or porosity. Uniform color without heavy scaling indicates proper technique.