Knowing how to gas weld aluminum is valuable when repairing thin sections, restoring older components, or working without electric welding equipment. Unlike steel, aluminum conducts heat rapidly and forms a tough oxide layer that can interfere with fusion, making temperature control and proper torch technique critical.
Small mistakes can lead to burn-through, incomplete penetration, excessive distortion, or weak welds that fail under service conditions. Understanding the correct filler rod, flame adjustment, joint preparation, and welding sequence helps produce cleaner, stronger welds while reducing rework and material waste.
Whether you’re learning the process for fabrication, repair, or skill development, mastering the fundamentals of gas welding aluminum will help you achieve more consistent results and recognize when this traditional welding method is the right choice for the job.
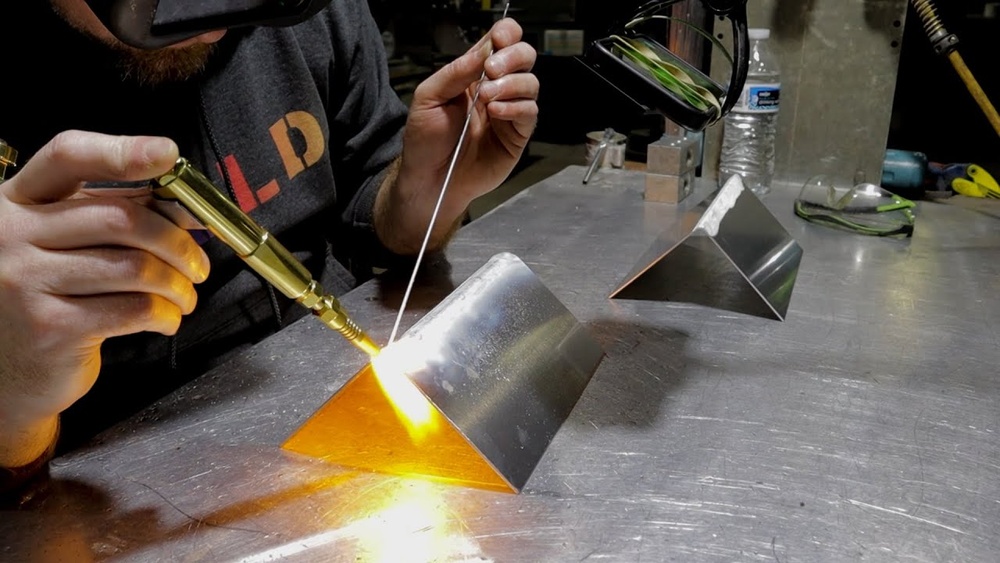
Image by Welddotcom
Why Is Gas Welding Aluminum So Challenging?
What Makes Aluminum Different Than Steel?
Aluminum melts at a much lower temperature than steel—about 1220°F (660°C) compared to steel’s 2500°F (1370°C). It also conducts heat very quickly, which means the area around your weld heats up fast and can melt unexpectedly.
Unlike steel, aluminum forms an invisible oxide layer that melts at a higher temperature than the metal itself. This oxide can make the weld dirty, weak, or fail unless it’s removed properly.
What Are Typical Problems When Gas Welding Aluminum?
- Burn-through: The base metal melts and holes appear.
- Porosity: Gas bubbles form inside the weld, making it weak.
- Dirty welds: The oxide layer or contamination creates black, rough welds.
- Poor fusion: The weld doesn’t stick to the metal, causing cracks or breaks.
These issues are common, but with the right preparation and technique, you can avoid them.
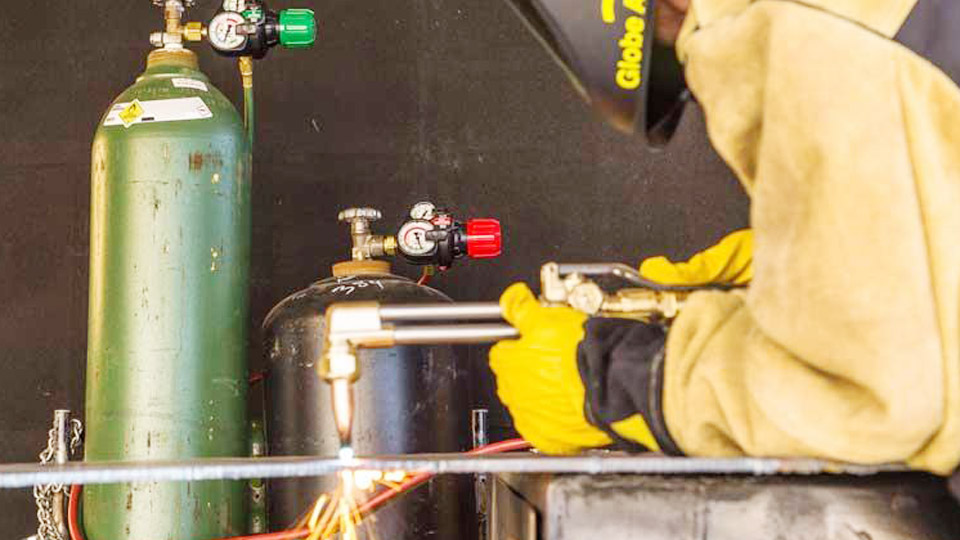
Choosing The Right Equipment For Gas Welding Aluminum
Which Torch Is Best For Aluminum?
A welding torch must deliver enough heat without being too aggressive. Most welders use an oxy-acetylene torch for aluminum, because acetylene burns hot and clean. A small to medium-sized torch is easier to control for thin aluminum sheets.
What Type Of Filler Rod Should You Use?
The filler rod is crucial. For most aluminum alloys, use an Aluminum 4043 or Aluminum 1100 rod. These rods melt easily and flow well, producing strong, clean welds. Always check the alloy of your base metal and match the rod accordingly.
Do You Need A Flux?
Yes. Aluminum welding flux is essential for gas welding. Flux removes the oxide layer and keeps the weld clean. Choose a commercial aluminum welding flux—powder or paste—made specifically for gas welding.
Comparing Gas Welding Aluminum To Other Methods
Here’s a quick comparison to help you decide if gas welding is right for your project:
| Welding Method | Ease of Use | Equipment Cost | Weld Strength | Skill Required |
|---|---|---|---|---|
| Gas Welding (Oxy-Acetylene) | Medium | Low | Good (with proper technique) | Medium |
| TIG Welding | Hard | High | Excellent | High |
| MIG Welding | Easy | Medium | Very Good | Low-Medium |
Gas welding is affordable and flexible, but requires skill. TIG is best for professionals, but costs more.
Preparing Aluminum For Gas Welding
How Do You Clean Aluminum Before Welding?
- Remove dirt and grease: Use a clean rag and a solvent like acetone.
- Scrape off oxide layer: Use a stainless steel wire brush made only for aluminum. Brush just before welding.
- Apply flux: Coat the joint area with aluminum welding flux. This stops new oxide from forming.
Why Preparation Is Critical
Aluminum’s oxide layer forms quickly—even in minutes. If you skip cleaning or use the wrong brush, your weld will be dirty and weak. For best results, clean and apply flux immediately before welding.
What Thicknesses Are Easiest To Weld?
Aluminum between 1/16” (1.6 mm) and 3/16” (4.8 mm) is easiest for beginners. Thinner aluminum (below 1/16”) will burn through; thicker pieces need more heat and skill.
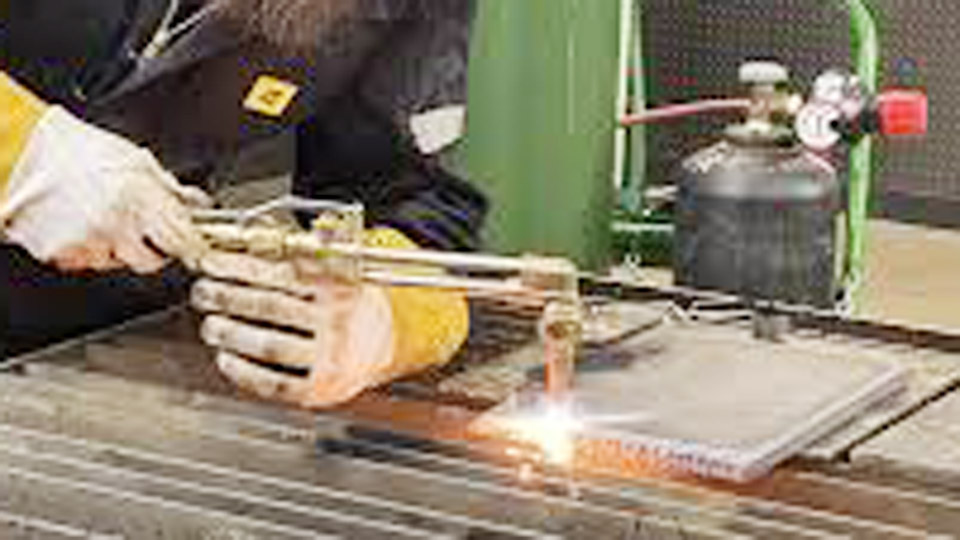
Step-by-step Guide: How To Gas Weld Aluminum
Step 1: Set Up Your Welding Torch
- Attach the correct welding tip for your aluminum thickness.
- Open oxygen and acetylene valves slightly.
- Light the torch, adjust to a neutral flame (no yellow or feathered tips).
Step 2: Preheat The Joint
Aluminum heats fast, but preheating can help avoid sudden melting. Use the torch to gently warm the area. For thicker pieces, preheat to about 300°F (150°C)—not more.
Step 3: Apply Flux
Apply a thin, even layer of flux along the joint. This keeps the oxide layer away and helps the filler flow.
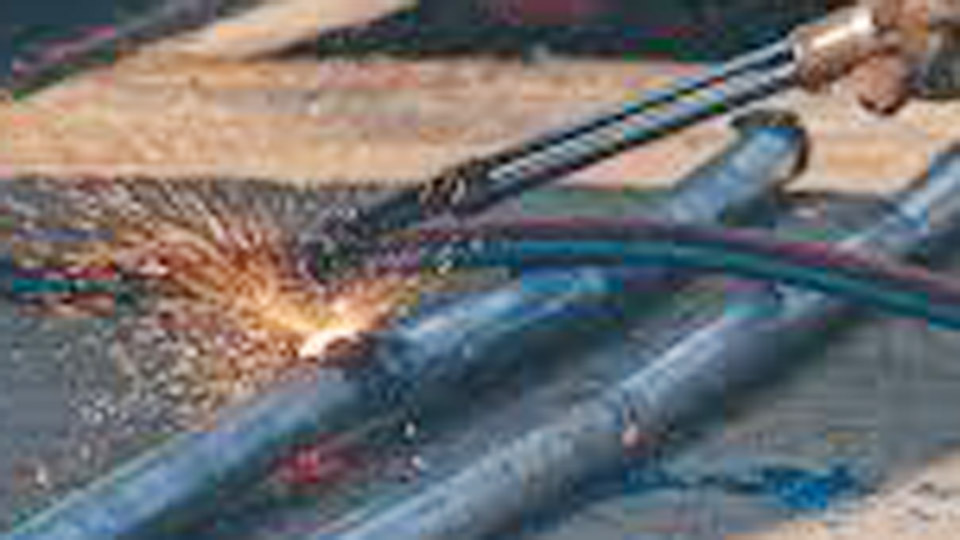
Step 4: Start Welding
- Hold the torch at a slight angle (about 30–45°).
- Move the torch in small circles or side-to-side motion.
- Touch the filler rod to the joint, let it melt smoothly.
Step 5: Control Heat And Speed
Move quickly and steadily. If you pause too long, the aluminum can melt through. For thicker parts, add filler and move torch back and forth to spread heat.
Step 6: Finish And Clean
Once the weld is complete, let it cool naturally. Remove leftover flux with warm water and a brush. Inspect the weld for cracks, porosity, or weak spots.
Real-world Applications: Where Gas Welding Aluminum Works Best
Automotive Repairs
Gas welding aluminum is popular for car radiators, body panels, and custom exhausts. You can fix cracks, leaks, or broken mounts without expensive equipment.
Bicycle Frames
Many hobbyists and small shops weld aluminum bike frames. Gas welding lets you join tubes, repair breaks, or add custom mounts.
Metal Art And Fabrication
Gas welding is flexible for sculptures, ornamental gates, and thin sheet metal projects. It’s quiet, portable, and can be used outdoors.
Common Mistakes And How To Avoid Them
Mistake 1: Using The Wrong Flame
If your flame is too oxidizing or too carbon-rich, you’ll get dirty welds. Always adjust for a neutral flame—blue, even, with no yellow tips.
Mistake 2: Poor Cleaning
Skipping oxide removal is the biggest beginner error. Use a dedicated stainless steel brush, and brush just before welding.
Mistake 3: Incorrect Filler Rod
Using steel filler rod or mismatched aluminum alloy will cause weak, brittle joints. Always match rod to base metal.
Mistake 4: Overheating
Staying in one spot too long melts holes in the aluminum. Keep your torch moving, use preheat only as needed.
Mistake 5: Not Using Flux
Some welders skip flux to save time, but this leads to black, porous welds. Always use flux for gas welding aluminum.
How To Select The Best Aluminum Alloy For Gas Welding
Which Alloys Are Weldable?
Most aluminum alloys can be gas welded, but some are much easier. 1100, 4043, and 3003 are common, weldable alloys. Avoid 2026 and 7075—these don’t weld well and may crack.
Alloy Properties Comparison
Here’s a quick table comparing popular alloys:
| Alloy | Weldability | Strength | Uses |
|---|---|---|---|
| 1100 | Excellent | Low | Sheet metal, tanks |
| 4043 | Very Good | Medium | Automotive, frames |
| 3003 | Good | Medium | Pipes, food industry |
| 2026 | Poor | High | Aerospace |
| 7075 | Poor | Very High | Aircraft, high-stress parts |
How To Identify Your Aluminum Alloy
Look for markings, ask suppliers, or test with a spark test. For unknown alloys, use 4043 filler rod—it works for most common types.
Gas Welding Aluminum Vs Tig And Mig: Which Should You Use?
When Is Gas Welding Better?
Gas welding is best for:
- Small repairs
- Thin sheets (1/16”–3/16”)
- Projects where portability is needed
- Lower budget or basic tools
Tig And Mig Advantages
TIG welding gives cleaner, stronger welds but costs more and requires skill. MIG is faster and easier for big jobs, but not as precise.
Technical Comparison Table
| Feature | Gas Welding | TIG | MIG |
|---|---|---|---|
| Cost | Low | High | Medium |
| Skill Level | Medium | High | Low–Medium |
| Portability | High | Low | Medium |
| Weld Quality | Good | Excellent | Very Good |
| Speed | Medium | Low | High |
For hobbyists and small shops, gas welding aluminum is a practical choice.
Tips For Strong, Clean Aluminum Welds
How To Prevent Porosity
Porosity happens when gas gets trapped in the weld. Use fresh flux, clean thoroughly, and keep the torch moving. Avoid drafts or wind near your workspace.
How To Get Good Fusion
Heat both pieces evenly before applying filler. Don’t rush—let the filler flow naturally. If the weld beads up and doesn’t stick, re-clean and reapply flux.
How To Avoid Burn-through
Use a smaller torch tip for thin aluminum. Preheat only thick areas. Practice on scrap pieces to control heat.
Two Non-obvious Insights
- Preheating aluminum just below its melting point (about 300°F) helps reduce sudden burn-through—but too much preheat can ruin the joint.
- Using a dedicated wire brush (never used on steel) prevents contamination and hidden porosity. Even small traces of steel can destroy aluminum welds.
Practical Example: Welding A Broken Aluminum Radiator Tab
Imagine a radiator with a broken mounting tab. Here’s how you fix it:
- Clean the area with acetone.
- Brush thoroughly with a stainless brush.
- Apply aluminum flux along the crack.
- Use an oxy-acetylene torch with a #000 tip.
- Preheat gently, then feed 4043 rod as the tab melts.
- Let cool, then wash off flux and check for cracks.
This repair costs less than $10 and saves hours compared to TIG or MIG.
Safety And Ventilation: What You Need To Know
While basic safety is important, gas welding aluminum produces less toxic fumes than other methods. Still, always work in a well-ventilated area, wear proper gloves, and use eye protection. Never weld near flammable materials.
Advanced Techniques: Gas Welding Thick Aluminum
How To Weld Aluminum Above 3/16” (4.8 Mm)
For thick aluminum, use a larger torch tip and increase acetylene flow. Preheat the joint to 300–400°F. Add filler quickly and keep torch moving to spread heat. If the weld pool is sluggish, add more flux.
How To Weld Aluminum Pipe Or Tubing
Hold the torch at a 45° angle, rotate the pipe as you weld, and use flux inside and outside the joint. Practice on scrap pipe before attempting a real repair.
Troubleshooting Weld Quality
Signs Of Good Welds
- Smooth, shiny surface
- No cracks or holes
- Strong fusion between pieces
Signs Of Bad Welds
- Black, rough surface
- Porosity inside weld
- Weak, brittle joints
If you see these problems, check cleaning, flux, flame adjustment, and filler rod choice.
Wrapping Up
The right equipment, careful preparation, and steady technique make gas welding aluminum practical for repairs, custom builds, and small-scale fabrication. By understanding the unique properties of aluminum, using the correct filler and flux, and avoiding common mistakes, you can achieve strong, clean welds without expensive tools.
Test your skills on scrap metal, follow proven steps, and enjoy the flexibility gas welding offers—whether you’re fixing a radiator, building a bike frame, or creating metal art.
Frequently Asked Questions
How Do You Prevent Burn-through When Gas Welding Aluminum?
Use a smaller torch tip, keep the flame moving, and avoid overheating one spot. Preheat only thick sections. Practice on scrap aluminum before working on real parts.
Which Filler Rod Is Best For Gas Welding Aluminum?
4043 and 1100 are the most common and effective. Match the filler rod to your base metal for strongest results.
Can You Gas Weld All Aluminum Alloys?
No. Some alloys like 2026 and 7075 are not suitable for gas welding and may crack. Stick to 1100, 4043, and 3003 for best weldability.
Is Gas Welding Aluminum As Strong As Tig Or Mig Welding?
With proper cleaning, flux, and technique, gas welds can be strong and durable. However, TIG usually gives the cleanest and strongest results, especially for critical parts.