Steel tubing is widely used in fabrication, structural frameworks, roll cages, furniture, and industrial assemblies, but achieving strong, consistent welds requires more than simply joining two pieces of metal.
Understanding how to weld steel tubing correctly is essential for maintaining proper penetration, controlling heat input, and preventing common issues such as burn-through, distortion, lack of fusion, and premature weld failure.
Because tubing often has thinner wall sections and enclosed profiles, welding parameters, joint preparation, fit-up accuracy, and process selection all have a direct impact on weld quality and structural integrity.
Small mistakes in amperage settings or travel speed can create defects that may not become apparent until the part is loaded, inspected, or placed into service.
Whether you’re working with mild steel tubing in a fabrication shop or on a field project, knowing the correct welding approach helps improve weld performance, reduce rework, and produce cleaner, more reliable results.

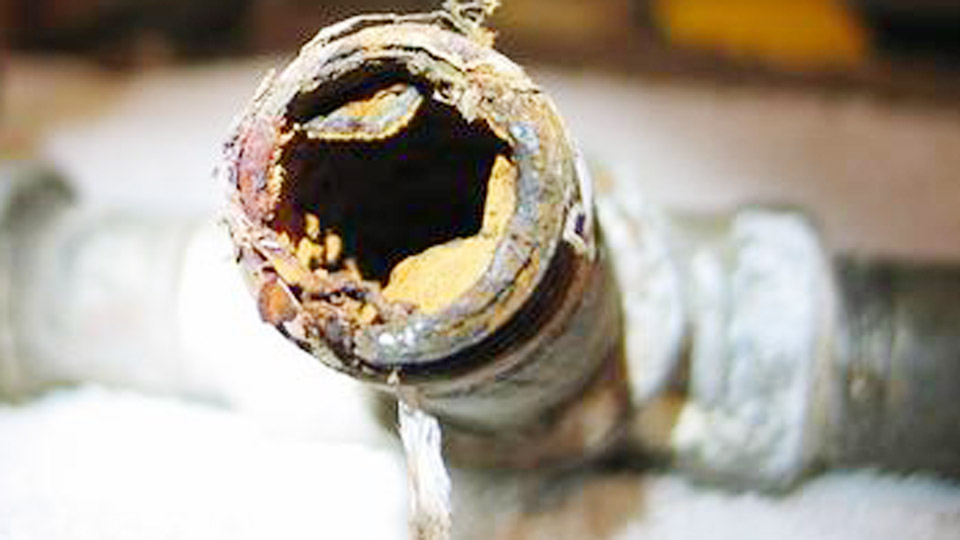
Image by makezine
Material Selection and Tubing Types
Wall Thickness Considerations
Steel tubing comes in round, square, or rectangular profiles with wall thicknesses from 16 gauge (about 0.065″) up to 1/4″ or thicker. Thin-wall tubing (under 1/8″) demands low heat input to avoid melting through or warping. Thicker sections (1/8″ and above) tolerate higher amperage for deeper penetration but risk excessive distortion if not managed.
Match tubing grade to the application. Mild steel (A500 or similar) suits most DIY and structural work. For higher strength or corrosion resistance, consider DOM or 4130 chromoly, which may require specific preheat or filler choices.
Round vs. Square Tubing
Round tubing offers better torsional strength and flows gas or fluid efficiently but complicates coping for joints. Square or rectangular tubing simplifies alignment and fixturing for 90-degree frames. Joint preparation differs: square tubing often uses mitered corners, while round requires precise notching or saddling.
Joint Preparation and Fit-Up
Cutting and Edge Prep
Accurate cuts set up success. Use a bandsaw with a miter gauge or chop saw for clean 90- or 45-degree angles. Avoid abrasive cutoff wheels on thin tubing, as they create heat-affected zones and burrs. Deburr all edges with a file or grinder.
For butt or miter joints on thicker tubing (>1/8″), bevel edges to 30-37.5 degrees, leaving a small root face (1/16″ land) for better penetration control. Thin tubing often needs no bevel—just tight fit-up with minimal gap (under 1/32″).
Cleaning and Alignment
Remove mill scale, rust, oil, and coatings within 1-2 inches of the joint using a dedicated stainless steel wire brush or grinder with a flap disc. Contaminants cause porosity or inclusions.
Use fixtures, clamps, or jigs to hold alignment. For square tubing frames, tack opposite corners first to balance shrinkage. Leave a tiny gap (0.020-0.040″) on thin material for expansion. Check squareness repeatedly during tacking.
Choosing the Right Welding Process
MIG (GMAW) for Steel Tubing
MIG excels for production and thicker tubing due to speed and ease. It handles outdoor work with flux-cored wire if shielding gas is impractical. Short-circuit transfer works best on thin walls; spray or pulse improves control on medium thicknesses.
TIG (GTAW) for Precision
TIG provides superior control on thin tubing and visible joints. It minimizes spatter and distortion while allowing autogenous welds (no filler) on perfect fit-ups or filler addition for strength. Ideal for chromoly or appearance-critical work.
Stick (SMAW) Applications
Stick welding suits field repairs or thick tubing where access limits other processes. It penetrates well but produces more slag and spatter, requiring post-weld cleanup.
MIG Welding Parameters and Techniques
Wire Selection and Gas
Use 0.023″ or 0.030″ ER70S-6 wire for thin tubing (versatile and forgiving). 0.035″ handles thicker sections. Shield with 75/25 Ar/CO2 or 100% CO2; the former reduces spatter.
Voltage, Wire Speed, and Heat Control
Base settings on thickness: roughly 1 amp per 0.001″ of material. For 16-gauge (0.065″) square tubing, start around 17-18V and 240-300 ipm wire speed with 0.025-0.030″ wire. For 11-gauge, try 20-21V and 340+ ipm.
Sample MIG Settings Table (Mild Steel, Short Circuit):
| Wall Thickness | Wire Size | Voltage | Wire Speed (ipm) | Approx. Amps |
|---|---|---|---|---|
| 16 ga (~0.065″) | 0.023-0.030″ | 16-19 | 200-350 | 40-90 |
| 1/8″ | 0.030-0.035″ | 18-22 | 250-400 | 90-150 |
| 3/16″+ | 0.035″ | 20-25 | 300+ | 150+ |
Adjust for joint type, position, and machine. Shorter stick-out (3/8-1/2″) improves control on thin material. Travel speed should keep the puddle small and controlled—too slow causes burn-through.
Push or pull depending on position; push for flatter beads on flat joints. On square tubing corners, weld the outside first to counteract pull, then fill inside.
TIG Welding Steel Tubing
Torch and Electrode Setup
Use 2% lanthanated or ceriated tungsten (1/16″ for thin work, 3/32″ for thicker). Grind to a point with longitudinal scratches. DCEN polarity. Argon flow 15-25 CFH; use a gas lens for better coverage on tubing.
Amperage and Filler
Rule of thumb: 1 amp per 0.001″ thickness. For 0.065″ tubing, 60-90 amps; for 1/8″, 90-130 amps. Use ER70S-2 filler rod (1/16″ or 3/32″). Add filler on thin material to build the bead without overheating.
Maintain short arc length (1-1.5x tungsten diameter). Use pulse settings (e.g., 1-2 PPS, 50-70% background) for thin walls to control heat. Start the puddle on the thicker part of a joint before walking to thinner sections.
For coped round tubing, tack in multiple places and weld in short segments, alternating sides.
Distortion Control and Fixturing
Heat input causes tubing to pull or twist. Strategies include:
- Balanced welding sequence (alternate sides).
- Clamping to heavy fixtures or using chill bars.
- Back-stepping technique on long seams.
- Tack welding frequently and checking alignment.
- Welding in short bursts on thin sections.
For frames, weld all tacks, then complete joints in a pattern that equalizes shrinkage. Post-weld stress relief helps critical applications.
Common Joint Types for Tubing
Mitered Corner Joints (Square Tubing)
45-degree miters create strong 90-degree corners. Weld sequence: inside fillet first or outside to manage pull, then flat faces. Bevel flats for penetration.
T-Joints and Cross Members
Cop or notch round tube for fit. Fillet weld all around. On square, ensure good root fusion. Bevel one leg if thick.
Butt Joints
Tight fit-up critical. Root pass with good penetration, followed by fill and cap. Back purge not usually needed for mild steel but helps stainless.
Coping Round Tubing
Use hole saws, coping jigs, or plasma for saddles. Test fit dry before welding—gaps larger than 1/16″ weaken the joint.
Post-Weld Operations
Grind or file welds for appearance or to remove stress risers. Inspect for cracks, undercut, or lack of fusion. Penetrant testing for critical parts. Clean with wire brush to prevent rust.
Advanced Considerations
For high-performance applications like chassis or pressure-containing tubing, match filler strength to base metal and consider preheat (low for mild steel). Pulse MIG or TIG reduces heat-affected zone. Multi-pass techniques on thick walls build strength without overheating.
Decision-making Takeaway
Select MIG for speed on production or thicker mild steel tubing and TIG for thin walls, precision, or exotic alloys. Prioritize fit-up and heat control above all—perfect parameters won’t save a poor joint.
An advanced insight: On thin chromoly tubing, controlled pulse TIG with minimal filler and strategic heat sinking often yields stronger, more ductile joints than continuous high-heat methods by preserving the base metal’s microstructure.
FAQ
What’s the best process for welding thin steel tubing without burn-through?
TIG with pulse settings or short-circuit MIG using 0.023-0.030″ wire and conservative voltage. Focus on fast travel speed and good fit-up.
How do I prevent distortion when welding square tubing frames?
Tack frequently in a balanced pattern, use fixtures, weld short segments alternately, and consider clamping to a heavy table. Sequence welds to counteract shrinkage.
What filler rod and settings for TIG welding mild steel tubing?
ER70S-2 or S-6, 1/16″ rod. Match amps to thickness (approx. 1A per 0.001″). Use DCEN, pointed 1/16″ tungsten, and 15-20 CFH argon.
Should I bevel tubing edges before welding?
Bevel thicker material (>1/8″) for multi-pass penetration. Thin tubing usually needs only tight fit-up without beveling.