Many welders and fabricators reach for standard body filler or basic epoxy when a fiberglass panel, boat hull, or SMC component develops a crack or hole, only to watch the repair soft-spot or delaminate under vibration or moisture.
That failure usually traces back to incorrect catalyst ratios, inadequate surface prep, or using a product that lacks the reinforcement needed for structural loads.
Understanding how to use JB Weld Fiberglass Resin correctly solves this by delivering a polyester-based system that sets in 8–12 minutes, reaches full cure in about 2 hours, and bonds reliably to fiberglass, metal, concrete, and SMC when mixed and applied to specification.
This guide focuses on the technical decisions that control bond strength, working time, and long-term waterproof performance so you can select the right approach for each repair instead of guessing.
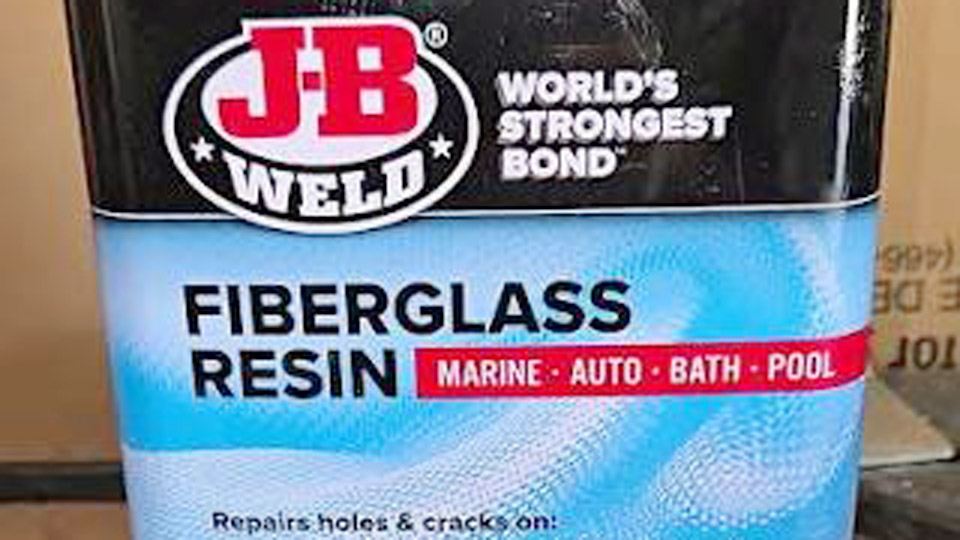
Image by @AlexPlatacis
Core Product Characteristics That Affect Real-World Results
Resin Chemistry and Hardener Compatibility
JB Weld Fiberglass Resin is a two-component polyester system designed to work with MEKP-type liquid hardeners. Official guidelines specify 6–8 drops of hardener per fluid ounce of resin, or approximately 1 gram of hardener per 100 grams of resin by weight.
This ratio produces the published 8–12 minute set time at typical shop temperatures. Excess hardener shortens pot life dramatically and can generate excess heat that warps thin panels; too little leaves the resin soft or tacky for hours.
The cured material dries to a translucent yellow and accepts sanding and painting once fully cured. It is formulated for waterproof service on pools, boats, tubs, showers, and similar environments, matching the mechanical performance of conventional polyester laminating resins when used with compatible cloth or mat.
Performance Limits on Different Substrates
The resin bonds effectively to properly prepared fiberglass, steel, aluminum, concrete, and SMC. It will not develop reliable adhesion on low-surface-energy plastics such as polyethylene or polypropylene.
Painted surfaces also present risk; the manufacturer recommends removing paint before application rather than relying on adhesion to the coating. These limits matter when the repair involves mixed-material assemblies common in automotive or marine work.
Surface Preparation Steps That Control Bond Strength
Cleaning and Contaminant Removal
Any oil, wax, mold release, or silicone residue will prevent the polyester resin from wetting the substrate. Degrease the area thoroughly with a dedicated cleaner, then follow with a solvent wipe using acetone or equivalent. Residual contaminants are the most common cause of adhesion failure reported with this product.
Mechanical Abrasion Requirements
After degreasing, abrade the surface with 80-grit or coarser sandpaper. The goal is a uniform, dull, mechanically keyed surface that extends several inches beyond the damaged zone. Feather the edges of cracks or holes so the repair transitions without a sharp step.
Wipe the abraded surface again with solvent immediately before mixing resin to remove dust. Skipping or under-abrading this step is the primary reason the resin fails to adhere even when mixed correctly.
Mixing Ratios and Working-Time Management
Accurate Catalyst Measurement
Measure resin by volume or weight, then add hardener precisely. For small batches, counting drops is practical; for larger quantities, weighing improves consistency.
Stir thoroughly but avoid whipping air into the mix—entrapped bubbles weaken the finished laminate and create pinholes that compromise waterproofing. Mix only the volume you can apply within the 8–12 minute set window.
Temperature Effects on Pot Life and Cure
Ambient temperature and the temperature of the substrate strongly influence reaction speed. Warm conditions (above roughly 75–80 °F) accelerate set time; cooler shops extend it. The official set range of 8–12 minutes assumes typical room temperature. If the shop is hot, reduce hardener slightly within the 6–8 drop range or work in smaller batches.
Cold conditions may require the higher end of the catalyst range or modest warming of the resin container (never direct heat that exceeds storage limits of 50–80 °F). Storage outside this range degrades shelf life and can alter reactivity.
Application Methods for Common Repair Scenarios
Minor Surface Imperfections Without Reinforcement
For very small surface defects that do not require structural strength, the resin can be applied alone as a thin fill. This is the only case where cloth or mat is optional. Apply with a plastic spreader, force material into the defect, and leave a slight crown for sanding.
Multiple thin layers are preferable to one thick pour because thick sections generate more exotherm and risk incomplete cure or cracking.
Structural Hole and Crack Repairs Using Cloth or Mat
Most practical repairs demand reinforcement. Cut fiberglass cloth or mat to overlap the damage by at least 1–2 inches on all sides. Wet the prepared surface with catalyzed resin, lay the first layer of reinforcement, then work additional resin through the cloth with a spreader or brush until the fabric is fully saturated and air is displaced.
Additional layers can be stacked wet-on-wet within the working time for thicker laminates. The resin is compatible with any cloth or mat intended for polyester systems.
Vertical and Overhead Surfaces
Polyester resin has limited sag resistance in its liquid state. For vertical or overhead work, either apply thinner coats, use a compatible thickening agent rated for polyester resins, or pre-wet the cloth on a flat board and transfer the saturated fabric to the surface.
Rapid placement is essential because the 8–12 minute set window leaves little margin for repositioning once the material begins to gel.
Curing Behavior and Finishing Sequence
Handling Time Versus Full Mechanical Strength
The resin reaches a set condition in 8–12 minutes and can be handled carefully after that point. Full cure for sanding, drilling, or load-bearing use is listed at approximately 2 hours under standard conditions.
In cooler environments or with minimal catalyst, allow additional time before aggressive mechanical work. Premature sanding can load the paper and leave a soft, smeared surface.
Sanding and Paint Readiness
Once fully cured, the translucent yellow material sands cleanly with progressive grits starting around 80–120. Feather the repair into the surrounding surface. The cured resin accepts most automotive and marine topcoats; follow the paint manufacturer’s recommendations for primer over polyester.
Coloring agents compatible with polyester resins can be mixed into the liquid resin if a closer color match is needed before painting, but water-based colorants are incompatible.
Decision Factors When Choosing This Resin Over Alternatives
Comparison to Epoxy and Body-Filler Systems
Polyester fiberglass resin like this product offers faster set times and lower cost per volume than most structural epoxies, plus good waterproof performance. It is less flexible than many epoxies and generates more odor and styrene exposure during application.
Compared with short-strand fiberglass fillers or traditional body fillers, the pure resin plus cloth system produces higher tensile strength for through-holes and structural cracks.
Choose the resin-plus-cloth approach when the repair must carry load or remain waterproof under immersion or constant moisture. For purely cosmetic fills on non-structural panels, a dedicated filler may still be faster.
Environmental and Service Conditions
The finished repair is waterproof and suitable for continuous outdoor or marine exposure once cured. It is not intended for high-temperature service beyond normal ambient and vehicle under-hood ranges, nor for continuous contact with strong solvents that attack polyester. Confirm the expected service environment before committing to the repair method.
Common Failure Modes and How to Avoid Them
Soft or Tacky Cure
This almost always indicates under-catalyzed mix, cold substrate, or contamination. Measure hardener carefully and verify ambient temperature. If a batch remains soft after several hours, remove it and restart with correct ratios rather than adding more hardener to partially cured material.
Delamination or Poor Adhesion
Inadequate abrasion or residual contamination is the usual cause. Re-prepare the surface to the 80-grit standard and solvent wipe before retrying. On painted panels, remove the coating entirely in the repair zone.
Excessive Exotherm or Rapid Gelling
Over-catalyzed mixes or working in hot conditions produce this. Reduce hardener within the recommended window and mix smaller batches. Thick laminates also retain heat; build in thinner layers if heat distortion of the surrounding material is a concern.
Wrapping Up
When the repair must remain waterproof and carry mechanical load, the combination of correct surface preparation, precise 6–8 drop catalyst ratio, and cloth reinforcement produces a durable polyester laminate that matches conventional marine and automotive repair standards.
The decisive technical choice is whether the defect is purely cosmetic or structural—only the latter justifies the full cloth-reinforced process.
FAQ
How much hardener do I add to JB Weld Fiberglass Resin?
Use 6–8 drops of MEKP-type liquid hardener per fluid ounce of resin, or 1 gram of hardener per 100 grams of resin by weight. Stay inside this range; more hardener shortens working time and can overheat the repair.
Can I use JB Weld Fiberglass Resin without fiberglass cloth?
Only for very minor surface imperfections. For holes, cracks, or any load-bearing repair, cloth or mat is required to develop adequate strength and prevent cracking.
Will JB Weld Fiberglass Resin stick to metal or concrete?
Yes, when the surface is properly degreased, abraded with 80-grit or coarser paper, and solvent-wiped. It is rated for metal, concrete, fiberglass, and SMC.
How long before I can sand or paint a repair made with this resin?
The material sets in 8–12 minutes and reaches full cure in approximately 2 hours under normal conditions. Sand and paint only after full cure to avoid loading sandpaper or compromising the topcoat bond.