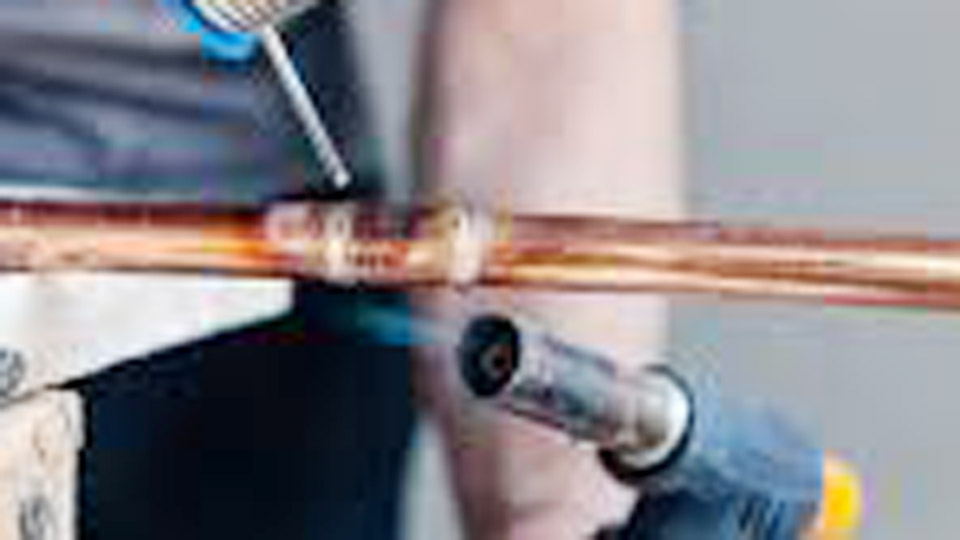
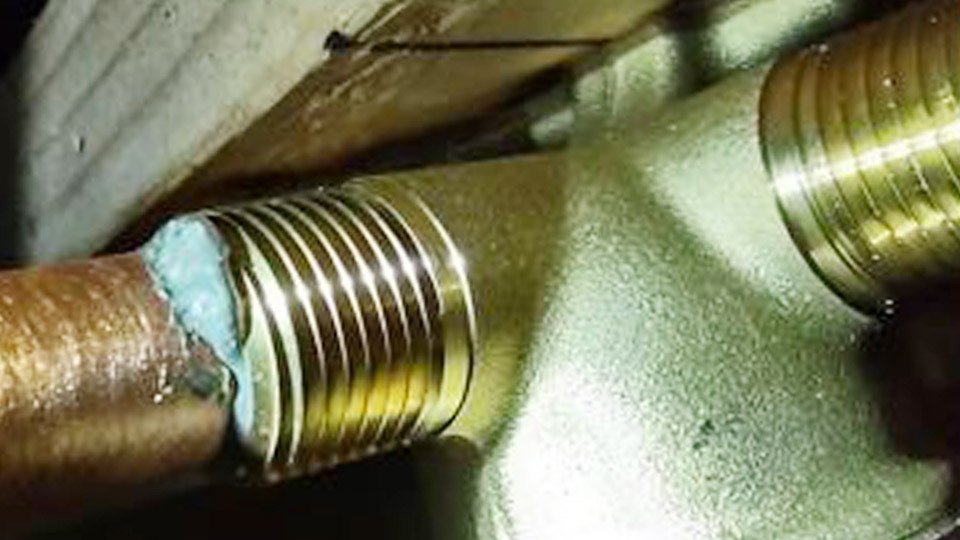
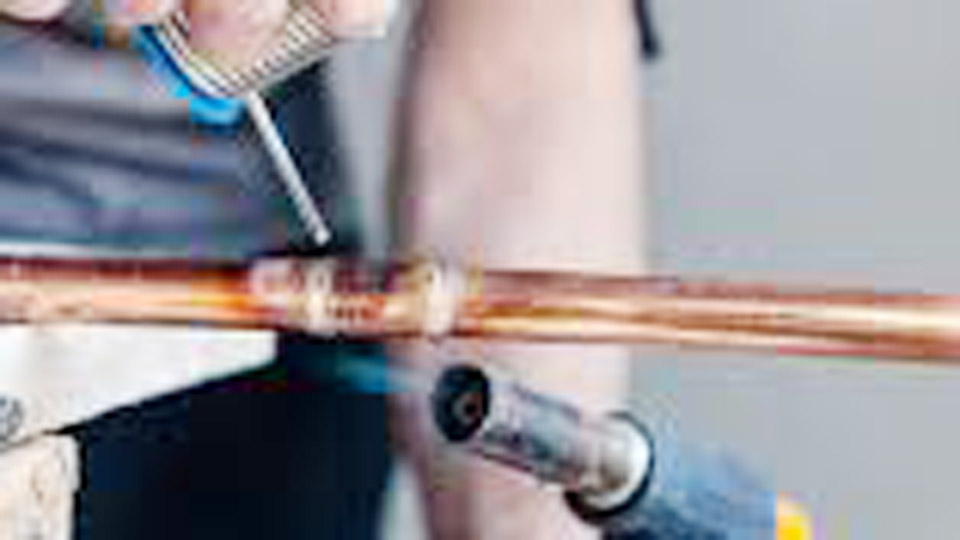
Standard tin-lead or electronics solder simply refuses to wet aluminium when joining it to copper. The stubborn oxide film on aluminium reforms within seconds of cleaning, blocks metallurgical bonding, and leaves a joint that looks attached but fails under thermal cycling or vibration.
Learning how to solder aluminium to copper correctly matters because these dissimilar-metal joints appear constantly in HVAC lines, heat exchangers, electrical bus work, and repair work where welding would overheat thin sections or destroy temper.
Success depends on specialized flux that attacks the oxide, compatible zinc- or tin-zinc based fillers that melt well below aluminium’s melting point, precise heat balance between the two metals, and thorough post-cleaning to limit galvanic corrosion. Without those controls the joint either never forms or corrodes rapidly in service.
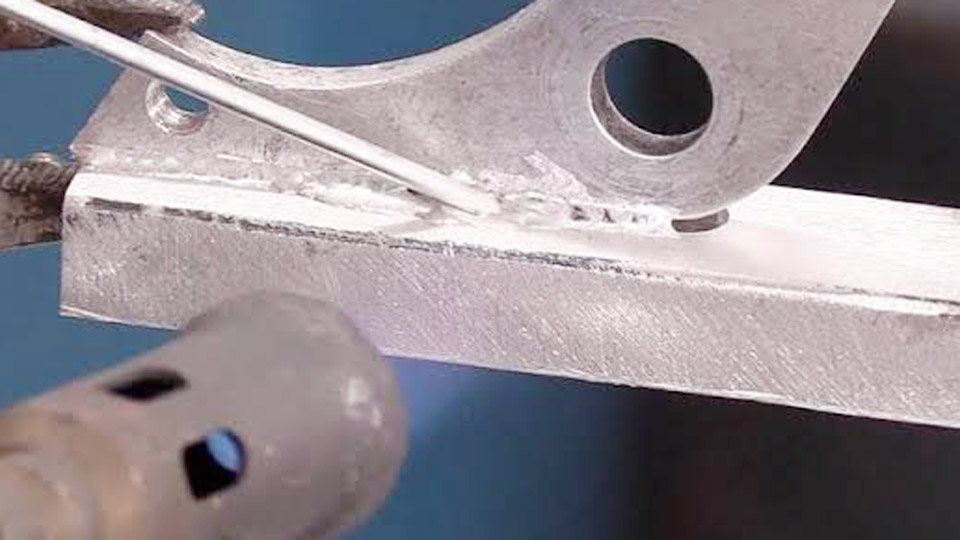
Image by chaluminium
Why Aluminium Oxide Blocks Ordinary Soldering to Copper
Aluminium develops a continuous, tenacious oxide layer only a few nanometers thick the moment a fresh surface is exposed to air. This oxide has a melting point far higher than the aluminium itself and does not dissolve in conventional rosin or mild acid fluxes.
Copper, by contrast, wets readily with tin-based solders once light oxides are removed. The mismatch produces incomplete wetting on the aluminium side even when the copper side looks perfect.
Oxide Reformation Speed and Its Practical Effect
Oxide begins reforming in under a minute under shop conditions. Any delay between abrasion and flux application allows a new barrier to form, so the solder beads up instead of spreading. Aggressive mechanical abrasion under the molten solder or flux is often required to keep the surface active long enough for bonding.
Thermal Conductivity Differences That Complicate Heating
Copper conducts heat roughly twice as fast as aluminium. Heat applied equally tends to leave the aluminium cooler while the copper overheats, risking flux burnout or base-metal distortion on the aluminium side.
Heat must be biased toward the copper mass so both surfaces reach the solder’s working temperature at the same time.
Selecting Compatible Solder Alloys for Aluminium-to-Copper Joints
Ordinary 60/40 or lead-free electronics solders lack the zinc or other active elements needed to interact with aluminium. Specialized alloys are mandatory.
Tin-Zinc Soft Solders and Working Ranges
Alloys containing roughly 85 % tin and 15 % zinc (or similar ratios) melt in the 350–500 °F (177–260 °C) range. These soft solders produce usable joints for low-to-moderate stress applications and remain below the temperature that softens most aluminium alloys excessively.
Products formulated specifically for aluminium-to-copper (such as certain Uniweld or Alsolder compositions) improve flow and corrosion resistance compared with generic tin-zinc wire.
Intermediate and Higher-Temperature Options
Zinc-rich solders with small aluminium additions operate closer to 500–700 °F and deliver higher strength and better resistance to thermal cycling. Tin-silver or tin-copper-nickel formulations designed for aluminium can also create intermetallic bonds, particularly when paired with high-activity fluxes active between 240–290 °C.
Higher-temperature fillers approach brazing territory and should be chosen only when the joint will see elevated service temperatures or mechanical load.
Avoiding Brittle Intermetallics
Excessive dwell time at temperature allows rapid diffusion and formation of brittle aluminium-copper intermetallic layers. Keep total heating time short once the solder is molten and cool the joint without quenching to limit those phases.
Flux Selection That Actually Removes Aluminium Oxide
Flux chemistry is the single most critical variable after surface preparation. Rosin fluxes are useless on aluminium.
Organic High-Activity Fluxes
Chloride-free organic fluxes (examples include certain Superior 1260/1261 series pastes and liquids) activate in the 350–550 °F window, chemically attack the oxide, and remain water-soluble for post-cleaning.
They produce less aggressive residues than older chloride or fluoride systems while still enabling wetting on both aluminium and copper.
Reaction and Paste Fluxes for Mixed-Metal Work
Some reaction fluxes generate heat and additional metal ions that further disrupt oxide. Paste forms stay in place better on vertical or tubular joints than thin liquids. Always match the flux activation range to the chosen solder’s melting range; mismatch causes either incomplete oxide removal or burnt flux that prevents flow.
Residue Removal Requirements
Even “no-clean” claims for aluminium fluxes should be verified. Residual flux is highly hygroscopic and accelerates galvanic corrosion between aluminium and copper. Hot-water rinsing followed by mechanical brushing and a final solvent wipe is standard practice for reliable service life.
Surface Preparation Decisions That Determine Success
Cleaning is not optional cosmetic work; it is the foundation of wetting.
Abrasion Sequence for Aluminium
Use a stainless-steel wire brush or fresh abrasive pad dedicated only to aluminium. Ordinary steel brushes introduce iron contamination that later promotes corrosion.
Abrade until the surface is uniformly bright, then immediately apply flux. For critical joints, a second light abrasion under the molten flux or solder further improves bonding.
Copper Preparation and Fit-Up
Copper needs only solvent degreasing and light abrasion. Joint clearance should typically fall between 0.005–0.020 in for capillary flow with chemical fluxes. Tighter clearances work with reaction fluxes. For tubing, a slight flare or sleeve provides both mechanical support and a reservoir for fillet formation.
Heat Control and Application Sequence for Dissimilar Metals
Heat management separates successful joints from failed ones.
Preferred Heating Order
Begin heating the copper side because of its higher thermal mass and conductivity. Once the copper approaches temperature, bring the flame or iron onto the aluminium so both reach the flux activation and solder melting points together.
An infrared thermometer or temperature-indicating stick removes guesswork. Target the mid-range of the solder’s working window rather than the upper limit.
Introducing the Solder
Touch the filler to the joint, not the heat source. Properly prepared and fluxed surfaces will draw the solder by capillary action. On aluminium, continued light abrasion with a stainless tool under the molten pool can be necessary to maintain oxide-free contact. Build a continuous fillet around tubular joints and allow natural air cooling.
Visual Indicators of Correct Temperature
Flux bubbling and color change (often from clear or light to a darker tone) signals readiness. If the flux blacks or chars, the temperature has gone too high; cool, clean, and restart. Solder that refuses to flow indicates either insufficient heat, residual oxide, or wrong flux chemistry.
Joint Design and Service Limitations
Soldering produces lower-strength joints than brazing or welding and is limited by the solder’s melting point.
Suitable Applications
HVAC aluminium-to-copper transitions, low-pressure heat-exchanger fins, electrical connections where heat input must stay low, and field repairs on thin sections all benefit from the process. Service temperatures should remain well below the solder solidus, typically under 250–300 °F for soft solders.
Galvanic Corrosion Management
The electrochemical potential difference between aluminium and copper drives corrosion in the presence of electrolyte. Flux residue acts as an electrolyte accelerator.
Complete cleaning, optional conformal coatings, or isolation techniques extend life. In outdoor or humid environments, consider whether a mechanical transition fitting or brazed joint with better corrosion resistance is warranted.
When Brazing Becomes the Better Choice
If the joint must withstand higher temperatures, vibration, or pressure, move to aluminium-compatible brazing alloys that operate above 840 °F. Brazing produces stronger fillets but requires tighter temperature control to avoid melting the aluminium base metal or forming excessive intermetallics.
Inspection Criteria After Soldering
Visual inspection looks for continuous fillets without voids, pinholes, or incomplete wetting on the aluminium side. Cross-section or leak testing is required for pressure-containing joints. Any residual flux must be removed before the joint enters service.
Pull or shear testing on sample joints confirms that failure occurs outside the solder interface when technique and materials are correct.
Wrapping Up
Successful aluminium-to-copper soldering hinges on oxide disruption, matched flux and filler chemistry, biased heat input toward copper, and rigorous residue removal.
Choose soft tin-zinc systems for low-stress, low-temperature service and step up to intermediate alloys or brazing when mechanical or thermal demands increase.
The advanced control that separates reliable joints from temporary ones is limiting total time at temperature once the solder is molten, thereby minimizing brittle intermetallic growth while still achieving full wetting.
FAQs
What flux works for soldering aluminium to copper?
High-activity organic fluxes formulated for aluminium (chloride-free pastes or liquids active around 350–550 °F) are required. Ordinary rosin or electronics fluxes will not remove the aluminium oxide.
What temperature is needed to solder aluminium to copper?
Most specialized soft solders work between 350–500 °F (177–260 °C). Intermediate alloys run higher, up to roughly 700 °F. Stay within the manufacturer’s stated range for the specific filler and flux pair.
Can regular solder be used on aluminium and copper?
No. Standard tin-lead or lead-free electronics solders lack the zinc or active elements needed to wet aluminium and will not form a reliable bond.
Is soldering or brazing better for aluminium-to-copper tubing?
Soldering suits low-heat, low-to-moderate stress joints. Brazing produces stronger, higher-temperature-capable joints but requires more precise heat control to avoid damaging the aluminium.