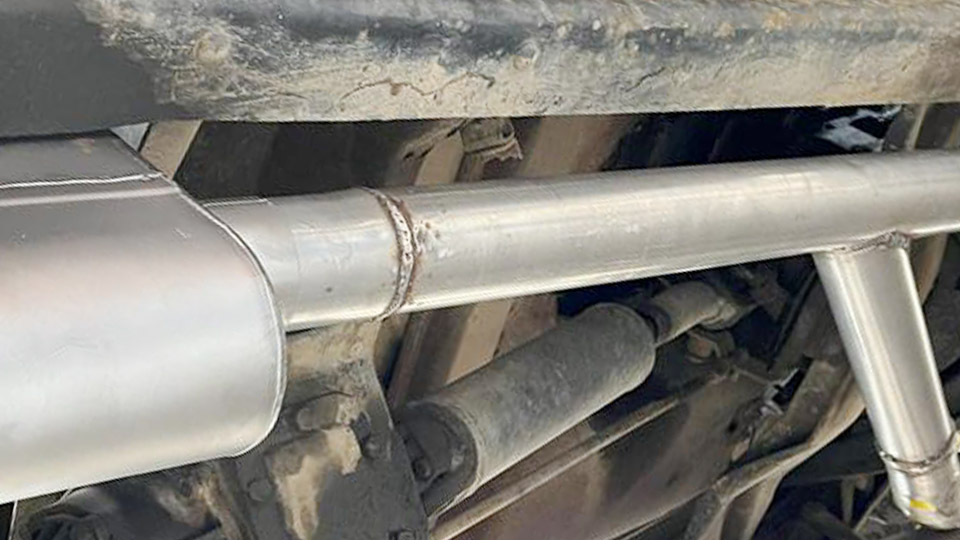
Acrylic paint slides off polished steel, chrome, or aluminum within days when the surface stays slick and non-porous. The real failure starts before the first brushstroke: oils, oxide films, and zero mechanical tooth prevent any lasting bond.
Learning how to paint shiny metal in acrylic correctly solves that by forcing adhesion through targeted degreasing, controlled abrasion, and the right primer chemistry. Without those steps the color layer lifts under handling, temperature swings, or outdoor exposure.
Proper sequence turns a reflective metal surface into a stable substrate that accepts thin acrylic coats and holds them through normal service.
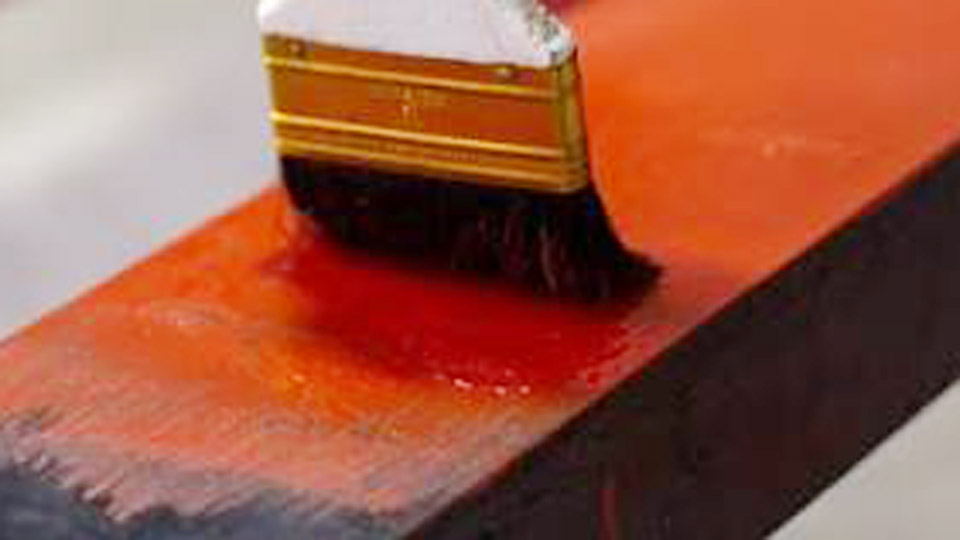
Image by birlaopus
Why Acrylic Fails on Untreated Shiny Metal
Shiny metal presents two simultaneous barriers. First, its surface energy is too low for water-based acrylic binders to wet and lock. Second, manufacturing oils, fingerprints, and natural oxide layers act as release agents. The paint film forms but never anchors, so any flex, impact, or moisture intrusion separates it cleanly.
Surface Energy and Non-Porosity Limits
Polished stainless, chrome plate, and bright aluminum lack the microscopic valleys that give acrylic mechanical grip. On canvas or wood the binder sinks into pores; on metal it sits on top. Even heavy-body acrylics eventually peel because the contact area remains molecularly smooth.
Contaminant Films That Block Bonding
A single fingerprint leaves enough skin oil to create a weak zone. Cutting fluids left from fabrication or polishing compounds do the same. These films are invisible yet effective enough that primer applied over them fails in the same way raw paint does.
Solvent wipe tests reveal the problem: if a clean cloth still picks up residue after the first pass, adhesion remains compromised.
Surface Preparation Decisions for Polished Metal
Prep decides whether the later layers succeed. The goal is a clean, uniformly dulled surface without removing structural metal or introducing new contaminants.
Degreasing Methods That Remove Invisible Oils
Start with a grease-cutting detergent and hot water, then follow with isopropyl alcohol (90 %+), mineral spirits, or a dedicated metal degreaser. Wipe in one direction with lint-free cloths and change cloths often.
On galvanized or freshly chromed pieces a dilute white-vinegar wipe after the solvent step helps neutralize residual alkalinity or zinc soaps. The surface must be completely dry before any abrasion begins; trapped moisture under primer produces later bubbling.
Creating Mechanical Tooth Without Destroying the Surface
220-grit sandpaper or a fine sanding sponge is the standard range for most shiny metals. The intent is micro-scratches, not deep grooves. Work evenly until the mirror reflection disappears and a uniform satin sheen appears.
On thin sheet or delicate chrome, drop to 320–400 grit and use light pressure. After sanding, remove every particle with a tack cloth or damp microfiber; leftover dust becomes inclusion points under the primer.
Handling Different Shiny Metals
Steel and iron need rust removal first—wire brush or 80–120 grit on any scale, then convert remaining oxide if present. Aluminum forms a rapid oxide film; sand and prime within the same session.
Chrome and polished stainless require thorough scuffing because their hardness resists light abrasion; self-etching chemistry becomes critical afterward. Galvanized surfaces benefit from a vinegar etch after degreasing to break the zinc barrier before primer.
Primer Selection That Determines Long-Term Bond
Primer is the chemical bridge. Choosing the wrong type or applying it too thick guarantees failure even after perfect cleaning and sanding.
Self-Etching vs Bonding vs Rust-Inhibitive Options
Self-etching primers contain mild acid that reacts with the metal surface, creating both chemical and mechanical attachment. They excel on aluminum, chrome, and galvanized stock.
Bonding primers (acrylic or hybrid) rely on specialized resins that wet low-energy surfaces; they work well on clean steel and mixed metals for indoor or light outdoor use.
Rust-inhibitive primers add zinc phosphate or similar compounds and are mandatory on ferrous metals exposed to moisture. Match the primer label to the specific metal; universal claims often underperform on the slickest finishes.
Application Thickness and Cure Windows
Apply primer in thin, even coats—spray is preferred for uniform coverage on complex shapes. Two light passes outperform one heavy coat. Most metal primers reach recoat readiness in 30–90 minutes at room temperature, but full cure before topcoating can require several hours to overnight depending on product.
Rushing the cure leaves solvent trapped and weakens the subsequent acrylic bond. Sand lightly with 320–400 grit between primer coats only if the surface shows orange peel or dust nibs; otherwise leave the tooth intact.
Applying Acrylic Layers for Coverage and Durability
Once the primer is fully cured, acrylic application focuses on building opacity without creating stress within the film.
Thin-Coat Strategy and Drying Intervals
Load the brush or spray lightly. Two to three thin coats produce better adhesion and flexibility than one thick layer that can crack as the metal expands and contracts. Allow each coat to dry to the touch (typically 20–40 minutes for craft acrylics, longer in humidity) before the next.
Heavy-body acrylics benefit from a small addition of acrylic medium or flow improver to reduce brush marks on the still-slick primed surface. Color matching is easier when the primer is neutral gray or white; dark primers mute lighter acrylics and require extra coats.
Brush Versus Spray Considerations on Reflective Surfaces
Brush application works for small or detailed pieces but leaves more texture. Use synthetic bristles and maintain a wet edge to avoid lap marks. Spray acrylics or airbrushed thin acrylics give the smoothest result on larger shiny-metal objects and reduce the chance of brush drag lifting partially cured primer.
Hold spray cans or guns 8–12 inches away and use overlapping passes. On outdoor projects choose exterior-rated acrylics; interior craft acrylics lack the UV and moisture resistance needed for exterior metal.
Sealing the Finish Against Wear and Moisture
Unsealed acrylic on metal remains vulnerable to abrasion, solvents, and water intrusion at the edges.
Compatible Clear Coats
Water-based acrylic varnish or polyurethane designed for acrylic systems provides the safest topcoat. Matte, satin, or gloss versions are available; gloss enhances the metallic look while matte hides minor surface imperfections.
Apply two thin coats after the color has cured at least 24 hours. For high-wear items (handles, outdoor furniture) a solvent-based clear enamel or two-component urethane offers superior hardness, but test compatibility on a scrap first—some solvents attack soft acrylic films.
Full Cure Before Handling or Exposure
Most acrylic systems reach handling strength in 24–48 hours but require 7 days for full chemical resistance. Avoid stacking, packaging, or outdoor placement during that window. Edge sealing is critical: moisture enters at bare metal edges and migrates under the film, so wrap primer and clear coat around all accessible edges.
Wrapping Up
Successful acrylic finishes on shiny metal rest on three non-negotiable decisions: complete contaminant removal, creation of uniform micro-tooth, and selection of a primer chemistry matched to the specific metal.
Once those are locked in, thin acrylic coats and a compatible clear seal produce a durable colored surface that survives normal handling and weather.
Advanced fabricators often combine self-etching primer with a flexible acrylic medium additive in the color coats; the medium improves film elongation so the paint moves with the metal instead of cracking at weld transitions or stress points.
FAQs
Can you paint shiny metal with acrylic without primer?
No. Without primer the acrylic has almost no mechanical or chemical grip on polished surfaces and will peel under light stress or temperature change.
What grit sandpaper works best before painting polished metal?
220 grit is the practical standard for most shiny steel, aluminum, and chrome. Use 320–400 grit on thin or delicate pieces to avoid visible scratches.
How long should primer dry before acrylic paint on metal?
Follow the product label; most metal primers allow recoat in 30–90 minutes but reach better intercoat adhesion after several hours to overnight curing.
Does acrylic paint on metal need a clear sealer?
Yes for any piece that will be handled, cleaned, or exposed outdoors. An acrylic or polyurethane clear coat protects against abrasion and moisture entry at the edges.