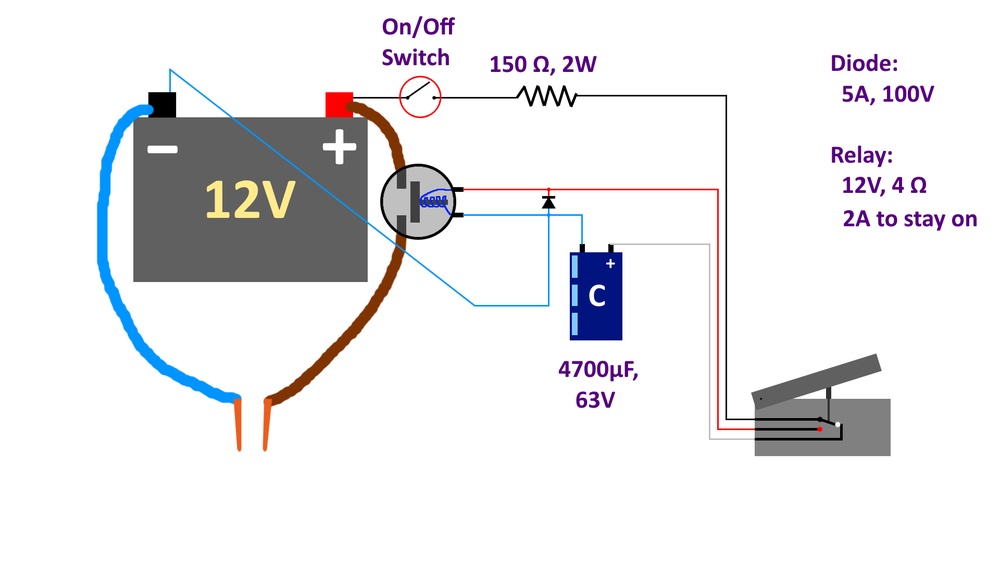
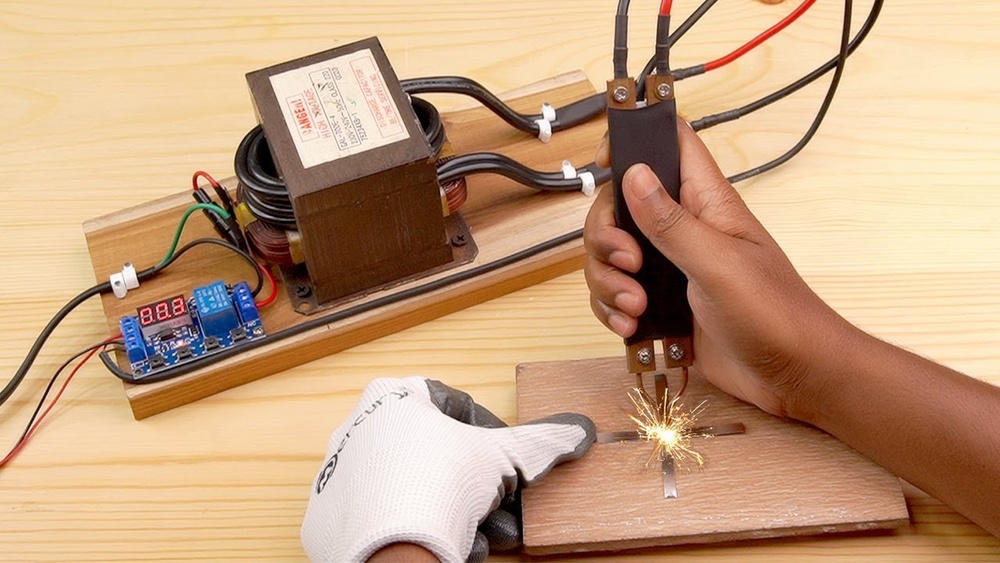
Resistance spot welding often leaves DIYers, students, and even experienced fabricators frustrated when welds fail under load despite “correct” machine settings. Sheets pull apart at the nugget, expulsion mars the surface, or electrodes stick after a short run.
Understanding how resistance spot welding works solves these issues by revealing the precise interplay of current, force, time, and material resistance that creates a reliable fused nugget at the faying surface.
This process dominates automotive and sheet metal fabrication because it delivers strong, repeatable joints in seconds without filler metal. For hobbyists building chassis or professionals optimizing production, mastering the fundamentals directly impacts joint strength, cycle time, and electrode life.
This guide delivers the technical details needed for accurate parameter selection and troubleshooting across mild steel, coated materials, and advanced alloys.
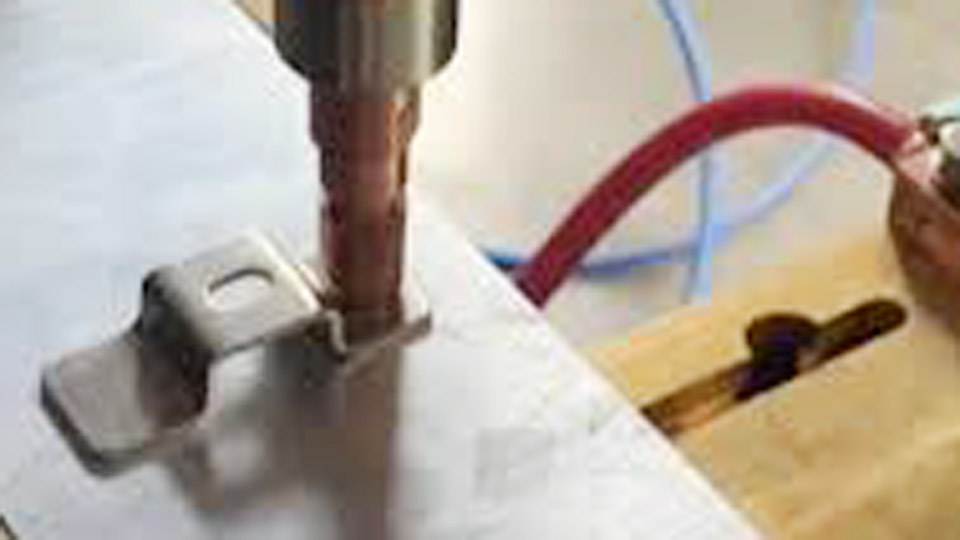
Image by busbarwelder
The Physics of Heat Generation in Resistance Spot Welding
Joule Heating and the Role of Resistances
Resistance spot welding (RSW) generates heat according to Joule’s law: Q = I²Rt, where Q is heat energy, I is welding current, R is total resistance, and t is weld time. The key insight is that heat concentrates where resistance is highest—at the interface (faying surface) between the two sheets.
The secondary circuit includes seven resistances in series: bulk electrode resistance (low, copper), electrode-to-sheet contact (two locations), sheet bulk resistance (two), and the dominant sheet-to-sheet contact resistance. Contact resistance arises from surface asperities, oxides, and coatings.
High initial contact resistance drives rapid heating exactly where the nugget must form. As temperature rises, bulk resistivity increases while contact resistance drops due to softening and asperity collapse.
This dynamic creates a positive feedback loop in steel until the nugget melts and grows. In aluminum, lower resistivity and higher thermal conductivity demand higher currents and shorter times to achieve the same effect.
Nugget Formation Stages
Nugget growth follows distinct phases under electrode pressure:
- Pre-compression: Electrodes clamp sheets, establishing initial contact and breaking some surface films.
- Heating: Current flows; heat builds fastest at the faying surface, creating a plastic zone.
- Melting and Growth: A lens-shaped molten nugget forms and expands radially and through-thickness. Electromagnetic forces stir the pool.
- Solidification: Current stops; electrodes maintain force (hold time) for forging and controlled cooling, minimizing shrinkage voids.
Nugget diameter typically targets 4–6√t (t = sheet thickness in mm) for structural integrity. Penetration should reach 20–80% of sheet thickness for balanced strength.
Key Process Parameters and Their Interactions
Welding Current: The Primary Heat Driver
Current has the strongest influence on heat input due to the squared relationship. For uncoated mild steel:
- 0.6–0.8 mm sheets: ~8–10 kA
- 1.0–1.2 mm: ~9.5–11 kA
- 1.6–2.0 mm: ~10.5–12 kA
Values scale with thickness and material. Galvanized coatings require adjustments—zinc’s low melting point (419°C) promotes expulsion if current is too high. Advanced high-strength steels (AHSS) often need pulsed or lower peak currents to manage martensite formation.
Operate within the weld lobe: the process window of acceptable current and time combinations. Too low produces cold welds with small nuggets; too high causes expulsion and surface indentation.
Electrode Force: Contact and Containment
Force serves three roles: establishes low-resistance electrical contact, contains the molten nugget, and forges the joint during cooling. Typical ranges for mild steel:
- Thin sheets (0.5–1 mm): 2–4 kN (450–900 lbf)
- Medium (1–2 mm): 4–7 kN
Higher force reduces contact resistance early but can crush thin sheets or limit nugget growth if excessive. Insufficient force allows expulsion and porosity. Dynamic force systems (increasing during weld) help with coated materials.
Weld Time and Cycle Control
Time is measured in cycles (1 cycle = 1/60 s at 60 Hz). Short times (6–20 cycles) suit thin material; longer for thicker stacks. Squeeze time ensures full force before current; hold time (typically equal to or longer than weld time) prevents cracking.
Modern controls allow multi-pulse schedules: preheat to soften coatings, main weld pulse, and temper/post-heat pulses to refine microstructure in AHSS.
Electrode Selection, Geometry, and Maintenance
Material Classes and Properties
RWMA Class 2 (Cu-Cr) electrodes dominate for mild and galvanized steel due to balanced conductivity and hardness. Class 1 suits high-conductivity needs; refractory classes (e.g., molybdenum) handle high-temperature applications. For aluminum, use Class 1 or specialized alloys to combat sticking and rapid wear.
Tip Geometry and Face Diameter
Common geometries include truncated cone (Type D, most versatile), dome (forgiving on misalignment), and flat. Face diameter should match or slightly exceed target nugget size (e.g., 5–8 mm for 1 mm sheet). Larger faces spread current and reduce indentation but lower current density.
Electrode Maintenance Practices:
- Dress tips regularly to restore geometry—mushrooming lowers current density and causes inconsistent nuggets.
- Monitor water cooling flow; poor cooling accelerates alloying with zinc or aluminum.
- Rotate or replace electrodes based on weld count (hundreds to thousands depending on material).
Material-Specific Considerations
Mild Steel and Coated Variants
Uncoated low-carbon steel welds reliably across wide parameters. Galvanized (hot-dip or electro) introduces zinc vaporization challenges—use higher force or pulsed current to vent gases and reduce liquid metal embrittlement (LME). Triple-coated or AHSS demand lobe curve development via destructive testing.
Aluminum Alloys
Aluminum’s high thermal and electrical conductivity requires 2–3× higher current and much shorter times than steel. Oxide layers demand aggressive surface prep or high force. Electrode sticking is common; frequent tip dressing or specialized coatings help. Multi-sheet stacks exacerbate heat balance issues.
Advanced High-Strength Steels (AHSS)
DP, TRIP, and press-hardened steels form hard martensitic nuggets prone to cracking. Strategies include:
- Lower peak current with multiple pulses
- Increased hold time for tempering
- Interlayer foils in some research setups to modify chemistry
Equipment Types and Setup Decisions
Machine Classifications
- AC Transformers: Common, cost-effective for basic work.
- MFDC (Medium Frequency DC): Superior control, lower splash, better for AHSS and aluminum.
- Capacitor Discharge: Ideal for thin or delicate parts.
- Robotic Guns: Servo or pneumatic; servo offers precise force profiling.
Choose based on material, production volume, and power availability. Ensure adequate secondary circuit (cables, shunts) to minimize voltage drop.
Setup and Calibration
Verify alignment, electrode parallelism, and force with a load cell. Use dynamic resistance monitoring or thermal imaging for process validation in critical applications. Develop weld schedules via peel/chisel tests and tensile-shear/cross-tension testing.
Quality Control and Common Defects
Focus on nugget size, penetration, and absence of defects rather than surface appearance alone.
Key Defects and Causes:
- Undersized Nugget: Low current/time, high force, shunting, worn electrodes.
- Expulsion: Excessive heat, low force, poor fit-up.
- Shrinkage Voids/Cracks: Rapid cooling, high carbon equivalent.
- Indentation: High force + heat.
- Electrode Sticking: Overheating, contaminated tips, incompatible material.
Non-destructive options include ultrasonic testing; destructive button testing remains the practical standard for lobe verification.
Applications and Real-World Decision Making
Resistance spot welding excels in lap joints for thin-to-medium sheet (0.5–3 mm typical). Automotive body-in-white uses thousands of spots per vehicle for structural integrity with minimal distortion. Appliance, furniture, and electronics enclosures also benefit from its speed and cleanliness.
Decision Factors:
- Volume: Manual for prototypes, robotic for production.
- Material Mix: Assess compatibility (steel-aluminum hybrids often need alternative processes).
- Access: Single-sided variants or specialized guns for tight spaces.
- Strength Requirements: Calculate required nugget size from load expectations.
For restoration or custom fabrication, portable inverter or capacitor discharge units provide factory-like results without full production setups.
Wrapping Up
Resistance spot welding succeeds when parameters balance heat input against material-specific cooling and mechanical containment. Master the interactions of current, force, and time for your exact materials and thicknesses, maintain electrodes rigorously, and validate with testing.
This approach delivers consistent, high-performance joints that rival or exceed other methods in high-volume sheet applications. For advanced work with AHSS or mixed materials, pulsed schedules and real-time monitoring open new levels of control and reliability.
FAQ
What is the rule of thumb for spot weld nugget size?
Target 4–6 times the square root of the thinner sheet thickness (in mm). Verify with destructive testing for your specific material and stack-up.
How do I adjust parameters for galvanized steel?
Increase electrode force 20–50% and consider pulsed current to manage zinc. Shorter weld times reduce expulsion risk. Expect faster electrode wear.
Can resistance spot welding join aluminum to steel?
Direct joining is challenging due to brittle intermetallics. Specialized interlayers or alternative processes are often required; standard RSW works poorly without modifications.
What causes inconsistent weld quality across a batch?
Common culprits: electrode wear/mushrooming, material lot variation (coating thickness), shunting from nearby welds, or power fluctuations. Start troubleshooting with electrode condition and part fit-up.