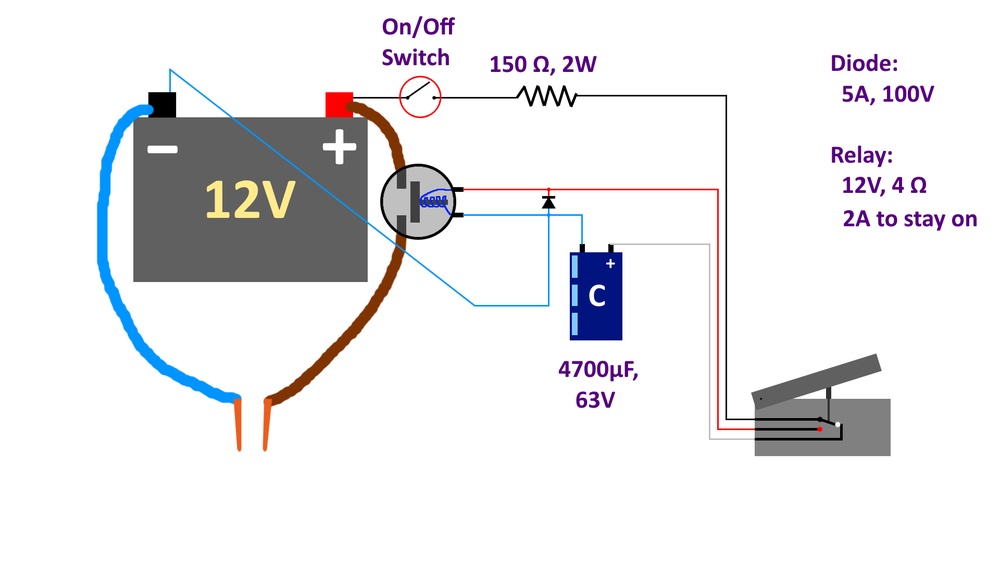
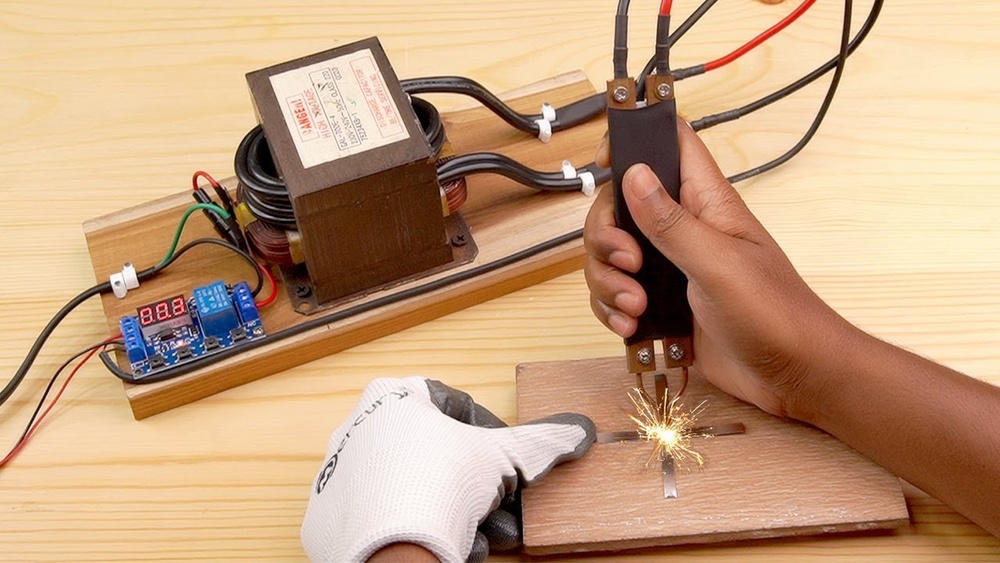
When you look at a car’s bodywork, you see smooth panels and shiny paint. But under the surface, those panels are often held together by spot welds—small, strong welds created by pressing two metal sheets together and applying electrical current.
These welds make vehicles strong, but when it’s time for repair or restoration, removing spot welded panels can become a real challenge. If you want to fix rust, replace a quarter panel, or access hidden damage, knowing how to remove spot welded panels safely and efficiently is an essential skill.
Removing spot welded panels is not as simple as just prying them off. The process requires the right tools, careful technique, and an understanding of how spot welds work.
If you rush or make mistakes, you can damage the underlying metal, create more work for yourself, or even weaken the structural integrity of the vehicle.
This guide will walk you through everything you need to know about removing spot welded panels, from identifying welds to choosing the right tools, step-by-step removal, and expert tips that even seasoned DIYers sometimes miss.
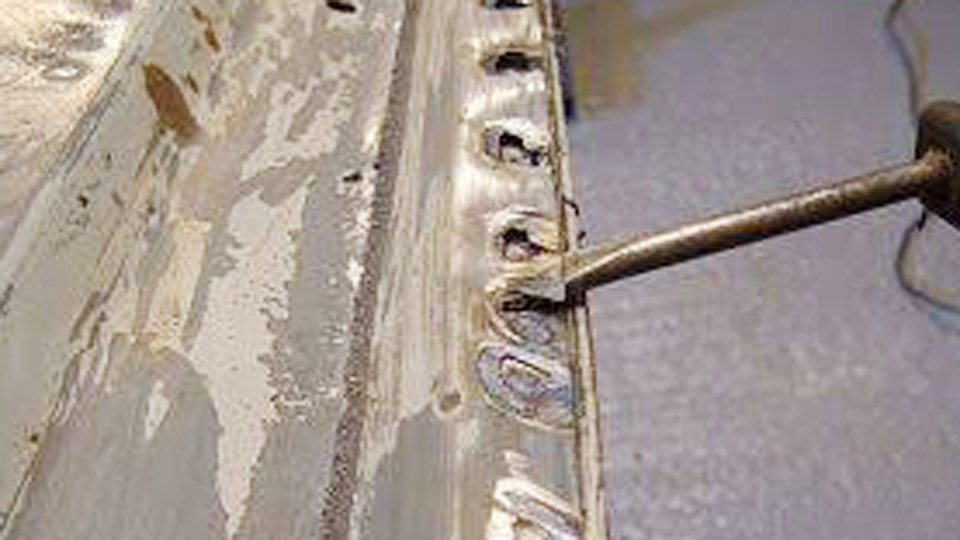
Image by mig-welding.co.uk
Understanding Spot Welds
Spot welds are widely used in automotive manufacturing because they are quick, strong, and cost-effective. They are typically round marks, often 5–8 mm in diameter, found along seams where two metal panels overlap.
The process uses electrodes to clamp the metal together and send a burst of electricity through, melting the metal locally and forming a solid bond.
Why Are Spot Welds So Common?
- Strength: They create a tough connection without adding extra material.
- Speed: Each weld takes less than a second to make with industrial equipment.
- Clean Appearance: No visible seams or ridges on the outside of the panel.
Spot welding is not just for cars. You’ll also find it in appliances, industrial equipment, and even furniture. However, for most readers, the main focus is automotive repair and restoration.
When And Why You Might Need To Remove Spot Welded Panels
There are several common situations where removing spot welded panels is necessary:
- Rust Repair: Rust often starts between panels. To fix it, you need to remove the outer panel.
- Collision Repair: Damaged panels must be replaced for the vehicle to look and perform like new.
- Restoration Projects: Classic car restoration often means replacing entire body sections.
- Access to Hidden Areas: Sometimes wiring, fuel lines, or suspension components are hidden behind welded panels.
Trying to cut or grind through the panels without separating the welds can cause more harm than good. That’s why understanding the correct process is so important.
Tools And Materials You’ll Need
Removing spot welded panels requires a few specialized tools. Here’s what you’ll need:
- Spot Weld Cutter: A special drill bit with a pilot tip and a cutting edge designed to remove only the top layer of metal.
- Drill: A corded or cordless drill with adjustable speed is ideal.
- Center Punch: Used to mark the center of each weld for accurate drilling.
- Hammer and Chisel or Panel Separator: For prying apart the panels after the weld is cut.
- Grinder (optional): For cleaning up edges or cutting stubborn welds.
- Safety Equipment: Gloves, eye protection, and hearing protection are essential.
- Rust Inhibitor or Primer: To treat exposed metal after removal.
Some experienced technicians use plasma cutters or specialized spot weld drills, but for most DIYers, the tools above are more practical and affordable.
Comparing Spot Weld Cutter Types
Here’s a quick overview of the most common spot weld cutter types and their advantages:
| Type | Pros | Cons |
|---|---|---|
| Hole Saw Cutter | Reusable, clean cut, affordable | Can dull quickly, requires pilot hole |
| Twist Drill Bit | Cheap, easy to find | Often damages lower panel, less precise |
| Double-Sided Cutter | Works from both sides, lasts longer | More expensive, harder to control |
Non-obvious insight: Many beginners think any drill bit will work. In reality, using a standard twist drill often damages the underlying panel, making reassembly difficult or causing weak spots.
How To Identify Spot Welds
Before you start, you need to find all the spot welds on the panel. This step is often rushed, but missing a weld can lead to bent panels and wasted effort.
- Look for small, round indentations along seams or flanges.
- Clean the surface with a wire brush or sandpaper to expose hidden welds under paint or rust.
- On newer cars, some welds are covered by seam sealer or undercoating. Use a scraper or solvent to expose these areas.
Pro tip: Use a bright flashlight at an angle. The light will catch the round spots, making them easier to spot, especially on dirty or painted surfaces.
Preparing The Work Area
Good preparation saves time and prevents damage. Here’s how to get ready:
- Disconnect the battery if working on a vehicle, to avoid electrical accidents.
- Remove interior trim, glass, or wiring near the work area.
- Support the panel so it doesn’t fall or twist when the welds are cut.
- Mask off nearby paint to avoid scratches from tools.
Even professionals sometimes forget to support the panel. If it drops suddenly, it can bend or even injure you.
Step-by-step Guide To Removing Spot Welded Panels
Let’s break down the removal process into clear, manageable steps.
Step 1: Mark Each Spot Weld
Use a center punch to make a small dent in the middle of each spot weld. This prevents the drill or cutter from wandering and ensures a clean cut. Work slowly and double-check that you’ve found all welds.
Step 2: Drill Out The Spot Weld
Fit your spot weld cutter or drill bit into the drill. Align the tip with the punched mark. Set your drill to a moderate speed.
- Apply steady pressure but don’t force the tool.
- The cutter should remove only the top panel, not the underlying layer.
- Stop when you feel the resistance decrease; this means the weld is cut.
Expert tip: Use a drop of cutting oil to keep the cutter cool and extend its life.
Step 3: Separate The Panels
Once all welds are cut, use a hammer and chisel or a panel separator tool to gently pry the panels apart. Work slowly along the seam. If a section resists, check for missed welds or incomplete cuts.
- Never force the panels apart; this can warp or tear the metal.
- If needed, run the cutter again or use a grinder on stubborn spots.
Step 4: Clean Up The Area
After the panel is removed, you’ll see small rings or leftover weld material on the underlying panel. Use a grinder or sanding disc to smooth these out.
- Treat any exposed metal with rust inhibitor or primer to prevent corrosion.
Step 5: Inspect And Prepare For Reassembly
Before installing a new panel or reattaching the original, inspect the area for damage, rust, or misalignment. Fix any issues before moving forward.
Non-obvious insight: Many people skip rust treatment, thinking new panels will cover the area. This mistake often leads to rust coming back even faster.
Tips For Success And Avoiding Common Mistakes
Removing spot welded panels is not just about brute force or speed. Here are some tips and mistakes to avoid:
- Use the right cutter size: Too large, and you’ll remove too much material. Too small, and the weld remains.
- Work slowly: Rushing leads to broken cutters and damaged panels.
- Keep your tools sharp: Dull cutters make rough holes and require more force.
- Double-check for hidden welds: Missed welds are the most common reason panels won’t come off.
- Wear safety gear: Metal shards and sparks are common; protect your eyes and hands.
Repairing And Replacing Panels After Removal
Once the spot welded panel is off, you need to decide: repair or replace?
- Repair: If the original panel is mostly in good shape, you might be able to clean, treat, and reinstall it.
- Replace: If the panel is rusted, bent, or otherwise damaged, a new panel is the best option.
Reattaching Panels
When putting panels back, you have a few options:
- Spot Welding: Best for strength and appearance, but requires specialized equipment.
- Plug Welding: Drill holes in the new panel, then weld through them to the underlying metal.
- Riveting or Bonding: Acceptable for non-structural panels; not as strong as welding.
Here’s a quick comparison of panel reattachment methods:
| Method | Strength | Equipment Needed | Common Use |
|---|---|---|---|
| Spot Welding | High | Spot welder | Factory-style restoration |
| Plug Welding | High | MIG welder | DIY and repair shops |
| Riveting/Bonding | Medium | Riveter/adhesive | Non-structural panels |
Pro tip: For classic cars, using the same attachment method as the factory can help maintain value.
Safety Precautions
Working with metal, drills, and grinders carries risks. Here’s how to stay safe:
- Always wear eye protection—metal shavings can cause serious injury.
- Use gloves to protect your hands from sharp edges.
- Hearing protection is important when using power tools.
- Make sure your work area is well-ventilated to avoid inhaling dust or fumes.
- Keep a fire extinguisher nearby, especially when grinding or welding.
Advanced Techniques For Difficult Panels
Some panels are trickier to remove due to location, thickness, or overlapping welds. Here are expert strategies for handling tough jobs:
- Use a right-angle drill for tight spaces where a standard drill won’t fit.
- If welds are hard to see, use a stud finder set to metal mode to detect hidden welds.
- For panels with multiple layers, cut only the top layer first, then separate and repeat for each layer.
- If a weld won’t budge, try heating the area with a heat gun to soften seam sealer or adhesives.
Non-obvious insight: On some modern cars, high-strength steel is used in structural areas. This metal is harder to drill and more likely to dull cutters quickly. Always check the repair manual for your specific vehicle.
Cost And Time Considerations
Many people wonder how long it takes and what it costs to remove spot welded panels. Here’s a quick breakdown:
- Time: Removing a small panel (like a door skin) can take 1–2 hours. Larger panels (like a quarter panel) may take 4–6 hours or more.
- Cost: Spot weld cutter bits cost $10–$30 each. Expect to use more than one on a large job. Other tools (drill, safety gear) may already be in your toolbox.
If hiring a professional, labor charges for panel removal can range from $100 to $400 or more, depending on complexity.
Real-world Example: Replacing A Rusted Rocker Panel
Let’s walk through a typical example—removing a rusted rocker panel from an older vehicle.
- Expose the welds: Remove trim and clean the seam with a wire wheel.
- Mark and punch: Identify and center punch all visible welds.
- Drill: Use a spot weld cutter to remove the outer rocker panel’s welds.
- Separate: Gently pry off the rocker panel, checking for missed welds.
- Clean up: Grind smooth and treat the exposed area with rust inhibitor.
- Fit new panel: Test fit the replacement, then weld or rivet in place.
This process is the same for most body panels, but always check for hidden wiring or components before cutting.
Common Questions And Problems
Why Won’t My Panel Come Off After All Welds Are Drilled?
Often, seam sealer, glue, or overlapping welds hold the panel. Use a heat gun or solvent to loosen adhesives, and check for hidden welds.
My Spot Weld Cutter Keeps Breaking. What Am I Doing Wrong?
Most likely, you are using too much force or your drill speed is too high. Let the cutter do the work—slow and steady wins.
Can I Reuse The Removed Panel?
If it’s not damaged or rusted, yes! Just clean, treat, and align it carefully before reattaching.
Spot Weld Removal Vs. Other Methods
Is spot weld removal the only way? Sometimes, people consider plasma cutting or grinding entire seams. Here’s why spot weld removal is usually best:
- Less damage: Only removes what’s needed.
- Easier reassembly: Holes line up properly for welding or riveting.
- Safer: Less risk of cutting into wiring, fuel lines, or structural parts.
Wrapping Up
Removing spot welded panels takes patience and the right approach. With careful work, you can repair, restore, or modify your vehicle to a professional standard—saving money and gaining valuable skills in the process.
Whether you’re tackling a small rust repair or a full restoration, understanding how to remove spot welded panels safely will set you up for success.
Frequently Asked Questions
How Do I Know If A Panel Is Spot Welded Or Bonded With Adhesive?
Spot welds appear as small, round marks, usually in a straight line along seams. Adhesives don’t leave these marks but may show as a continuous bead or thin line of glue. On newer cars, sometimes both are used together.
Can I Remove Spot Welded Panels Without Damaging The Underlying Metal?
Yes, if you use a proper spot weld cutter and take your time. The cutter is designed to remove only the top layer. Avoid using standard drill bits or large grinders, which can gouge or thin the lower panel.
What Should I Do If I Find Rust Between The Panels After Removal?
Clean the area thoroughly, treat with a rust inhibitor or converter, and prime before reattaching the new panel. Skipping this step will almost always lead to rust returning.
Is It Necessary To Reweld The Panel, Or Can I Use Rivets Or Adhesives?
For structural panels (rocker panels, pillars, etc.), welding is best. For non-structural parts (interior trim, small brackets), rivetting or adhesives may be acceptable. Always check your local repair codes and manufacturer recommendations.
How Many Spot Welds Should I Drill For Panel Removal?
Drill every spot weld along the seam. Missing even one can make removal difficult. On a typical car door skin, you might find 20–40 spot welds; a quarter panel could have 100 or more.