
Excess cured JB Weld left on a joint or repair surface blocks proper fit-up, prevents effective welding, and contaminates the base metal with steel-filled epoxy residue.
Once the two-part epoxy fully hardens—typically 15 to 24 hours after mixing—how to remove JB Weld after it dries becomes a practical decision between mechanical abrasion, controlled heat, or limited solvent assistance.
Choosing the wrong approach wastes time, risks gouging the workpiece, or leaves behind material that weakens a subsequent weld.
Correct removal restores a clean, weld-ready surface without introducing new defects, which matters for structural repairs, pressure-tight seals, and any job where residual epoxy could cause porosity or incomplete fusion.
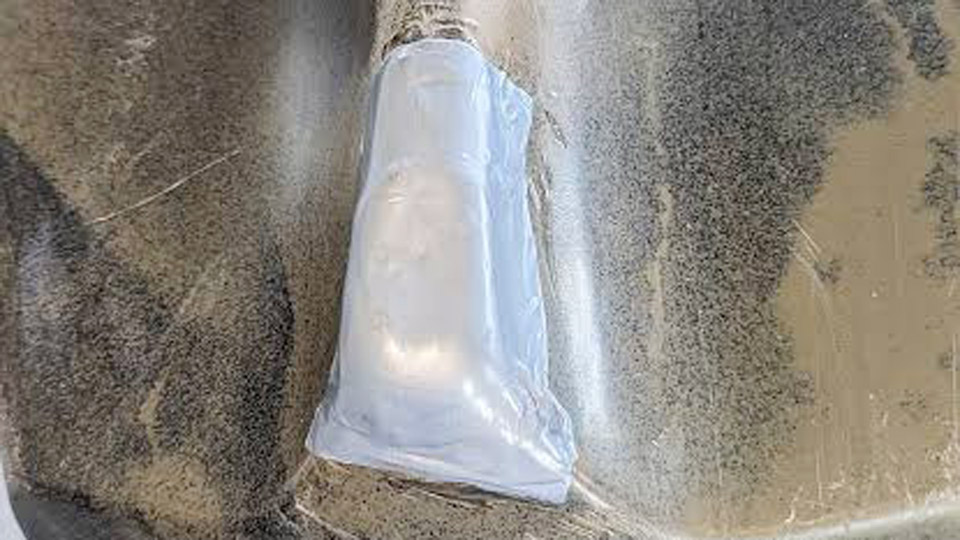
Image by fb/DIY Kayak Mods
Assessing Cure State Before Choosing a Removal Method
Cure progress determines which tools and temperatures will actually work. Fully cured JB Weld behaves like a brittle, steel-reinforced thermoset plastic; partially cured material still responds to solvents and light mechanical force.
Identifying Fully Cured Versus Partially Set Epoxy
Press a fingernail firmly into the deposit. Fully cured epoxy shows no mark and resists scratching. Material that dents or scratches is still partially set (usually within the first 6–15 hours depending on formula and temperature).
Original JB Weld reaches handling strength in 4–6 hours and full cure in 15–24 hours at room temperature; faster variants such as KwikWeld set much sooner. Always confirm cure state before applying heat or aggressive abrasion, because partially cured epoxy can smear rather than chip cleanly.
Why Cure State Changes the Removal Strategy
Partially cured epoxy softens with acetone or isopropyl alcohol and scrapes away with minimal force. Fully cured material requires either mechanical removal or temperatures above its service limit.
Attempting solvent-only removal on fully cured deposits produces only surface softening and leaves the bulk intact, forcing a switch to heat or grinding later.
Mechanical Removal Techniques That Work on Cured Epoxy
Mechanical methods provide the most reliable control on metal and are the manufacturer-recommended approach when heat is impractical.
Scraping and Chiseling for Thin or Edge Deposits
Hold a sharp putty knife, single-edge razor, or wood chisel at a low angle (10–15 degrees) to the surface. Work from the outer edge inward with short, controlled strokes parallel to the base metal.
This shears the brittle epoxy along the bond line rather than prying, which reduces the chance of lifting base-metal flakes. Brass or plastic scrapers protect softer metals; steel tools cut faster on thick steel deposits. Remove bulk first, then finish with finer strokes to avoid deep scratches.
Grinding and Filing for Thick or Large Areas
An angle grinder fitted with a 40-grit flap disc removes bulk quickly on steel or cast iron. Keep the disc moving in short passes to limit heat buildup in the base metal. Follow with 80- and 120-grit discs to blend the surface.
For precision work or confined spaces, a Dremel or die grinder with a carbide burr or sanding band reaches tight spots.
Hand files (bastard cut) cut cured JB Weld effectively because the epoxy is brittle; they offer better control near edges or threads. Always wear eye protection and a respirator—epoxy dust is irritating and contains metal particles.
Wire Brushing and Final Surface Cleanup
After bulk removal, a wire wheel or stainless-steel brush clears remaining particles embedded in the surface. Inspect under bright light; any dark spots indicate residual epoxy that must be addressed before welding or coating.
Mechanical removal leaves the cleanest substrate for subsequent welding because it eliminates both the epoxy and any steel powder that could affect the weld pool chemistry.
Using Heat to Soften Fully Cured JB Weld
Heat is the second manufacturer-endorsed method and often the fastest for metal parts that can tolerate elevated temperatures.
Required Temperature and Heat Sources
JB Weld maintains structural integrity up to approximately 550 °F (288 °C). Heating above 600 °F (315 °C) softens or chars the epoxy so it can be scraped or brushed away. A variable-temperature heat gun set in the 500–600 °F range is the most controllable option.
Propane or MAPP torches work on thick steel but require constant motion to avoid localized overheating. Soldering irons can target small spots. Avoid open flame on thin-wall tubing, heat-treated alloys, or any part where distortion or temper loss is unacceptable.
Heat Application Sequence
Heat the deposit evenly while moving the heat source continuously. Watch for slight smoking, darkening, or a glossy appearance that signals softening. Immediately scrape with a putty knife or chisel while the material is warm; the epoxy often lifts in chunks or turns chalky and powders under a wire brush.
Allow the part to cool between passes if multiple cycles are needed. On thick sections the base metal acts as a heat sink, so longer heating times are normal. Protect adjacent seals, coatings, or dissimilar metals with heat shields or wet rags.
Limitations of Heat on Sensitive Materials
High heat damages plastics, powder coatings, anodized finishes, and many non-ferrous alloys. On those surfaces shift to mechanical methods or carefully controlled low heat combined with scraping. Never rely on heat alone for painted or plated parts without first confirming the substrate can tolerate the temperature.
Solvent Approaches and Their Real Limits on Cured JB Weld
Solvents do not dissolve fully cured JB Weld the way they dissolve uncured resin. Their practical role is limited to softening edges, cleaning residue, or assisting mechanical removal.
Acetone and Similar Solvents in Practice
Acetone softens the outer surface of cured epoxy after prolonged contact (hours to days with continuous saturation under plastic wrap). It does not break the bulk cross-linked structure. After soaking, scrape the softened layer and reapply as needed.
Methyl ethyl ketone (MEK) and some commercial epoxy removers perform better than acetone but still require mechanical follow-up. Vinegar (acetic acid) is occasionally mentioned for light softening but is less effective than ketone solvents. Isopropyl alcohol works only on uncured or very early-stage material.
When Solvents Are Worth Using
Use solvents primarily after heat or grinding has removed the majority of the deposit, or when the part cannot be heated or aggressively abraded. For small removable components, a multi-day acetone soak can make final scraping easier.
Always test solvents on an inconspicuous area first—acetone attacks many paints, plastics, and elastomers. Provide strong ventilation and chemical-resistant gloves; solvent fumes are hazardous in confined spaces.
Why Solvent-Only Strategies Usually Fail
Fully cured thermoset epoxies resist solvent attack. Relying solely on chemicals leads to incomplete removal, wasted time, and residual material that contaminates a weld zone. Combine solvents with mechanical action or heat for practical results.
Surface-Specific Decisions for Minimal Damage
The base material dictates the safest and most efficient sequence.
Metal Surfaces (Steel, Cast Iron, Aluminum)
Prefer heat plus scraping or direct grinding. Steel and cast iron tolerate both methods well. Aluminum requires lower heat and careful grinding to avoid excessive material removal. After cleanup, solvent-wipe the surface to remove any remaining residue before welding or painting.
Plastic, Painted, or Coated Parts
Avoid high heat. Rely on careful scraping with plastic or brass tools, followed by light sanding if needed. Acetone may damage many plastics; test first or use milder solvents. For painted surfaces, mechanical methods risk clear-coat damage—wet-sanding with progressive grits followed by polishing is sometimes required for cosmetic recovery.
Wood and Other Soft Substrates
Use a sharp chisel at a shallow angle to shear the epoxy. A heat gun at moderate temperature (around 450–500 °F) can make the deposit brittle without scorching the wood if kept moving. Finish with light sanding.
Choosing the Right Combination for Clean Results
Most field situations benefit from a hybrid approach. Start with the least aggressive method that matches the surface and available tools. On steel, heat the deposit above 600 °F, scrape the softened mass, then finish with a flap disc or wire brush.
Where heat is restricted, grind bulk material and use solvent only for final residue. Always inspect the cleaned surface under good lighting and, if welding is planned, verify that no epoxy remains in the joint area—residual polymer can produce porosity, lack of fusion, or inclusions.
Wrapping Up
For production or critical repairs, document the removal sequence and verify base-metal condition afterward. Advanced practice includes verifying interpass cleanliness with a solvent wipe and, when required by code, confirming surface preparation meets the welding procedure specification before striking an arc.
Selecting the method that matches both the cure state and the substrate prevents secondary damage and keeps the repair path open for high-integrity welding.


