Welding a table frame is a practical skill that blends creativity, precision, and engineering. Whether you want a sturdy workbench or a custom dining table, building your own frame gives you control over size, style, and strength. Many beginners hesitate because welding feels intimidating.
But with the right guidance, even a newcomer can create a strong, attractive table frame. This article will walk you through every step—from planning to finishing—so you avoid common mistakes and get professional results.
You’ll learn what materials to choose, how to prepare your workspace, step-by-step welding instructions, and tips for long-lasting durability.
By the end, you’ll have the confidence to tackle your first table frame project, and understand what separates amateur work from a polished finish.
Planning Your Table Frame Project
A successful weld starts with good planning. Before you buy materials or fire up your welder, decide exactly what kind of table frame you want. Consider these points:
- Dimensions: Measure the space where your table will sit. Standard dining tables are about 30 inches high, 60 inches long, and 36 inches wide. For a workbench, heights of 34–36 inches are common.
- Weight Capacity: Will your table hold heavy tools, or just dishes? Thicker steel is needed for heavy loads.
- Style: Do you prefer a minimalist look, or something ornate? Sketch your design, including leg placement and supports.
- Materials: Most DIY frames use steel—either square tubing or angle iron. Steel is strong, affordable, and welds easily.
Example Table Frame Sizes
| Table Type | Height (inches) | Length (inches) | Width (inches) | Steel Tubing Size |
|---|---|---|---|---|
| Dining Table | 30 | 60 | 36 | 1.5″ x 1.5″ |
| Workbench | 36 | 72 | 30 | 2″ x 2″ |
| Coffee Table | 18 | 48 | 24 | 1″ x 1″ |
Non-obvious insight: Overbuilding is common—many people use thicker steel than necessary, which adds cost and weight. Use the minimum size that meets your needs.
Choosing Materials And Tools
Picking the right materials and tools is crucial. Here’s what you’ll need:
Materials
- Steel tubing or angle iron: Choose based on your design and weight needs.
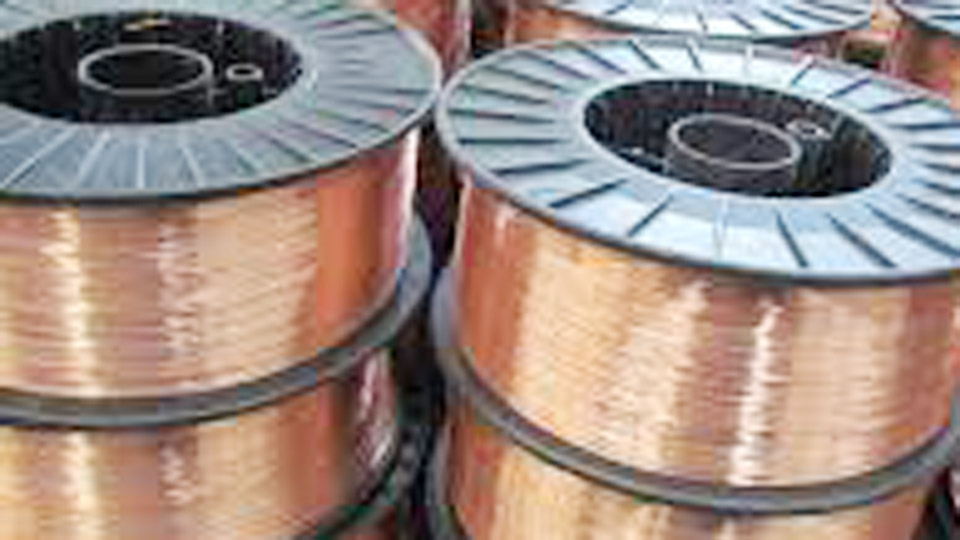
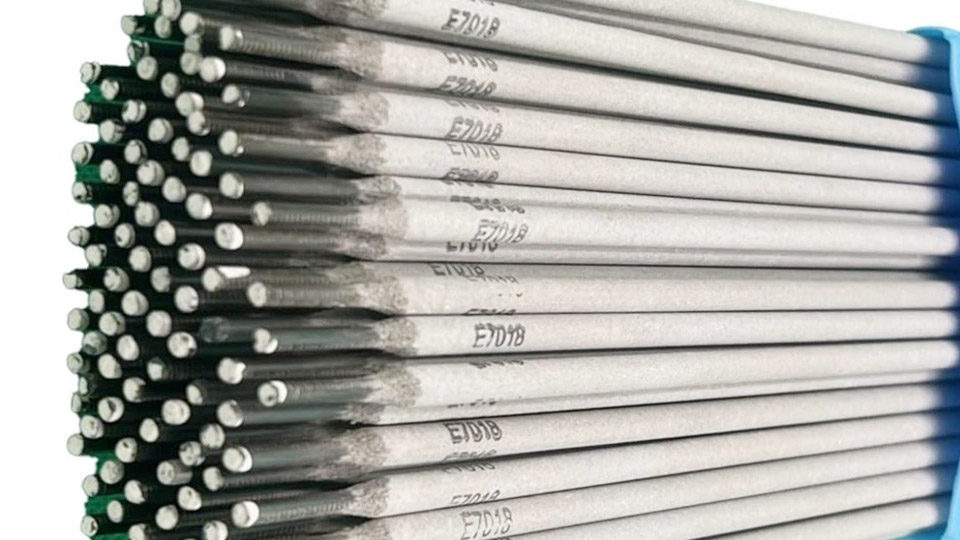
- Welding wire/rods: Match to your steel type.
- Tabletop material: You may add wood or metal after the frame is built.
- Primer and paint: Protects from rust.
- Rubber feet or adjustable legs: Prevent scratches and make leveling easier.
Tools
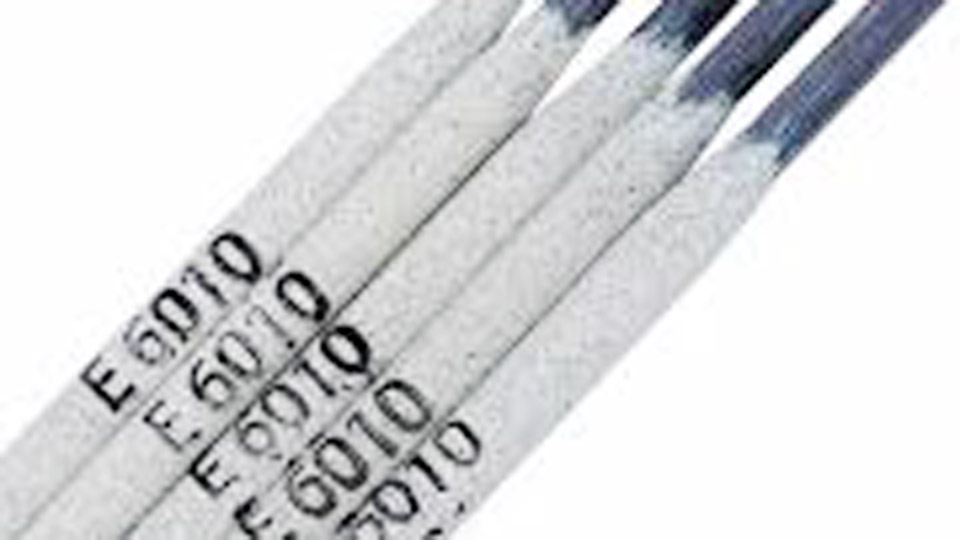
- Welder: MIG welders are beginner-friendly. TIG welders give cleaner results but require skill. Stick welders are robust but harder to use for thin metal.
- Angle grinder: For cutting steel and cleaning welds.
- Measuring tape: Accuracy matters.
- Speed square: Ensures corners are 90 degrees.
- Clamps: Hold pieces in place while welding.
- Safety gear: Welding helmet, gloves, protective clothing.
- Wire brush: For cleaning welds.
Welding Tool Comparison
| Welder Type | Ease of Use | Best For | Cost (USD) |
|---|---|---|---|
| MIG | Beginner | Steel, quick work | $300–$800 |
| TIG | Intermediate | Clean welds, thin metal | $800–$2,000 |
| Stick | Advanced | Thick metal, outdoors | $200–$700 |
Non-obvious insight: MIG welders are not only easier—they also allow you to weld faster, reducing heat distortion. Beginners often overlook this advantage.

Credit: www.youtube.com
Preparing Your Workspace
A clean, safe workspace prevents accidents and improves results.
- Clear area: Remove flammable items and clutter. Welding sparks can cause fires.
- Ventilation: Ensure airflow—welding fumes are dangerous.
- Sturdy work surface: Use a metal table or strong bench.
- Ground your welder: Connect grounding clamp to your workpiece for safety.
- Organize tools: Keep everything within reach.
Example Safety Checklist
- Wear welding helmet at all times.
- Use leather gloves and flame-resistant clothes.
- Keep a fire extinguisher nearby.
- Do not weld near fuel or gas containers.
- Check all cables and hoses for damage.
Many beginners forget to check ventilation, leading to headaches or worse. Always weld in a well-aired space.
Cutting And Measuring Steel
Accuracy at this stage saves frustration later. Use your sketch and measurements to mark the steel.
- Mark cut lines: Use a sharpie or chalk.
- Double-check measurements: “Measure twice, cut once” is vital.
- Cut with angle grinder or saw: Wear eye protection.
- Clean edges: Smooth sharp corners with grinder.
Common Mistakes
- Not cleaning up burrs—sharp edges can cause injury or prevent tight welds.
- Cutting too quickly—fast cuts can lead to uneven edges and wasted material.
Practical tip: Lay out all pieces on the floor before assembling. This checks for errors and helps visualize the frame.

Credit: texasmetalworks.com
Assembling The Frame
Assembling your frame before welding ensures everything fits.
- Arrange steel pieces: Lay out sides, legs, and supports.
- Check for squareness: Use speed square and measuring tape.
- Clamp joints: Prevent movement during welding.
- Dry-fit tabletop: Place the material on top to confirm fit (optional).
Layout Example
For a rectangular table, you’ll need:
- 2 long side pieces (length)
- 2 short end pieces (width)
- 4 leg pieces (height)
- Optional: Cross-supports for stability
Non-obvious insight: Clamping is more important than it seems. Even slight movement during welding can ruin alignment, making the table wobble.
Tack Welding: Securing The Frame
Tack welding holds your pieces together lightly. It’s a temporary weld used before final welding.
- Weld short bursts: Place a small weld (about 1/2 inch) at each joint.
- Check alignment: After each tack, recheck squareness.
- Adjust as needed: If a piece shifts, break the tack and realign.
Tack Weld Placement
- Tack each corner of the frame.
- Tack the tops and bottoms of leg joints.
- Tack cross-supports if used.
Practical tip: Tack only one side first, then rotate the frame and tack the opposite side. This helps prevent warping.
Final Welding: Making Strong Joints
Once everything is tacked and square, it’s time for full welds. This step gives your table frame strength.
- Weld along joints: Move steadily, keeping the torch at the right angle.
- Alternate sides: Weld one side, then the opposite. This reduces heat distortion.
- Clean as you go: Use wire brush to remove slag or spatter.
- Let cool: Allow the frame to rest between welds.
Welding Tips For Beginners
- Keep your hand steady and move at a moderate pace.
- Listen for a steady crackling sound—it means your settings are correct.
- Avoid “burn-through”—don’t linger too long in one spot.
Non-obvious insight: Beginners often weld continuously along one joint. This causes heat buildup and warping. Alternate your welds for a straighter frame.
Grinding And Finishing Welds
Finishing your welds improves appearance and safety.
- Use angle grinder: Smooth out rough welds and sharp edges.
- Check for gaps: Fill holes with extra weld if needed.
- Wipe frame clean: Remove dust and debris.
Weld Appearance Comparison
| Weld Type | Appearance | Strength | Need for Grinding |
|---|---|---|---|
| MIG (beginner) | Some spatter | High | Moderate |
| TIG (expert) | Smooth bead | High | Low |
| Stick | Rough, slag | Very high | High |
Practical tip: A smooth weld is not just for looks—it prevents injuries and makes painting easier.

Credit: bakersgas.com
Adding Supports And Leveling
Supports add strength and prevent wobbling. Leveling ensures your table sits flat.
- Install cross-supports: Weld them between legs or beneath the tabletop.
- Check for level: Use a spirit level on the frame.
- Adjust legs: Weld on adjustable feet if needed.
Types Of Supports
- X-brace: Adds rigidity, prevents side-to-side movement.
- Center bar: Supports heavy tabletops.
- Corner gussets: Reinforce joints.
Non-obvious insight: Many skip leveling until the end. But welding legs slightly out of level can be hard to fix later—check frequently during assembly.
Protecting And Painting The Frame
Steel rusts quickly, so you must protect your work.
- Clean thoroughly: Remove grease, dust, and fingerprints.
- Apply primer: Use a rust-resistant primer.
- Paint or finish: Choose spray paint for even coverage.
- Add feet or pads: Protect floors from scratches.
Painting Tips
- Paint in a well-ventilated area.
- Use several thin coats, not one thick coat.
- Let each coat dry fully before adding another.
Practical tip: Some prefer clear coat for a raw steel look. Others use bold colors to match décor.
Mounting The Tabletop
The frame is only half the job. Attaching a tabletop completes your project.
- Pre-drill holes: In steel and tabletop material.
- Use bolts or screws: Secure wood, metal, or glass tops.
- Add rubber pads: Prevent rattling and damage.
Example Tabletop Materials
- Wood: Most common, easy to work with.
- Metal: Industrial look, heavier.
- Glass: Modern style, needs support around edges.
Practical tip: For wood tops, add a finish to seal and protect against spills.
Troubleshooting Common Problems
Even careful welders face problems. Here’s how to solve them:
- Warped frame: Check for uneven welds and alternate sides during welding.
- Weak joints: Increase weld length or add gussets.
- Rust spots: Re-clean and re-prime before painting.
- Wobbly legs: Check for squareness, add adjustable feet.
Non-obvious insight: If your frame warps, sometimes you can bend it back gently with clamps or a mallet. But prevention is easier than repair.
Safety Reminders For Welding
Welding is powerful but risky. Always follow safety rules.
- Wear eye protection: UV rays can damage eyes.
- Avoid loose clothing: Sparks catch fabric quickly.
- Ventilate workspace: Fumes are toxic.
- Keep water nearby: For burns or fires.
According to the US Bureau of Labor Statistics, welding injuries are most common in hands and eyes. Protective gear reduces risk by over 70%.
Final Thoughts
Building a welded table frame is a rewarding project. Planning, measuring, and careful welding are the keys to success. Take your time, follow safety steps, and don’t be afraid to make adjustments as you go. With a bit of patience and attention to detail, your DIY table frame will last for years—strong, stylish, and uniquely yours.
Frequently Asked Questions
What Is The Best Welder For Beginners?
A MIG welder is ideal. It’s easy to use, fast, and makes strong welds. Many DIYers start with a 110V MIG unit, which works for most table frames.
How Do I Prevent My Table Frame From Warping?
Weld in small sections and alternate sides. Let the frame cool between welds. Clamping the frame tightly also helps. Heat buildup is the main cause of warping.
Can I Weld Indoors?
Yes, but you must have good ventilation. Welding produces fumes that are harmful. Open windows and use fans, or weld outdoors if possible.
What Thickness Of Steel Should I Use For A Table Frame?
For most frames, 16-gauge (1.5mm) to 14-gauge (2mm) steel tubing is strong enough. If your table will hold heavy equipment, use thicker tubing.
How Do I Attach The Tabletop To The Frame?
Pre-drill holes in both the frame and tabletop. Use bolts or wood screws for wood tops. For glass, use special clips or pads to prevent slipping.