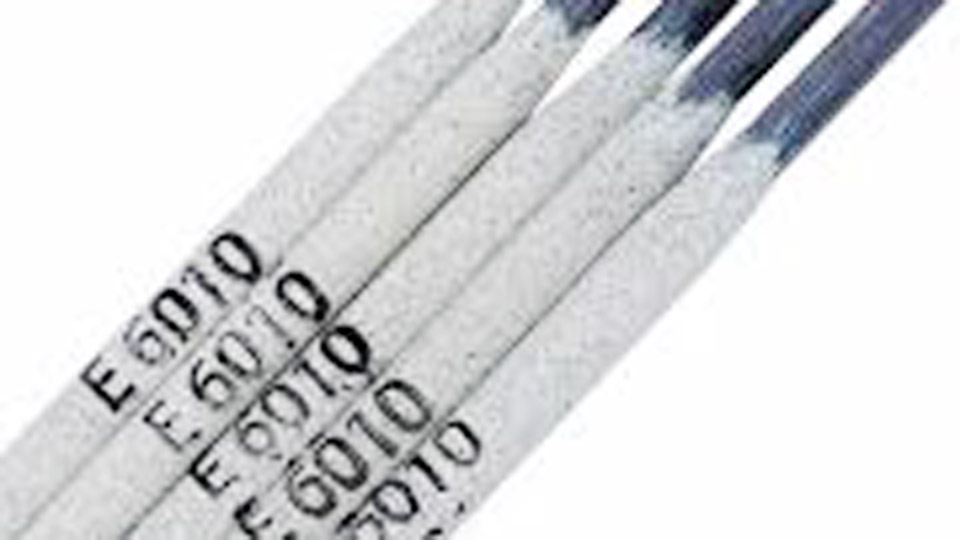
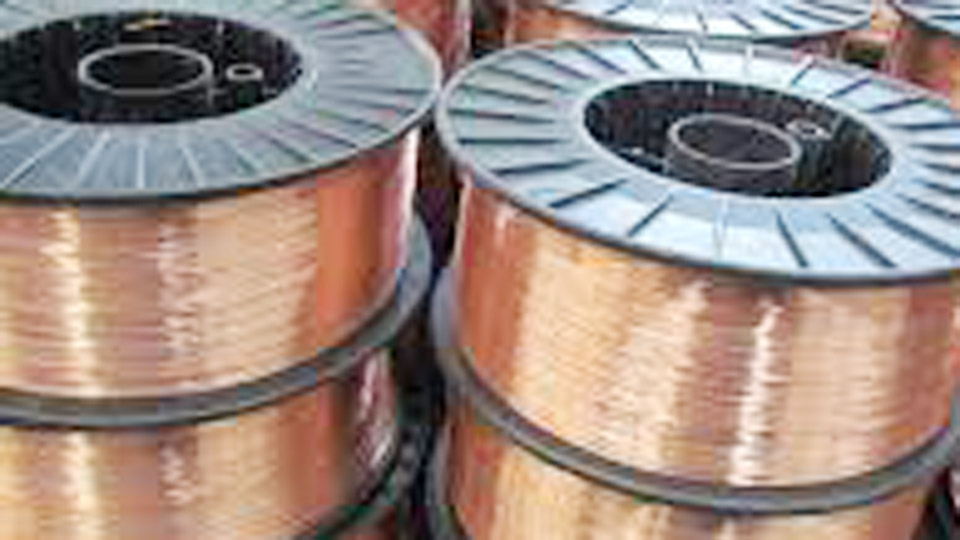
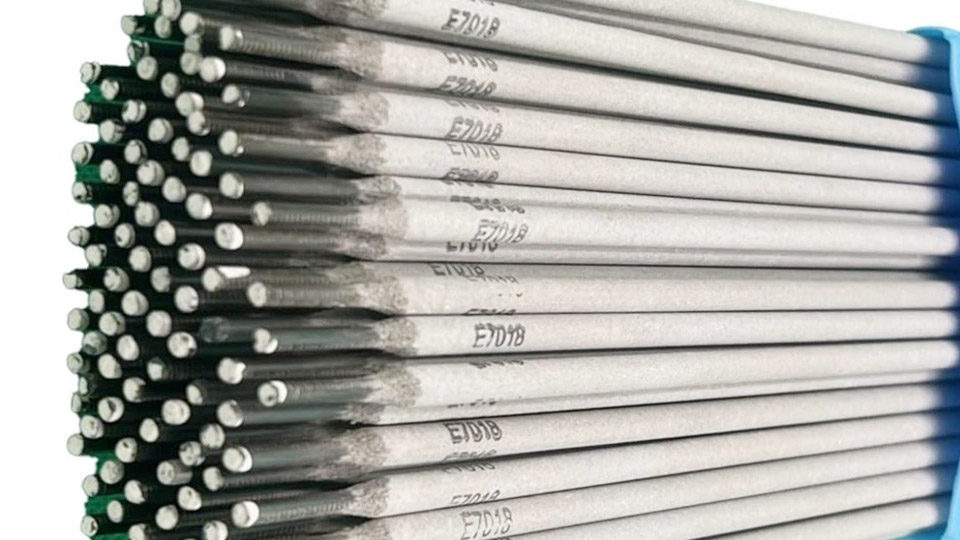
Welding table legs is a practical skill that can transform raw metal into strong, stylish furniture. Whether you’re building a desk, dining table, or workbench, welded legs offer stability and a modern look.
Many beginners feel nervous about welding, but with the right guidance, you can achieve professional results safely and efficiently.
This article breaks down each step, from choosing materials to finishing touches, so you can create table legs that are both attractive and durable.
Planning Your Table Legs
Before you start welding, it’s important to plan your project carefully. The right materials, measurements, and design will save you time and frustration.
Choosing Metal Types
Most table legs are made from steel tubing. Steel is strong, easy to weld, and affordable. Square tubing is popular for modern tables, while round tubing fits classic styles.
For outdoor tables, consider stainless steel; it resists rust and weather. Aluminum is lightweight but harder to weld for beginners.
| Metal Type | Strength | Rust Resistance | Welding Difficulty | Cost |
|---|---|---|---|---|
| Steel | High | Low | Easy | Low |
| Stainless Steel | High | High | Medium | High |
| Aluminum | Medium | Medium | Hard | Medium |
Designing The Legs
Measure your table top and decide how tall and wide the legs should be. Standard dining table height is about 30 inches. For desks, 28–30 inches works well. If you want a custom height, mark your measurements clearly.
Decide on leg shape. Common options are:
- Straight legs – Simple, easy to weld.
- Angled legs – Stylish, need careful measuring.
- Hairpin legs – Retro look, usually made from round bar.
Sketch your design with exact dimensions. This avoids mistakes and wasted materials.
Calculating Materials
Buy enough metal tubing for four legs. For a rectangular table, calculate:
- Leg height
- Width of top plate (to attach to table)
- Extra for mistakes (add 10% more)
For example, a 30-inch high table with 2-inch square tubing:
- Four legs x 30 inches = 120 inches
- Add four 4-inch plates = 16 inches
- Total = 136 inches (about 11.3 feet)
Order tubing in standard lengths (usually 8 or 10 feet) to minimize waste.
Tools And Safety Equipment
Welding is safe if you use the right gear. Prepare your workspace and check your equipment before starting.
Essential Tools
You’ll need:
- Welder (MIG is easiest for beginners)
- Angle grinder (for smoothing welds and cutting)
- Measuring tape
- Metal saw or cut-off wheel
- Clamps (to hold pieces steady)
- Square (to keep angles correct)
- Marker or chalk (for marking cuts)
Safety Gear
Never weld without protection. Wear:
- Welding helmet (auto-darkening is best)
- Leather gloves
- Long-sleeve shirt (fire-resistant)
- Safety glasses
- Steel-toe boots
- Welding apron (optional, but helpful)
Keep a fire extinguisher nearby. Remove flammable items from your workspace.
Setting Up Your Workspace
Work in a well-ventilated area. Welding produces fumes; a fan or open window helps. Use a sturdy metal table or welding bench. Keep tools within reach and organize cables to avoid tripping.
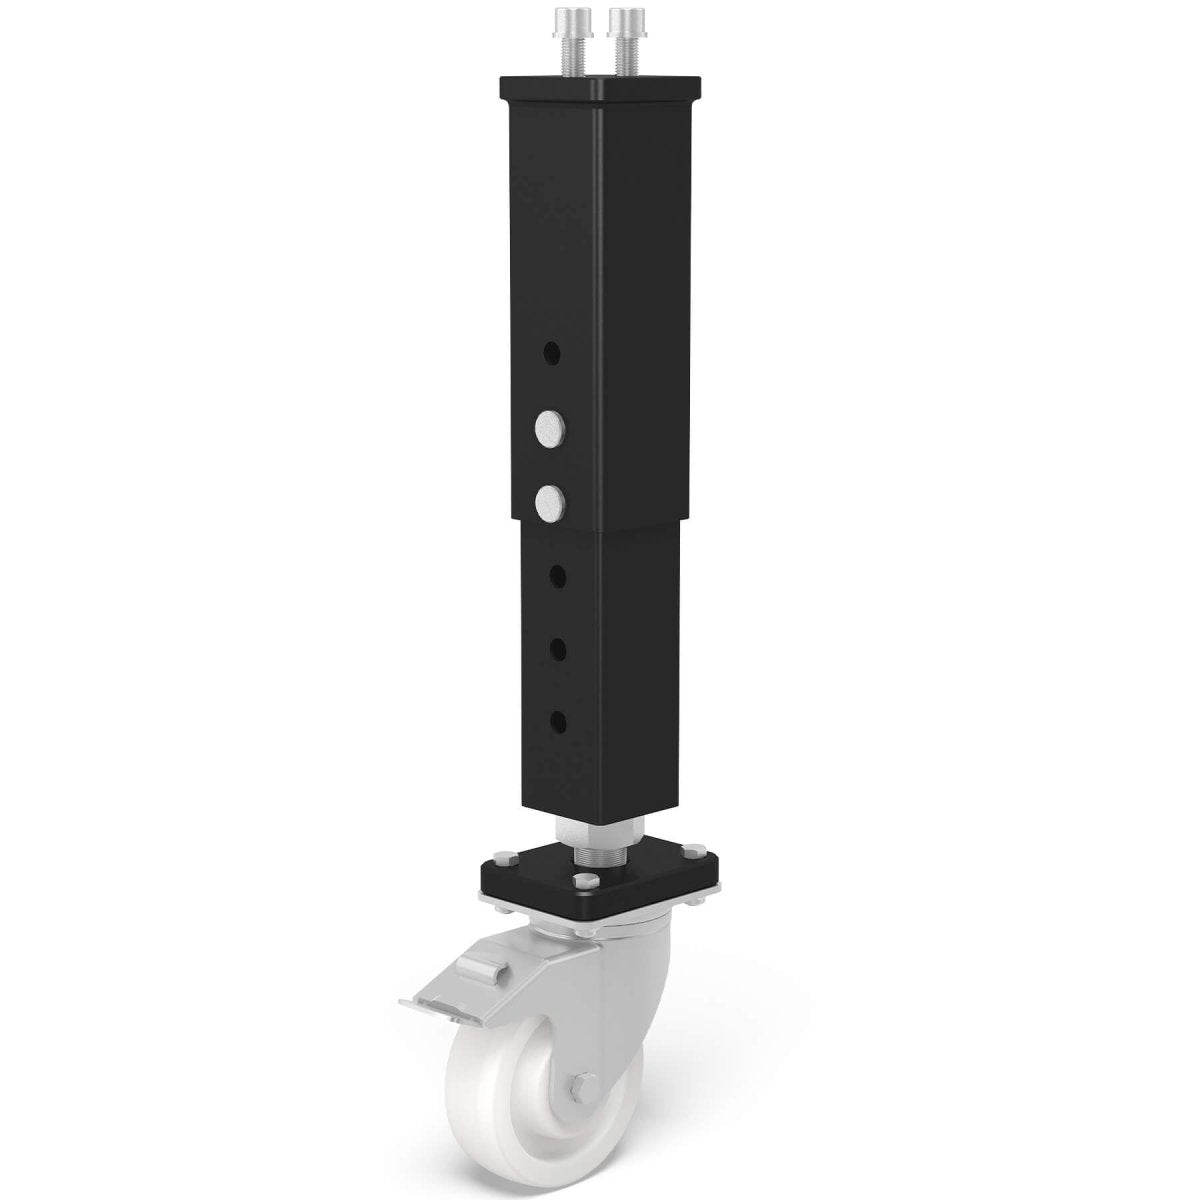
Credit: weldingtablesandfixtures.com
Cutting And Preparing Metal
Accurate cuts are key to strong welds. Take your time with this step.
Marking And Measuring
Measure each leg length twice before cutting. Use a square to mark lines perpendicular to the tubing. Mark the top plates and any angled cuts.
Cutting Tubing
Use a metal saw or angle grinder with a cut-off wheel. Clamp the tubing securely. Cut slowly to avoid jagged edges. After cutting, check that all legs are the same length.
Cleaning Metal Surfaces
Welds stick best to clean metal. Use a wire brush or grinder to remove paint, rust, and oil. Clean the ends where you’ll weld. Wipe with a dry cloth.
Deburring Edges
Sharp edges can cause injury and poor welds. Use a file or grinder to smooth cut ends. This also helps the weld penetrate better.
Assembling The Leg Components
Now you’re ready to join your pieces. Good assembly makes welding easier.
Dry Fitting
Arrange all parts on your table before welding. Check that legs are straight and plates fit snugly. Use clamps to hold everything in place.
Checking Angles
Use a square to make sure legs are perpendicular. For angled legs, double-check your measurements. Mistakes here are hard to fix later.
Tack Welding
Tack welds are small spots that hold parts together. Tack each joint before full welding. This lets you adjust the position if needed.
- Place a tack at each corner.
- Check alignment after each tack.
- If anything is crooked, break the tack with a hammer and redo.
Welding Table Legs
This is the main step. Take it slow and focus on quality.
Choosing Welding Technique
MIG welding is easiest for beginners. It uses a wire feed and gas to protect the weld. TIG welding gives cleaner results but needs more skill. Stick welding works for thick steel but is harder to control.
Full Welding
Once tacked, weld each joint fully. Move the welder slowly and steadily. Keep the tip close to the metal (about 1/4 inch). Weld all sides of the joint for strength.
- Start with the vertical seams.
- Then weld the horizontal seams.
- Avoid overheating – pause if the metal gets too hot.
Welding Sequence
Weld in a sequence to reduce warping:
- Weld one side, then the opposite.
- Move to the next leg.
- Let each weld cool before moving on.
This prevents legs from bending due to heat.
Checking Weld Quality
Look for smooth, even welds. Avoid gaps or holes. If you see bubbles or cracks, grind them out and reweld.
| Weld Appearance | Strength | Common Issues |
|---|---|---|
| Even, smooth bead | High | None |
| Bumpy or uneven | Medium | Poor penetration |
| Cracked or porous | Low | Overheating, dirty metal |
Cooling
Let your welds cool naturally. Don’t spray with water – it can weaken the metal. After cooling, inspect each joint for strength.
Grinding And Finishing
After welding, your table legs may have rough spots or extra metal. Finishing improves both look and safety.
Grinding Welds
Use an angle grinder to smooth out welds. Wear safety glasses. Grind until the joint is flush with the tubing. Don’t remove too much – you want strong connections.
Filling Gaps
If you see small holes, fill them with extra weld. Then grind again. For larger gaps, consider adding a small plate or re-welding.
Sanding
Sand the entire leg with coarse, then fine sandpaper. This removes scratches and prepares for paint.
Cleaning
Wipe with a damp cloth to remove dust. Let dry before moving on.
Attaching Legs To The Table
Now that your legs are finished, it’s time to connect them to the table top.
Adding Mounting Plates
Most table legs attach with mounting plates. Weld a flat steel plate to the top of each leg. Drill holes in the plate for screws. Plates should be at least 3 inches wide for stability.
Positioning Legs
Place legs at each corner of the table. Measure the distance from the edges to keep them even. Mark screw holes on the underside of the table.
Securing With Screws
Use heavy-duty wood screws to attach the plates. Tighten each screw slowly. Don’t overtighten – it can crack wood. For stone or metal tops, use appropriate anchors.
Checking Stability
Flip the table upright. Push gently on each side to test wobble. If legs move, tighten screws or add support brackets.
Painting And Protecting Your Table Legs
Proper finishing keeps your table legs looking good for years.
Choosing Paint
Pick paint made for metal, like enamel spray paint. For outdoor tables, use rust-resistant paint.
Preparing For Paint
Cover your workspace with plastic or paper. Hang or prop up legs so you can reach all sides.
Applying Paint
- Shake the can well.
- Spray in light, even coats.
- Let dry between coats (about 30 minutes).
- Apply 2–3 coats for full coverage.
Adding Protective Finish
For extra protection, use a clear coat. This seals the paint and prevents scratches.
Tips For Long-lasting Finish
- Avoid painting in damp weather.
- Let paint cure fully (24–48 hours).
- Clean legs regularly with a soft cloth.

Credit: www.youtube.com
Common Mistakes And How To Avoid Them
Many beginners make errors that can be avoided with careful planning.
- Incorrect measurements – Double-check before cutting.
- Poor alignment – Use a square for every joint.
- Not cleaning metal – Dirty surfaces cause weak welds.
- Overheating – Weld slowly and let joints cool.
- Skipping safety gear – Always wear protection.
- Ignoring mounting plates – Plates prevent wobble.
Non-obvious insight: When welding angled legs, the direction of the angle matters. If all legs angle outward, the table will be more stable, but if they angle inward, it may tip more easily.
Also, weld thickness is more important than weld length for strength—focus on deep penetration rather than just long beads.
Practical Tips For Successful Welding
A few expert tips can make your project easier and safer.
- Practice on scrap metal before welding your table legs.
- Use clamps to hold legs steady during welding.
- Mark each piece with chalk to avoid confusion.
- Always grind welds before painting for best results.
Another tip: If your table is heavy, consider adding cross braces between legs. This improves stability and prevents wobbling, especially for wide tables.
Example Project: Building Steel Table Legs
Let’s walk through a real-world example.
Suppose you want to build four straight legs for a 30-inch high desk with a wood top.
- Buy 2-inch square steel tubing (10 feet).
- Cut four pieces, each 30 inches long.
- Weld a 4-inch square plate to the top of each leg.
- Drill four holes in each plate for screws.
- Grind and sand all welds.
- Paint with rust-resistant enamel.
- Attach legs to table corners with wood screws.
This method gives you strong, modern table legs that last for years.
Comparing Welded Vs. Pre-made Table Legs
You might wonder if welding is worth it compared to buying pre-made legs.
| Factor | Welded Legs | Pre-Made Legs |
|---|---|---|
| Strength | Customizable, very strong | Varies, sometimes weaker |
| Style | Any design you want | Limited options |
| Cost | Low material cost, labor intensive | Higher cost, ready to use |
| Time | Several hours | Minutes to install |
| Skill Needed | Medium to high | None |
Welding lets you create exactly what you want, but takes more effort and skill.

Credit: www.youtube.com
Frequently Asked Questions
How Thick Should Table Leg Tubing Be?
For most tables, 2-inch square tubing with a wall thickness of 1/8 inch is strong enough. For heavy tables or workbenches, use 3/16 inch thick tubing.
Can I Weld Table Legs Without A Mig Welder?
Yes, but MIG welding is easiest for beginners. Stick and TIG welders also work, but TIG needs more skill, and stick welding can be messy.
What Type Of Paint Is Best For Metal Table Legs?
Use enamel spray paint or rust-resistant paint. For outdoor tables, look for paint labeled “exterior” or “weatherproof.” Always clean and sand legs before painting.
How Do I Prevent Table Legs From Wobbling?
Wobble is usually caused by uneven legs or weak mounting plates. Use a square to check angles, and weld a cross brace between legs for extra stability.
Is Welding Table Legs Dangerous?
Welding can be safe if you follow proper precautions. Always wear safety gear, keep your workspace clean, and avoid flammable materials. Read safety instructions for your welder and tools. For more safety tips, visit OSHA Welding Safety.
Final Thoughts
Creating welded table legs is both rewarding and practical. You get custom furniture that’s strong, stylish, and uniquely yours. With careful planning, the right tools, and good technique, even beginners can achieve professional results. Remember to measure twice, weld safely, and finish your legs well for a table that lasts.
If you ever feel unsure, practice on scrap metal and ask experts for advice. Welding is a skill you can improve with each project, and your tables will reflect your craftsmanship.