Building your own steel welding table is one of the smartest choices for anyone serious about metalwork. Whether you’re a hobbyist, a professional welder, or a beginner, a strong, flat work surface can make every project safer and easier. Ready-made tables often cost more and may not suit your workspace.
Creating your own lets you customize the size, features, and durability. This guide explains every step, from planning to finishing touches, using clear language and practical advice. With careful planning and the right tools, you can build a table that will last for decades.
Why Build A Steel Welding Table?
A welding table is more than just a surface. It’s your main work area for cutting, grinding, and welding steel. Unlike wood tables, steel tables resist heat, sparks, and damage. They also make it easy to attach clamps and grounding cables.
Key benefits of a steel welding table:
- Withstands high temperatures and heavy loads
- Provides a stable, flat surface for accurate work
- Allows for magnetic clamps and fixtures
- Can be customized with shelves, wheels, or holes
Most professionals say a good welding table improves speed and safety. According to a survey from the American Welding Society, 87% of welders prefer steel tables over wood or aluminum for daily work.
Planning Your Welding Table
Before you start cutting steel, spend time planning. This stage saves money and prevents mistakes.
Decide On Size And Features
First, measure your workspace. Think about the projects you’ll do. A common size is 36 inches x 72 inches, but you can build smaller or larger.
Ask yourself:
- How much space do I need for welding, cutting, and assembly?
- Will I move the table often? If yes, consider adding wheels.
- Do I need storage for tools or materials?
Beginners often forget to leave enough room for walking around the table. A good rule: leave at least 36 inches between the table and any walls.
Choose Materials
The main parts are:
- Tabletop: Usually made from 1/4″ or 3/8″ thick steel plate
- Frame: Use square steel tubing, typically 2″ x 2″ with 1/8″ wall thickness
- Legs: The same tubing as the frame or slightly thicker
If you plan to weld heavy items, use thicker steel for the tabletop. For light work, 1/4″ is enough.
Draft A Simple Sketch
Draw your table on paper. Mark the dimensions, leg positions, and any extra features (like shelves). This helps you buy the right materials and keeps you organized.
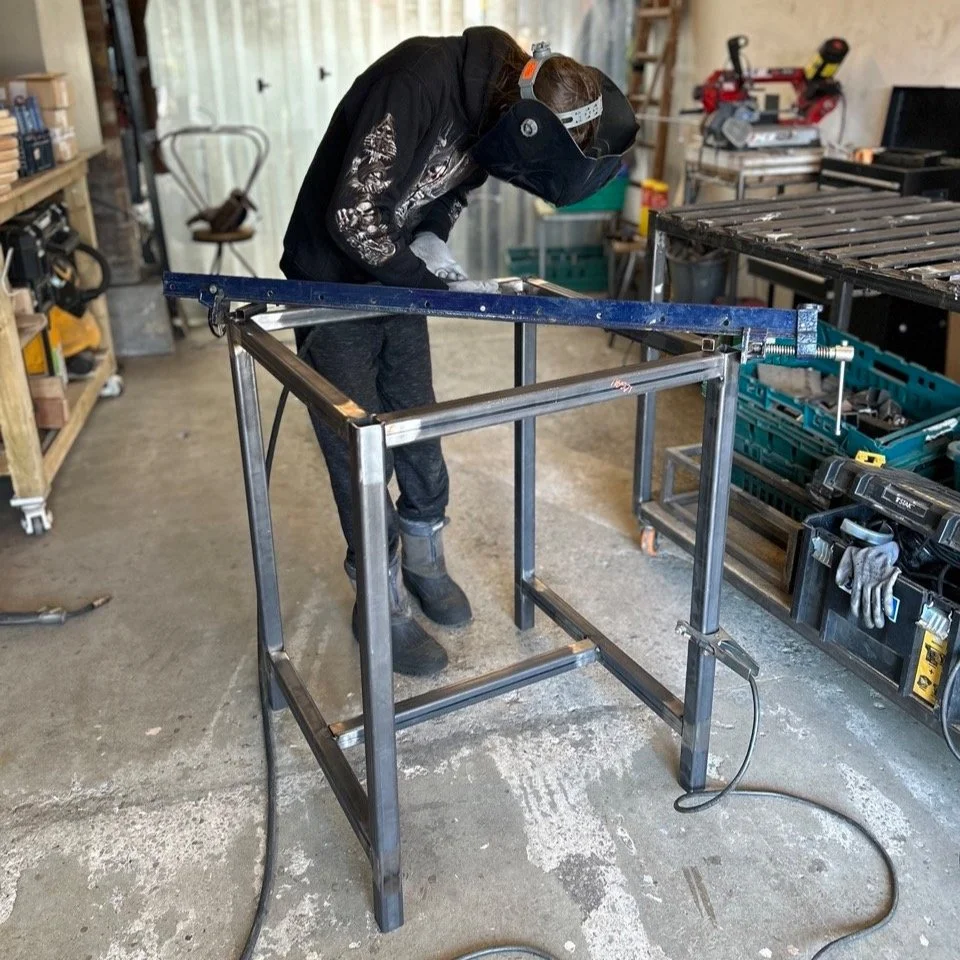
Credit: theweldspace.co.uk
Tools And Materials Needed
Gather all tools and materials before starting. Missing items can stop your project halfway.
Essential tools:
- Angle grinder (with cutting and grinding discs)
- Welding machine (MIG or stick preferred)
- Tape measure
- Clamps
- Square
- Drill (for holes)
- Metal brush
- Safety gear (gloves, helmet, glasses)
Materials list:
- Steel plate for tabletop
- Square steel tubing for frame and legs
- Optional: Casters (wheels), steel mesh (for shelves), bolts
- Rust-resistant paint or coating
Experienced builders recommend buying a little extra steel—mistakes happen, and spare material helps.
Comparing Tabletop Thickness And Frame Materials
Choosing the right steel thickness is important. Here’s a quick comparison:
| Tabletop Thickness | Best For | Weight (36″ x 72″) | Cost Range |
|---|---|---|---|
| 1/4″ (6.4mm) | Light duty, home shops | ~160 lbs | $100-$180 |
| 3/8″ (9.5mm) | Medium-heavy work | ~240 lbs | $180-$300 |
| 1/2″ (12.7mm) | Industrial, heavy welding | ~320 lbs | $250-$400 |
For most users, 1/4″ steel plate is strong enough. If you frequently weld thick parts, choose 3/8″ or higher.
Step-by-step Construction Guide
Follow these steps for building your steel welding table. Each step includes practical tips and common mistakes to avoid.
1. Cut Steel Tubing For Frame And Legs
Use your sketch to measure and mark each piece. Double-check measurements before cutting. An angle grinder or chop saw works best.
Common mistake: Not wearing safety gear. Always use gloves and eye protection when cutting steel.
2. Assemble The Frame
Lay out the tubing on a flat surface. Use a square to check corners. Clamp pieces together to hold them steady. Tack weld each joint (small welds) before fully welding.
Tip: Tack welds let you adjust the frame if something is crooked. Only make full welds when you’re sure everything is straight.
3. Weld The Legs To The Frame
Position the legs at each corner. Make sure they’re vertical using a level. Tack weld, check again, then finish the welds.
Insight: Beginners often skip checking for level legs. An uneven table will wobble and frustrate you later.
4. Attach The Tabletop
Place the steel plate on the frame. Align it so each edge is flush. Use clamps to hold it in place. Weld the plate to the frame in short sections, allowing the steel to cool between welds. This prevents warping.
Advanced tip: For extra flatness, weld the plate from the center outward in alternating sides.
5. Add Optional Features
Depending on your needs, add shelves, wheels, or holes for clamps.
- For shelves: Weld steel mesh or plate between the legs.
- For wheels: Bolt heavy-duty casters to the legs.
- For clamp holes: Drill holes along the tabletop’s edge.
Non-obvious insight: Adding holes for clamps increases your flexibility, especially for odd-shaped projects.
6. Clean And Finish
Remove slag and spatter from welds with a metal brush or grinder. Wipe the table with a solvent to remove grease and dust. Paint any surfaces that won’t be used for welding to prevent rust.
Mistake to avoid: Painting the tabletop itself. Bare steel is best for welding—paint can melt and contaminate your welds.
Example Build: 36″ X 72″ Welding Table
Let’s look at a real-world example to make things clearer.
Materials:
- 1 steel plate, 36″ x 72″ x 1/4″
- 8 pieces of 2″ x 2″ tubing for frame (each 72″ and 36″)
- 4 legs, 2″ x 2″ tubing, 36″ tall
- 1 shelf, steel mesh, 30″ x 66″
- 4 heavy-duty casters
Build steps:
- Cut all tubing to size.
- Assemble frame with tack welds, check for square corners.
- Weld legs to frame, check for level.
- Attach tabletop, weld in short sections.
- Add shelf by welding mesh between legs.
- Bolt casters to legs.
- Clean welds, wipe down, and paint frame.
This table weighs about 160 pounds and costs around $350 if you buy new steel. Many users save money by finding scrap steel or used plates.
Safety Tips For Building And Using Your Welding Table
Steelwork involves risks. Protect yourself and your workspace.
- Always wear welding gloves, helmet, and eye protection
- Work in a well-ventilated area
- Keep fire extinguisher nearby
- Check all electrical connections for safety
- Use clamps to hold steel, never your hands
According to OSHA, over 60% of welding injuries happen because of poor safety practices. Take safety seriously—it’s easier to prevent accidents than fix them.
Comparing Diy Vs. Store-bought Welding Tables
Is it better to build your own table or buy one? Here’s a quick comparison:
| Feature | DIY Table | Store-Bought Table |
|---|---|---|
| Cost | $250–$500 | $600–$2,000 |
| Customization | Fully customizable | Limited options |
| Quality | Depends on builder | Consistent quality |
| Assembly Time | 8–12 hours | 1–2 hours |
| Personal Satisfaction | High | Low–Medium |
Building your own table saves money and lets you add features like shelves, wheels, or custom sizes.
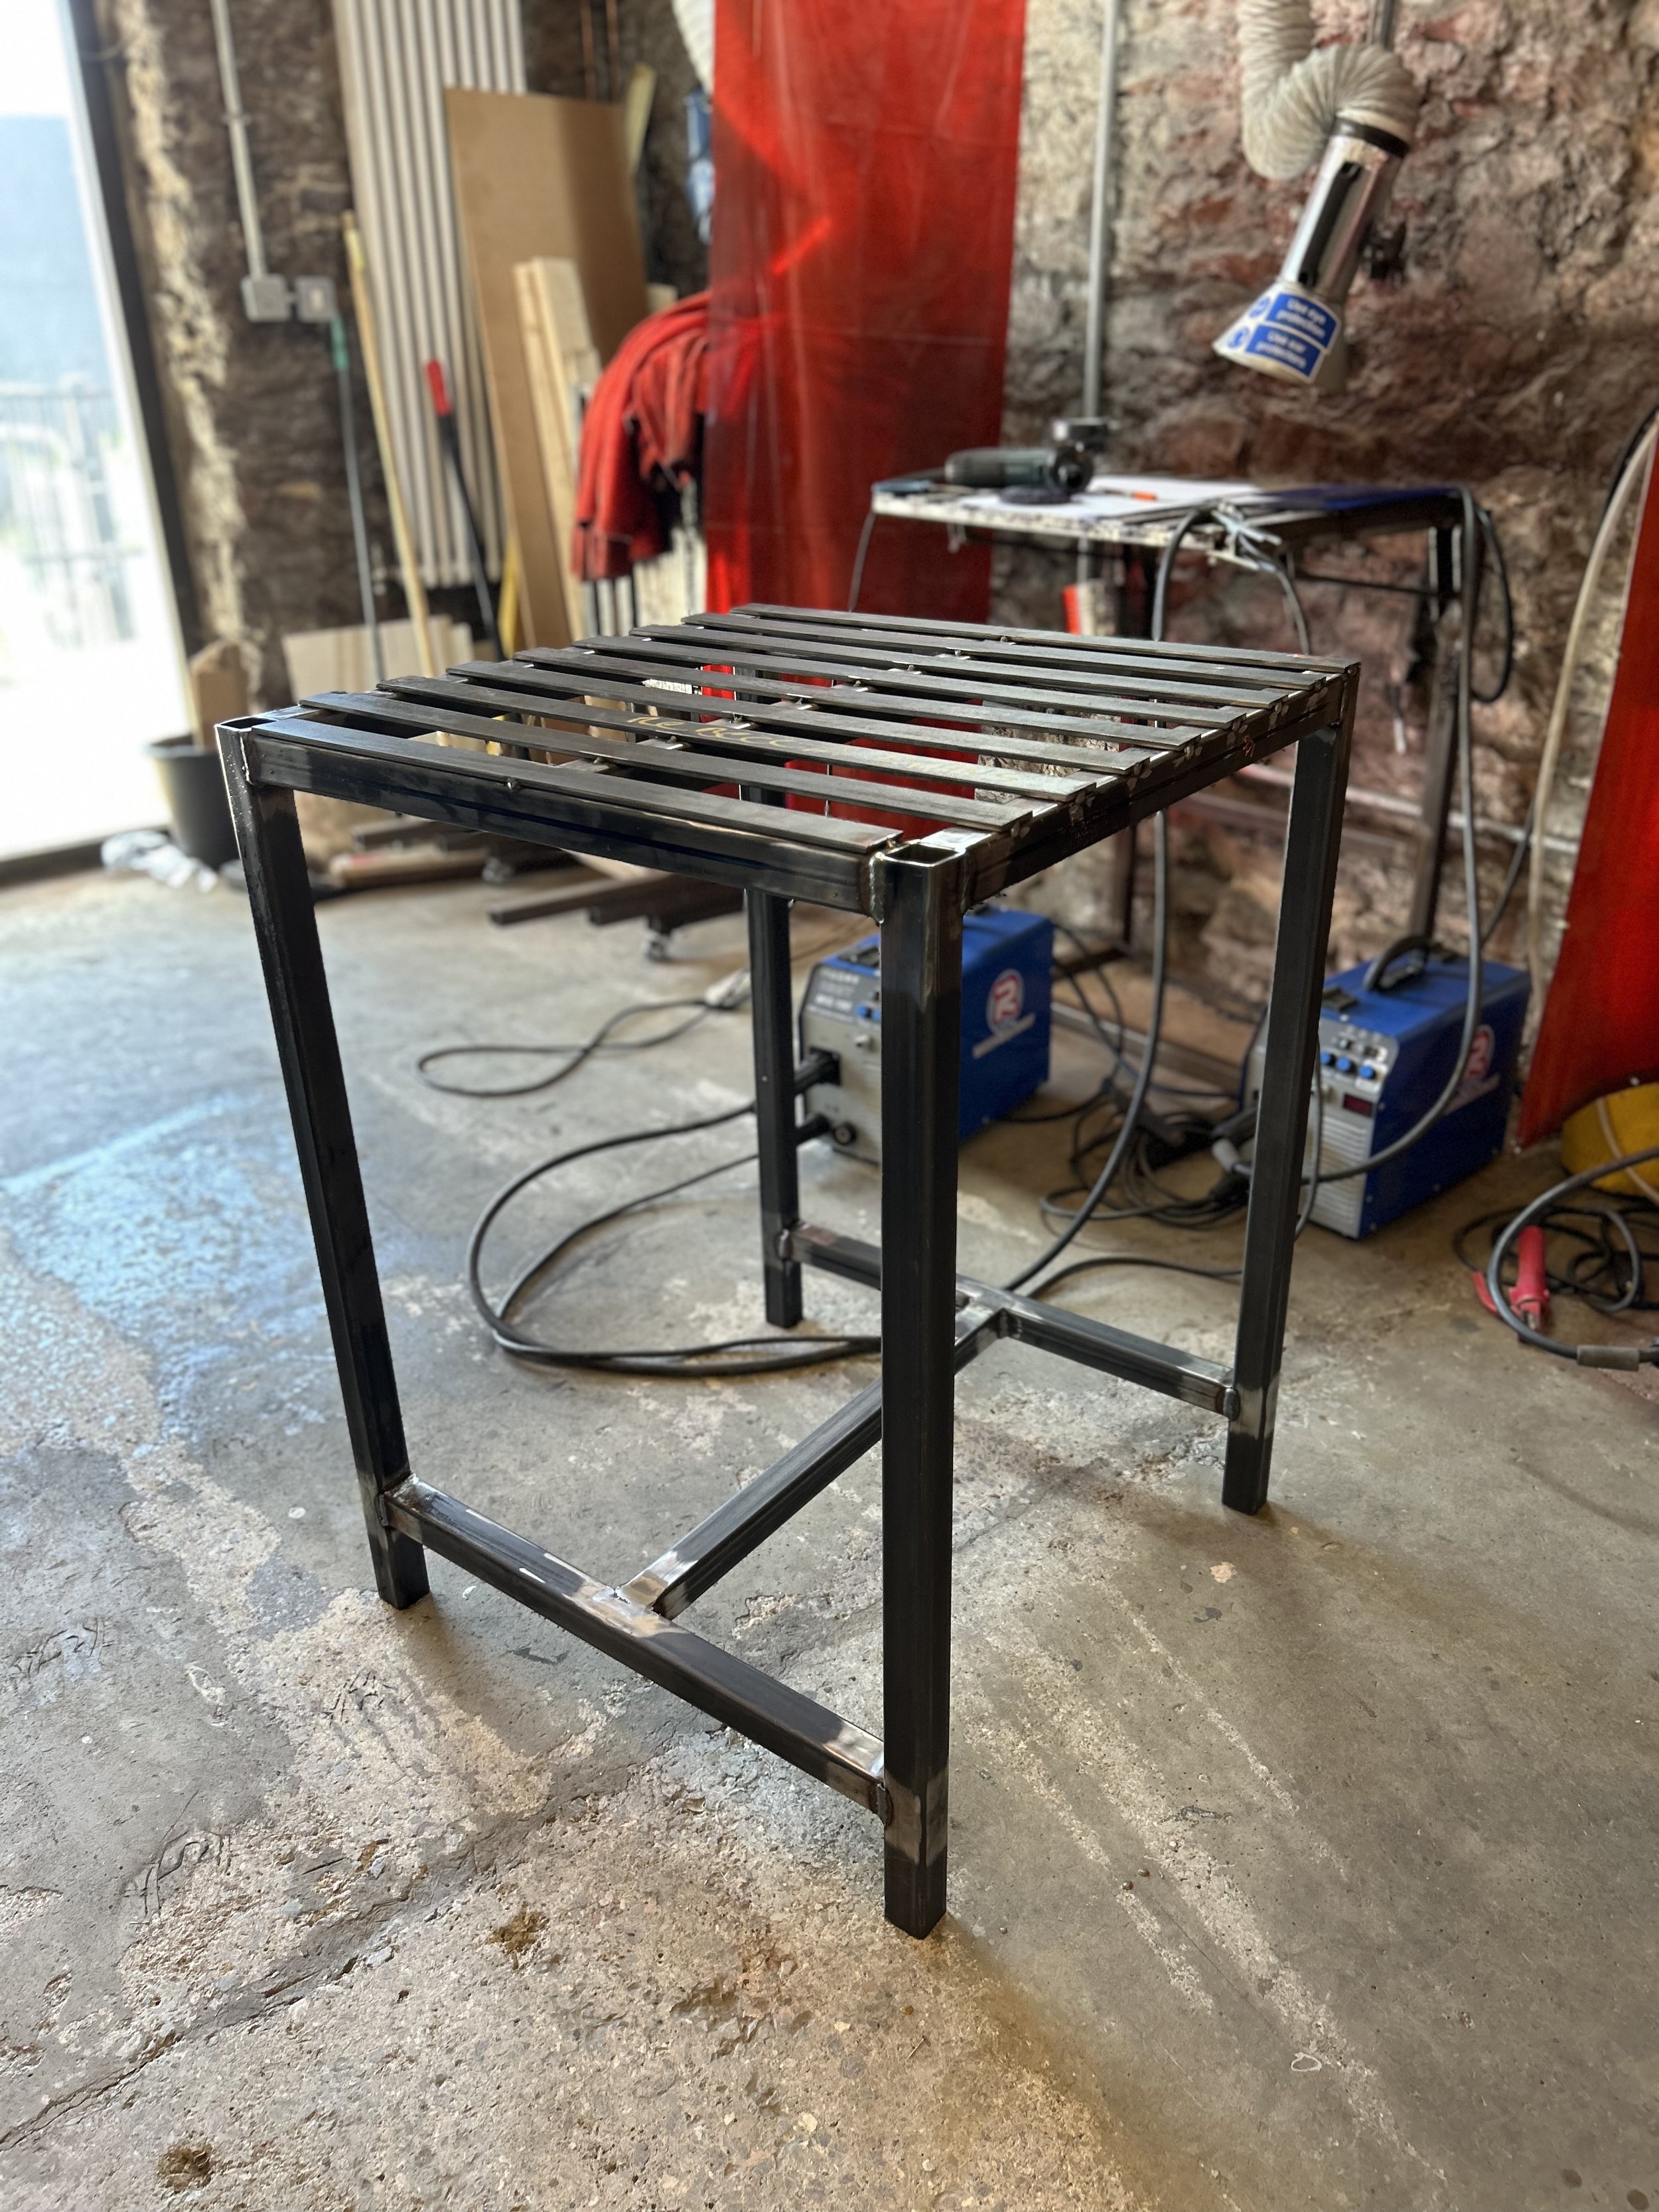
Credit: theweldspace.co.uk
Practical Tips For A Better Welding Table
Experienced welders often share advice that beginners miss. Here are some tips to make your table more useful:
- Install grounding lugs: These make attaching the welder’s ground cable easier and safer.
- Add a vise: Bolt a heavy-duty vise to one corner for holding parts during grinding or cutting.
- Make the table mobile: Use locking casters so you can move the table but keep it steady during work.
- Plan for tool storage: Weld hooks or add drawers under the table for easy access to tools.
- Keep the tabletop flat: Check for warping after each weld. Use straight edges to confirm flatness.
- Leave room for expansion: Design your table so you can add features later, like side extensions or extra shelves.
Non-obvious insight: Many professionals use removable slats instead of a solid tabletop. This lets sparks and debris fall through, keeping the surface cleaner.
Maintenance And Longevity
A steel welding table can last for decades with proper care.
Basic maintenance steps:
- Clean the tabletop with a wire brush after each use
- Wipe with oil to prevent rust if you live in a humid area
- Check welds for cracks or damage every few months
- Repaint frame as needed
If you see rust forming, sand it off and apply fresh paint. Avoid using the table for corrosive chemicals—they can damage the steel.
Common Mistakes And How To Avoid Them
Even skilled builders make mistakes. Here are some to watch for:
- Poor measurements: Double-check all cuts before welding.
- Weak welds: Use enough heat and proper technique for strong joints.
- Warped tabletop: Weld in small sections and let the steel cool between welds.
- Ignoring safety: Always wear protective gear and keep your area clean.
- Overloading: Don’t place heavy items beyond your table’s rated weight.
An overlooked mistake is forgetting to ground the table. Proper grounding prevents electric shocks and improves welding quality.
Budgeting Your Project
Cost is often a concern. Here’s how to estimate your expenses:
- Steel plate: $100–$300
- Tubing: $80–$150
- Casters: $40–$80
- Welding supplies: $40–$70
- Paint/coating: $20–$40
- Total: $280–$640
Using local steel suppliers or scrap yards can save money. Many builders spend less by reusing old steel.
Advanced Features For Experienced Welders
If you want more than a basic table, consider these upgrades:
- Plasma cutting tray: A removable tray for cutting with plasma, keeps sparks contained.
- Fixture holes: A grid of holes for attaching jigs and clamps.
- Adjustable height: Use telescoping legs or hydraulic lifts for comfort.
- Integrated power outlets: Add outlets to the frame for easy access to tools.
Adding these features increases complexity but makes your table more versatile. Make sure you have the skills and tools before attempting advanced upgrades.
Environmental Considerations
Steel production impacts the environment. Choosing recycled steel or repurposing old materials can reduce your footprint. According to the EPA, recycling steel saves 75% of the energy compared to producing new steel.
If you care about sustainability, ask suppliers about recycled steel options. Also, dispose of paint, solvents, and welding rods responsibly.
Real-life Example: Welders Share Their Experience
Many welders prefer homemade tables. For example, Mike from Texas built a 48″ x 72″ table with a 3/8″ plate. He says, “I saved $700 compared to buying new, and my table fits my shop perfectly.” Another welder, Sarah from Ohio, added clamp holes and a vise. Her advice: “Plan for storage—you’ll thank yourself later.”
These examples show that DIY tables offer customization and savings. Most users report high satisfaction with their tables, even after years of use.
Wrapping Up
Building a steel welding table is rewarding and practical. With careful planning, the right tools, and attention to detail, you’ll create a workspace that lasts for years. You’ll save money, customize your table for your needs, and enjoy the satisfaction of building something with your own hands.
Frequently Asked Questions
What Is The Best Steel Thickness For A Welding Table?
For most home shops, 1/4″ steel plate is strong enough. If you weld heavy parts, use 3/8″ or 1/2″ for extra durability. Thicker plates resist warping and damage better.
How Much Does It Cost To Build A Steel Welding Table?
Expect to spend $250–$600 for materials, depending on size and steel prices. Using scrap or recycled steel lowers costs. Store-bought tables often cost $800 or more.
Can I Use Aluminum Instead Of Steel?
Steel is preferred because it’s strong, heat-resistant, and easy to weld. Aluminum is lighter but doesn’t handle heat and sparks as well. It’s also harder to weld for beginners.
How Do I Prevent My Table From Rusting?
Clean the tabletop after each use. Wipe with oil or use a rust inhibitor. Paint the frame, but leave the tabletop bare for welding. If you live in a humid area, check for rust regularly.
Should My Welding Table Be Grounded?
Yes, grounding improves safety and welding quality. Attach a grounding lug to the table and connect your welder’s ground cable. This prevents electric shocks and improves arc stability.