Air compressor tank repair is one of the most debated welding topics because the wrong repair method can turn a pressure vessel into a serious safety hazard. Corrosion, pitting, cracked welds, and metal fatigue all affect whether a damaged tank can be repaired or should be replaced.
Even a technically sound weld can fail if the remaining steel has lost its strength, penetration is inadequate, or excessive heat causes distortion in already weakened material.
Understanding these factors is essential before striking an arc, since improper repairs may lead to air leaks, failed inspections, costly rework, or catastrophic tank rupture under pressure.
I’ll explain how to evaluate tank damage, when welding is appropriate, which repair methods are considered safe, and the warning signs that indicate replacement is the only reliable solution. It is written to help welders and equipment owners make informed decisions based on sound welding practices rather than guesswork.
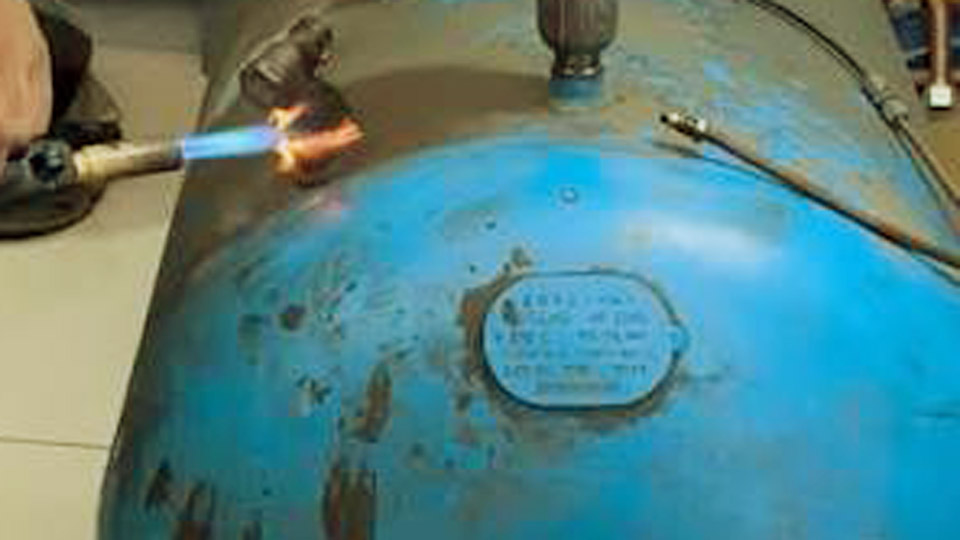
Image by deltatools_official
Diagnosing Common Air Compressor Tank Failures
Identifying Leak Sources and Corrosion Patterns
Start with a systematic leak detection under controlled pressure. Pressurize the tank to 80-100 PSI (below normal cut-in to minimize risk), then apply a soapy water solution across seams, welds, fittings, and the tank body. Bubbles pinpoint exact failure points.
External pinholes often signal advanced internal corrosion from undrained condensate, which forms acidic water that thins walls from the inside out.
Examine the bottom drain area first—rusty water discharge during draining indicates active internal oxidation. Use a borescope through the drain port or openings to inspect wall thickness and pitting depth.
Measure remaining metal with ultrasonic thickness gauges where available; walls below 1/8 inch on typical 150-200 PSI tanks warrant replacement consideration. Dents near supports or seams create stress risers that propagate cracks under cyclic loading.
Differentiating Repairable vs. Non-Repairable Damage
Classify damage by severity. Superficial external rust without pitting or wall loss responds to cleaning and recoating. Small pinholes (under 1/16 inch) in thicker sections may accept temporary patches if internal inspection shows sound metal.
Larger cracks, seam separations, or widespread thinning exceed safe repair thresholds because welding or patching introduces new heat-affected zones in already fatigued material.
Check the ASME nameplate for maximum allowable working pressure (MAWP) and manufacturing date. Tanks over 10-15 years old in humid shops often show accelerated degradation. Hydrostatic testing at 1.5x MAWP provides definitive integrity data but requires professional setup and water filling to reduce stored energy risks.
Safety Protocols Before Any Air Compressor Tank Repair
Depressurization and Isolation Procedures
Fully isolate the system before work. Shut off power, disconnect hoses, and bleed all pressure through the safety relief valve and drain. Verify zero PSI with an independent gauge—residual pressure can turn minor grinding into hazardous ejection of debris. Wear eye and face protection; compressed air and metal fragments demand it.
Support the tank securely on stands to prevent rolling. For vertical tanks, ensure stability. Remove or isolate valves and fittings that could interfere with surface prep. In welding scenarios, purge the tank interior with inert gas or confirm complete dryness and absence of flammable residues.
Regulatory and Certification Considerations
ASME-certified tanks lose certification with unauthorized repairs. Professional pressure vessel welders with R-stamp qualifications handle structural fixes legally in many jurisdictions. DIY or uncertified welding voids insurance and exposes operators to liability. Consult local codes and consider replacement for code-compliant shops.
Temporary Repair Methods for Minor Leaks
Epoxy and Metal-Filled Compound Applications
For small pinholes where internal corrosion appears limited, high-strength metal epoxies like JB Weld offer a practical bridge solution. Clean the area to bare metal with a grinder or wire brush, removing paint, rust, and scale for mechanical bonding. Roughen surrounding metal for better adhesion.
Mix and apply the compound, pushing material into the hole to form an internal plug while building a 1/8-1/4 inch external reinforcement layer. Shape it into a slight dome or dumbbell profile.
Allow full cure (typically 15-24 hours) before pressure testing at 50-75% of operating PSI. Monitor for 24 hours post-test. These repairs suit low-duty cycles but degrade under vibration and thermal cycling common in welding shops.
Patch Plate Techniques
Larger surface defects without deep thinning accept steel patch plates. Cut a patch from matching material thickness, slightly oversized with rounded corners. Bevel edges for weld preparation if combining with fusion methods. Position over the defect after thorough cleaning, tack in place, then secure. Test hydrostatically or with low-pressure air-soap checks afterward.
Advanced Welding Repairs for Air Compressor Tanks
Surface Preparation for Successful Welds
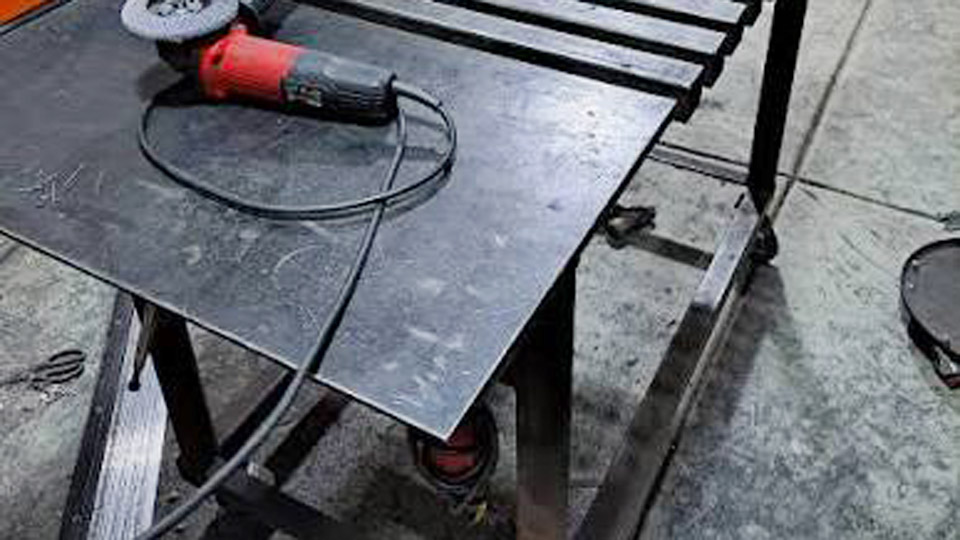
Effective air compressor tank repair via welding demands meticulous prep. Depressurize completely, then grind the repair zone to bright, contaminant-free metal extending 1-2 inches beyond the defect. Remove all paint, mill scale, and rust. For cracks, grind a V-groove (60° angle) to sound metal and verify no propagation with dye penetrant testing.
Internal access for cleaning proves critical. Use phosphoric acid solutions or mechanical abrasion (chain tumbling through drain ports) followed by neutralization and forced hot air drying. Residual moisture causes porosity and weakens the final weld.
Choosing Welding Processes and Parameters
GTAW (TIG) excels for thin-walled tanks (under 1/8 inch) common in portable units. It provides precise heat control, minimizing distortion and burn-through.
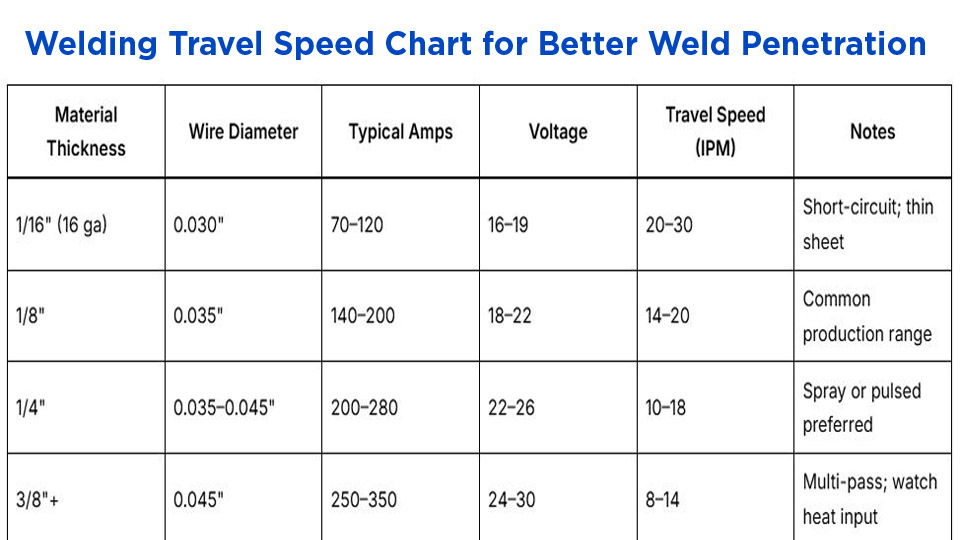
Use ER70S-6 filler for mild steel tanks, 1/16 inch tungsten, argon shielding at 15-20 CFH, and amperage around 60-120A depending on thickness. Travel speed and pulse settings help control the puddle on curved surfaces.
GMAW (MIG) suits thicker sections or faster production but requires short-circuit or pulse modes to limit heat input. Shielding gas mixtures (75/25 Ar/CO2) reduce spatter. Maintain interpass temperatures below 250°F and use stringer beads with peening to relieve stress.
For specialized applications, consider K-TIG for thicker walls, enabling high-speed keyhole welding with minimal filler. Match filler to base metal chemistry and post-weld heat treat where possible to restore properties. Always grind welds flush and inspect for undercut or lack of fusion.
Post-Weld Inspection and Testing
After cooling, perform visual, dye penetrant, and ultrasonic checks. Pressurize gradually with air while monitoring for distortion, then conduct a full soap test. Professional hydrotesting validates the repair before returning to service. Reapply internal coatings post-repair to halt ongoing corrosion.
Preventing Future Air Compressor Tank Issues in Welding Shops
Internal Coating Strategies
Apply high-performance coatings to extend tank life dramatically. Zinc-rich epoxy or novolac formulations provide cathodic protection and resist acidic condensate.
Surface prep involves degreasing, acid etching to gray metal, and thorough drying before application at 4-12 mils thickness depending on product. Cure times vary (24-72 hours); verify adhesion per ASTM standards.
Maintenance Schedules and Monitoring
Drain condensate after every use or at least daily—more frequently in humid conditions. Install automatic drains for high-duty setups. Check pressure relief valves monthly by manual activation. Monitor cycle frequency; excessive cycling indicates leaks or undersized tanks.
Log drain water condition and external inspections quarterly. Replace filters and install desiccant dryers upstream for moisture-sensitive welding processes.
Selecting Replacement Tanks and System Upgrades
When repairs exceed viability, match new tanks to compressor output and duty cycle. Calculate required volume based on CFM demand and acceptable pressure drop (typically 1-2 gallons per CFM for welding tools). Prioritize ASME-rated vessels with epoxy-lined interiors for longevity.
Consider vertical vs. horizontal orientation for shop space and condensate management. Upgrade to larger capacity if your plasma or multi-tool setup frequently starves for air.
Wrapping Up
Effective air compressor tank repair balances immediate shop needs with long-term reliability and safety. Evaluate each tank on its metallurgy, service history, and current condition rather than applying blanket methods. In welding operations where consistent air pressure directly affects cut and weld quality, a sound tank forms the foundation of productivity.
Prioritize prevention through drainage and coatings, apply targeted fixes only where data supports them, and default to replacement when integrity margins erode. This approach keeps your equipment performing at pro levels while minimizing downtime and risk.
FAQ
Can you safely weld an air compressor tank?
Yes, with full depressurization, thorough cleaning, appropriate TIG or MIG techniques, and post-repair testing—but only on suitable damage and preferably by experienced welders. Severe internal rust makes it unsafe.
Is JB Weld or epoxy a permanent fix for tank leaks?
No. These provide temporary sealing for small pinholes but fail over time under pressure cycles, vibration, and heat. Use them only as interim solutions while planning replacement or professional repair.
How often should I drain my air compressor tank?
Daily after use, or more in humid welding environments. Neglect here drives most internal corrosion leading to pinholes and structural weakening.
When should I replace the tank instead of repairing it?
Replace when facing widespread rust, wall thinning below safe limits, large cracks, or after multiple failed repairs. Safety and code compliance outweigh short-term savings.