
Aluminum oxide forms instantly on clean metal and melts near 3700°F, while the base aluminum itself collapses around 1220°F. This mismatch causes most torch attempts to fail when the filler refuses to wet or the part warps and burns through.
Learning how to use low-temperature aluminum welding rods solves that problem by keeping the base metal solid while a zinc-aluminum alloy filler melts and bonds at 700–750°F.
The process is technically brazing rather than fusion welding, yet it delivers usable strength on thin sheet, castings, and non-structural repairs without a TIG or MIG machine.
Correct heat control, oxide removal, and joint design determine whether the bond holds under vibration and thermal cycling or peels under modest load.
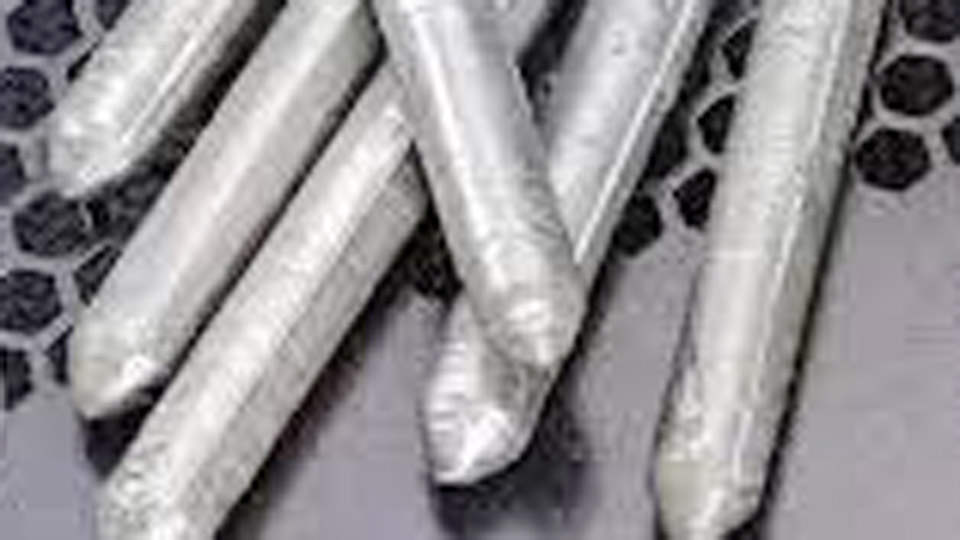
Image by temu
Choosing the Right Low-Temperature Rod for the Alloy and Thickness
Not every rod behaves the same. Working temperature, flux system, and alloy content dictate success on different aluminum grades and section sizes.
Melting Range and Flux Behavior Differences
Most common rods flow between 720°F and 750°F. Durafix and similar zinc-based products target approximately 732°F. Bernzomatic AL3 lists 720–750°F. Some multi-metal solders drop as low as 350°F for delicate pot-metal or thin-sheet work but lose strength on thicker sections.
Flux-cored versions release active compounds that attack residual oxide as the rod melts; fluxless rods require more aggressive mechanical abrasion and rely on the molten alloy dissolving oxide at contact.
Match the rod’s stated working range to the heat source you can deliver—propane often struggles on thick heat sinks while MAPP or oxy-fuel reaches temperature faster.
Alloy Compatibility and Strength Limits
These rods bond most 1xxx, 3xxx, 5xxx, and many 6xxx series alloys plus die-cast and zinc-based metals. They generally fail on high-magnesium alloys if the oxide reforms too quickly or on magnesium itself, which can ignite.
Tensile values typically fall in the 20,000–40,000 psi range depending on brand and joint design—adequate for brackets, covers, radiators, and boat fittings under light load, but insufficient for primary structural members or high-pressure pressure vessels. When the joint must carry significant shear or tensile stress, fusion welding remains the correct choice.
Surface Preparation That Determines Bond Integrity
Oxide removal and contamination control are non-negotiable. Residual oxide or oil prevents wetting no matter how precisely temperature is controlled.
Mechanical Abrasion Requirements
Use a stainless-steel wire brush reserved exclusively for aluminum. Steel brushes embed iron particles that create corrosion cells later. Scrub until the surface shows bright, uniform metal.
For castings or heavy oxide, a clean abrasive disc or file followed by the stainless brush works better. Abrade immediately before heating; aluminum re-oxidizes within minutes of exposure to air.
Chemical Cleaning Sequence
After mechanical cleaning, wipe with acetone or isopropyl alcohol to remove oils, fingerprints, and residual abrasives. Avoid chlorinated solvents that can leave residues.
On previously painted or coated parts, strip coatings completely in the joint zone plus at least ½ inch beyond. Any remaining paint carbonizes and contaminates the bond line.
Heat Source Selection and Temperature Control Technique
Aluminum conducts heat rapidly. Localized hot spots melt the base metal before the bulk reaches working temperature, while insufficient heat leaves the filler balling on the surface.
Torch Options by Section Thickness
Propane torches handle thin sheet and small parts once the operator learns to move the flame continuously. MAPP or MAP-Pro gas raises heat input for medium castings and ⅛-inch plate.
Oxy-acetylene or oxy-propane with a large neutral flame becomes necessary for thick sections or large heat sinks because aluminum dissipates energy so quickly.
Keep the flame moving in broad strokes; never hold a concentrated tip on one spot. Heat from both sides of the joint when geometry allows.
Reading Temperature Without Color Change
Aluminum gives almost no visual cue before collapse. The reliable indicator is the rod itself. Keep the flame on the base metal and periodically touch the cool rod end to the joint. When the filler melts and flows freely on contact, the surface has reached working temperature.
If the rod sticks or forms a ball, more heat is required. Once flow begins, reduce flame intensity slightly to maintain temperature without overheating. Some flux systems change from powder to liquid or darken at the correct temperature and serve as an additional visual guide.
Joint Design and Filler Application Decisions
Capillary action pulls molten filler into tight clearances. Poor fit-up leaves voids or forces the operator to build excessive external reinforcement that adds little strength.
Fit-Up Clearances and Edge Preparation
For lap joints aim for 0.002–0.005 inch clearance; larger gaps reduce capillary force. Butt joints benefit from a shallow bevel so the filler can penetrate rather than sit on the surface.
Overlap at least three to four times material thickness on thin sheet. Clamp parts rigidly so thermal expansion does not open the gap during heating. On broken castings, V the fracture faces to approximately 45–60 degrees and clean the V thoroughly.
ApplicatWrapping Upion Sequence and Build-Up Control
Heat the entire joint zone evenly. Once the rod flows, drag it along the seam while keeping the torch moving just ahead of the filler. The molten alloy should wet and spread rather than sit as discrete droplets. For thicker build-up, allow each layer to solidify partially, then reheat and add the next.
Avoid overheating the already-deposited filler; excessive temperature can dissolve base metal and create a brittle intermetallic zone. After the joint is complete, withdraw the flame gradually and allow air cooling. Quenching in water introduces residual stress and can crack the bond.
Common Failure Modes and Corrective Adjustments
Most rejected joints trace to one of three controllable variables: oxide, temperature, or fit-up.
Why the Rod Balls Up Instead of Flowing
The base metal is still below the rod’s liquidus. Continue heating while testing with the rod. Direct flame on the rod itself causes the filler to melt and drop onto cold metal, producing a cold joint that peels easily. Always let base-metal heat melt the rod.
Porosity, Incomplete Wetting, and Weak Bonds
Incomplete oxide removal or residual oil produces gas pockets and non-wetted areas. Re-clean and re-abraze. Excessive heat after the filler is molten can generate porosity or dissolve aluminum into the zinc-rich filler, lowering ductility.
Maintain temperature just high enough for continuous flow. On thick sections the heat sink may cool the joint faster than the torch can replace energy; preheat the bulk part in an oven or with a second torch if available.
When Low-Temperature Rods Are the Wrong Choice
These rods excel at accessible, non-critical repairs on thin to medium aluminum. They are not substitutes for structural fusion welding. High-cycle vibration, continuous high temperature, or primary load paths require TIG or MIG with proper filler alloys (4043, 5356, etc.) and shielding gas.
Large boat hulls, pressure vessels, and suspension components fall outside the practical envelope of torch-applied low-temperature fillers. When the part must meet a welding procedure specification or code, fusion processes are mandatory.
Performance Comparison Against Fusion Processes
| Process | Base Metal Melted | Typical Equipment | Joint Strength Relative to Base | Distortion Risk | Best Application Window |
|---|---|---|---|---|---|
| Low-temp rod (brazing) | No | Propane/MAPP/oxy torch | Moderate (repair grade) | Low | Thin sheet, castings, field repair |
| TIG aluminum | Yes | AC TIG + argon | High (near base metal) | Medium–High | Precision structural, thin wall |
| MIG aluminum | Yes | Spool gun or push-pull | High | Medium | Production, thicker sections |
The table shows why low-temperature rods remain popular for DIY and emergency work: minimal equipment and low distortion. Strength and code acceptance favor fusion methods when those factors dominate the decision.
Wrapping Up
Selecting the correct rod, preparing oxide-free surfaces, and controlling base-metal temperature within the narrow 700–750°F window produce reliable non-structural aluminum joints with ordinary torch equipment.
Advanced operators further improve consistency by preheating large heat sinks, using dedicated aluminum brushes, and limiting filler volume to the minimum needed for capillary fill rather than heavy external reinforcement. That combination of decisions separates temporary patches from lasting repairs.


