A stainless sheet that lies perfectly flat on the bench can ripple like a drum the moment it hits the wall, and a weld seam that looked clean can bloom with rust spots within weeks. Both failures come from the same mistake: treating sheet metal fabrication as if it were cutting tile.
If you are researching how to install a stainless steel backsplash, the real decisions happen before the sheet touches the wall: grade, gauge, how you cut it, whether the seams get TIG welded, and how you allow for thermal movement.
Get those wrong and no adhesive fixes the result. I’ll cover material selection, templating, cutting without iron contamination, TIG settings for thin sheet, wall preparation, and the installation sequence, so the finished panel stays flat, corrosion-free, and tight to the wall.
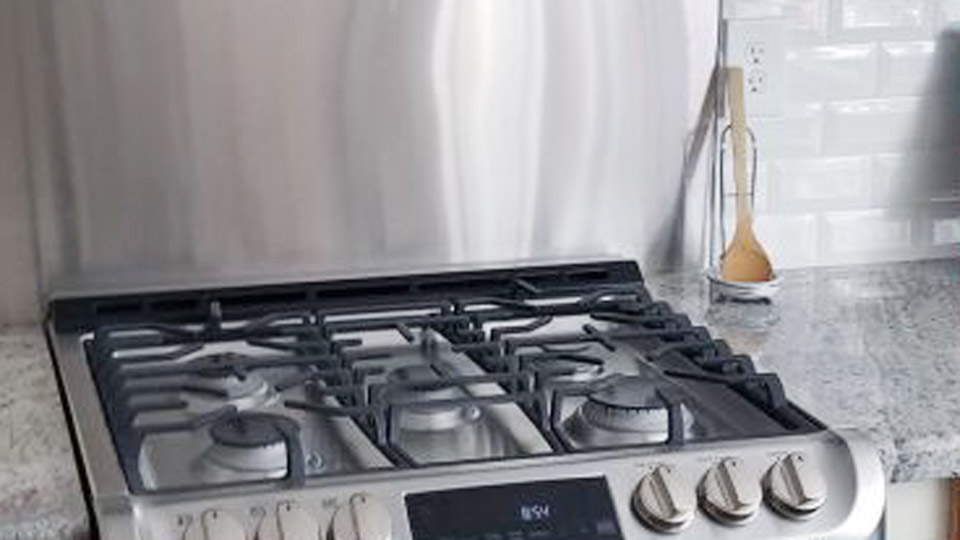
Image by jtcmetals
Choosing the Right Stainless Sheet for a Backsplash
Which Grade: 304, 430, or 316?
Type 304 (about 18% chromium, 8% nickel) is the default choice. It resists cooking acids and cleaners, and it TIG welds cleanly with ER308L filler.
Type 430 is a ferritic, nickel-free grade that costs less and works for unwelded panels in dry kitchens, but cut edges stain sooner and the weld zone turns brittle from grain growth. Reserve 316 (2-3% molybdenum) for coastal homes or heavy chloride exposure, where 304 can develop pitting.
What Gauge Prevents Oil-Canning?
Oil-canning is the visible waviness that appears when thin sheet is not supported evenly. Thickness controls it more than anything else.
| Gauge | Thickness | Best use |
|---|---|---|
| 24 | 0.025″ (0.64 mm) | Fully bonded panels over a perfectly flat wall; dents easily |
| 22 | 0.031″ (0.8 mm) | Standard residential panels, adhesive-mounted |
| 20 | 0.037″ (0.95 mm) | Welded seams, panels behind ranges |
| 18 | 0.050″ (1.27 mm) | Commercial-style, mechanically fastened, or freestanding panels |
If any seam will be welded, step up to 20 gauge. Heat distorts 22 gauge faster than most hand-fed TIG work can control.
Finish and Grain Direction
Finish determines how visible fabrication marks will be.
| Finish | Appearance | Fabrication note |
|---|---|---|
| 2B | Smooth, semi-reflective | Weld blending shows clearly |
| No. 4 (brushed) | Linear grain, satin | Hides scratches; blend welds along the grain with 180-240 grit |
| No. 8 (mirror) | Highly reflective | Exposes every wave in the wall; avoid unless the substrate is dead flat |
Run the grain in the same direction as the range hood and appliances. Keep the protective film on through cutting and forming, but peel it back 1-2″ from any weld zone, since it melts and contaminates the joint.
Measuring and Templating Before You Cut
How Do You Template Around Outlets, Windows, and the Range?
Build a template from kraft paper or cardboard rather than trusting a tape measure. Walls and cabinet bases are rarely square, so measure the width at the bottom, middle, and top, and transfer the smallest dimension. Cut the template 1/16″ undersize on every edge.
For outlets, tape the template over the box and mark the corners by pressing along the box edges. Cut the opening about 1/8″ larger than the box on each side. A standard cover plate hides roughly 1/4″ of slop, so you don’t need to cut the opening to the exact size of the box.
How Much Expansion Gap Does a Stainless Panel Need?
Type 304 expands about 9.6 x 10⁻⁶ in/in per °F. A 48″ panel that warms by 100°F lengthens about 0.046″ (48 x 0.0000096 x 100). Behind a cooktop, temperature swings can exceed that. A panel pinned rigidly on all edges will buckle instead of growing.
Leave a 1/16″ (1.5 mm) gap at cabinets, hoods, and neighboring panels, and fill it with sealant. The sealant absorbs movement that adhesive and screws cannot.
Cutting and Forming Stainless Without Contaminating It
Which Cutting Method Fits Each Job?
| Method | Best for | Watch for |
|---|---|---|
| Bench or power shear | Straight cuts up to 20 gauge | Burr on the exit side; deburr before handling |
| Aviation snips | Curves and notches in 24-22 gauge | Edge curl and cut-edge cuts on your hands |
| Nibbler | Outlet and switch openings | Ragged scallops that need filing |
| Jigsaw, bi-metal 24-32 TPI | Interior cutouts | Run slowly with tape on the finished face to prevent scratches |
| Angle grinder, 0.045″ iron-free cut-off wheel | Long cuts without a shear | Heat tint and burr; keep it off the show face |
| Plasma | Avoid | Wide heat-affected zone, dross, and edge discoloration that seeds rust |
Drill 3/8″ relief holes at the inside corners of every cutout. A square inside corner concentrates stress and cracks under flex.
Forming Edges: Hems, Returns, and Corner Bends
Raw edges on open ends are sharp and collect moisture. A 3/8″-1/2″ 90° return toward the wall hides the edge and stiffens the panel along its length. A 1/4″ closed hem is better where fingers and cloths pass the edge.
A sheet metal brake gives repeatable bends. Without one, clamp the sheet between two lengths of angle iron on a flat table and bend over the edge with a wooden block. Thin 304 springs back 2-4°, so overbend by that amount. Pad the table and clamps, because scratches are far easier to prevent than to blend out.
Keeping Carbon Steel Out of the Surface
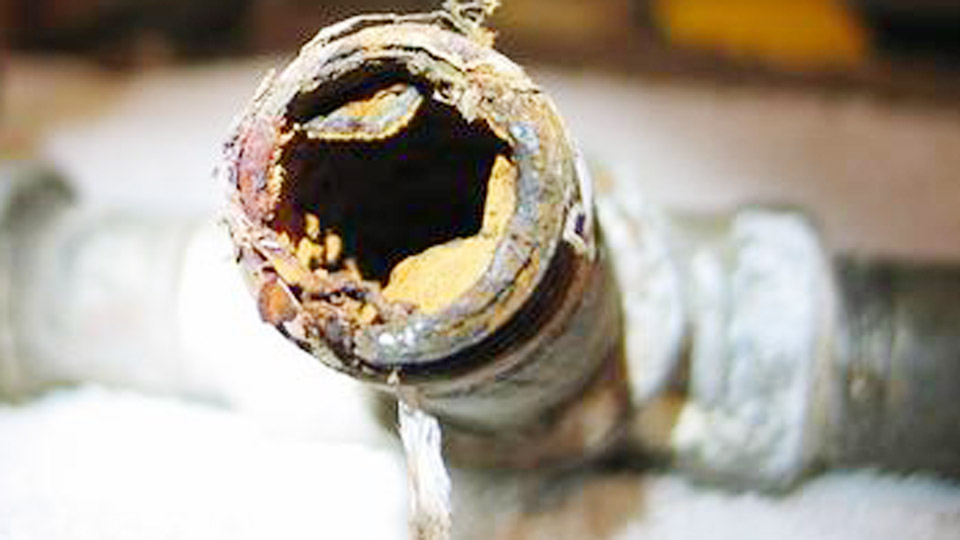
Embedded iron is the usual cause of “rusting stainless.” Particles transfer from carbon steel wheels, wire brushes, vise jaws, and steel work surfaces, then oxidize in two to three weeks.
Use abrasives labeled iron-free for stainless, a stainless-bristled brush that has never touched mild steel, and plywood or foam padding under the sheet. If orange freckles appear later, a citric-based passivation gel typically clears them.
Do You Need to Weld a Stainless Steel Backsplash?
When Welding Beats Adhesive and Fasteners
Most single-wall backsplashes need no welding. One sheet, or two panels butted with a 1/16″ gap and sealed with silicone, works fine. Welding earns its place in four situations:
- Inside or outside corners where two wall panels meet
- An integrated shelf or ledge
- A hood skirt or range-adjacent return
- A continuous run longer than stock sheet width
TIG is the right process because heat input is controllable. MIG on 22-20 gauge tends to burn through and leaves spatter that mars the finish.
TIG Settings for 22-, 20-, and 18-Gauge Sheet
Start with these ranges for 304 butt and corner joints, DC electrode negative.
| Gauge | Amperage | Tungsten | Filler | Argon flow |
|---|---|---|---|---|
| 22 | 30-45 A | 1/16″ (1.6 mm) | Autogenous or 0.030″ ER308L | 12-15 cfh |
| 20 | 40-60 A | 1/16″ | Autogenous or 0.030″ ER308L | 12-15 cfh |
| 18 | 55-80 A | 1/16″-3/32″ | 1/16″ ER308L | 15 cfh |
Treat these as starting points. Fit-up quality, travel speed, and shop temperature shift the numbers, and a foot pedal lets you taper current as the panel heats.
Tungsten and Gas Setup
Use 2% lanthanated or ceriated tungsten ground to a taper of 2-3 times the electrode diameter, with a gas lens and a #6-#8 cup. Keep stickout near 1/4″ so shielding stays tight on a joint that only needs a narrow, fast puddle.
Pulse and Travel Speed
Slow pulsing (1-3 pulses per second) gives a fusion-and-cool rhythm that limits warping on hand-fed filler. High-frequency pulsing (100-300 pps) tightens the arc, which helps on corner joints and edges.
On edge joints and tight butt seams, go autogenous: fusing the parent metal adds less heat and less buildup than feeding filler.
Controlling Distortion and Heat Tint
Fit the joint with no gap, then tack every 1-1.5″ and add a tack at each midpoint. Clamp the seam over a copper backing bar, which pulls heat out of the sheet.
For full-penetration seams, a grooved copper bar with 5-10 cfh argon prevents sugaring (crystallized oxidation) on the back side. Weld in 1-2″ segments, alternating from the center outward, to spread heat.
Read the color after each pass:
- Light straw or gold: acceptable on a cosmetic panel
- Blue, purple, or gray: chromium depletion; remove it, or the area will corrode first
A post-flow of 8-10 seconds keeps the cooling bead under argon and holds the straw color.
Finishing the Weld: Blending and Passivation
Grind the bead flush using iron-free flap discs or non-woven belts, moving 80, 120, 180, then 240 grit along the grain. For a No. 4 match, stop around 180-240 grit and finish with a non-woven pad.
Remove residual tint with a citric-based pickling gel and follow the manufacturer’s dwell time. Avoid nitric/hydrofluoric pastes unless you have proper PPE and ventilation.
Rinse with clean water and dry the panel. The chromium oxide layer rebuilds itself within 24-48 hours in air.
Preparing the Wall Before Installation
How Flat Does the Substrate Need to Be?
Twenty-two gauge follows whatever is behind it. Ripples deeper than 1/16″ across 24″ will telegraph as visible waves. Check with a 4′ straightedge and mark low and high areas. Skim low areas with joint compound, sand high spots, and replace any paper-faced drywall torn during tile removal.
Prime porous drywall so it doesn’t pull moisture from the adhesive. If the wall is beyond saving, glue a 1/4″ plywood or cement board backer over it.
Heat Clearance Behind Ranges and Cooktops
Stainless conducts heat into whatever sits behind it. It does not insulate. Read the range manual for the minimum clearance to combustible material, because it varies by model and fuel type. Behind a range, install a noncombustible backer such as 1/4″-1/2″ cement board.
Many construction adhesives are rated only to roughly 150-200°F, so use a high-temperature product or mechanical fasteners in that zone.
Electrical Boxes and Outlet Extenders
Switch off power at the breaker. A backer plus a 22-gauge sheet raises the finished surface, and boxes in combustible walls must sit flush with it. Fit box extenders and longer device screws before the panel goes on.
How to Install a Stainless Steel Backsplash: Adhesive and Mechanical Methods
Adhesive Installation Sequence
Choosing the Adhesive
Use an MS polymer or a solvent-free construction adhesive rated for metal-to-drywall bonding. Avoid acetic-cure silicone, which smells and has poor structural grip. A 3/16″ V-notch trowel gives the flattest result. Adhesive applied in beads can show through 22 gauge as raised stripes.
Setting the Panel
- Dry-fit the panel and verify the 1/16″ perimeter gap at all edges.
- Draw a plumb centerline on the wall and mark outlet positions.
- Trowel adhesive over one panel area, staying 1/2″ back from edges to prevent squeeze-out.
- Set the panel at the bottom first, then tilt it to the wall and press from center outward with a rubber roller.
- Peel the protective film.
- Tape the edges every 12″ with painter’s tape and leave it for 24 hours.
- Let the adhesive cure 24-48 hours before sealing or using the range.
When Mechanical Fasteners Are the Better Call
Choose fasteners behind ranges, on 18-gauge panels, and anywhere adhesive temperature limits or vibration are a concern.
Use stainless trim-head or pan-head screws (#6-#8) into studs about every 12″, with holes drilled 1/16″ oversize to allow movement. Carbon steel screws leave rust streaks. A Z-clip or hat-channel system lets a panel hang flat without visible fasteners.
Sealing, Cleaning, and Long-Term Corrosion Control
Which Sealant Belongs at Countertop and Perimeter Joints?
Use neutral-cure, mildew-resistant silicone along the countertop joint and perimeter gaps. It bonds without releasing acetic acid and tolerates the panel’s movement. Beside a range, switch to a high-temperature RTV rated for 400-500°F. Tool the bead flat so water sheds instead of pooling at the joint.
What Cleaners Damage Stainless?
Chlorides cause most of the damage. Avoid bleach and bleach-based cleaners, muriatic acid, and steel wool or carbon steel scouring pads, which also embed iron. Clean with warm water, mild dish soap, and a microfiber cloth wiped along the grain, then dry the surface so mineral spots don’t set.
Final Decision Guide
For a flat run behind a counter or sink, use 22-gauge 304 in No. 4 finish, notched-trowel adhesive, a 1/16″ perimeter gap, and neutral-cure silicone. For seams, corners, or ledges, move to 20 gauge and TIG with ER308L at 40-60 A over copper backing.
Behind a range, use 20-18 gauge over cement board with fasteners or high-temperature adhesive, because heat load sets the limit, not appearance.
One pro-level refinement: on visible welds, pulse at low peak current with an 8-10 second post-flow so the bead cools under argon and keeps its straw color without grinding.
Frequently Asked Questions
Can You Install a Stainless Steel Backsplash Over Existing Tile?
Yes, if the tile is flat and firmly bonded. Grout lines telegraph through thin stainless, so fill them with thinset or skim-coat the surface first. Expect to add outlet extenders for the added thickness.
Will a Magnet Stick to a Stainless Steel Backsplash?
It depends on the grade. Type 430 is strongly magnetic, while 304 is weakly or non-magnetic, though cold-worked 304 can show slight attraction near bends. A magnet is a quick grade check, not a quality test.
How Do You Remove Scratches From a Brushed Stainless Backsplash?
Rub light scratches with a non-woven abrasive pad (Scotch-Brite style) along the grain, applying even pressure and wiping clean. Deeper scratches need a stainless scratch-removal kit with graded abrasives. Never work across the grain, as that creates a visible patch.