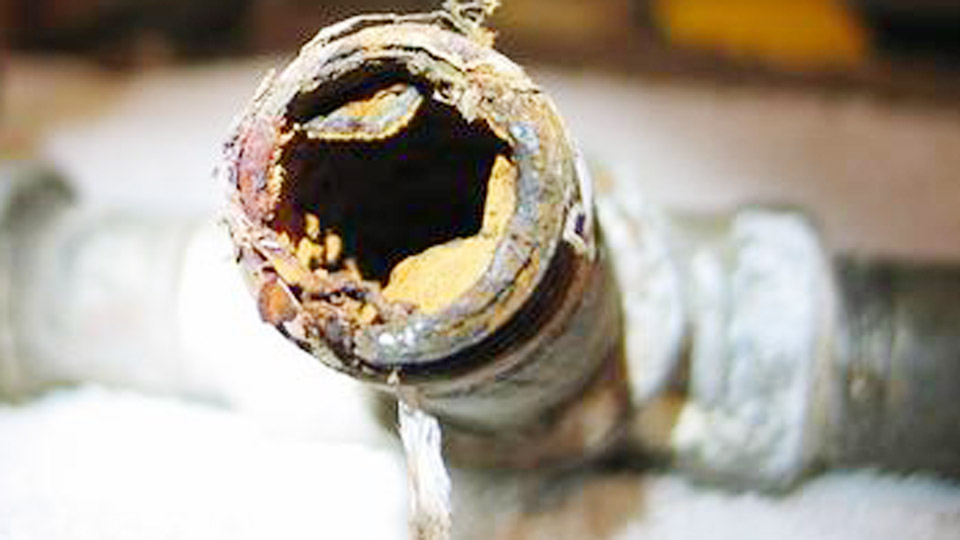
A metal repair fails days or weeks later when the epoxy peels, cracks under vibration, or never reaches full hardness because the surface stayed oily or the mix ratio drifted.
Learning how to apply JB Weld to metal correctly turns a temporary patch into a durable, machinable bond that holds under static loads, mild vibration, and moderate heat.
Proper preparation, exact mixing, controlled application thickness, and full cure time decide whether the joint reaches its rated 3960–5020 psi tensile strength or collapses under everyday stress.
These steps matter most on steel, aluminum, cast iron, and other metals where welding heat would warp thin sections, damage nearby components, or require equipment that is unavailable.
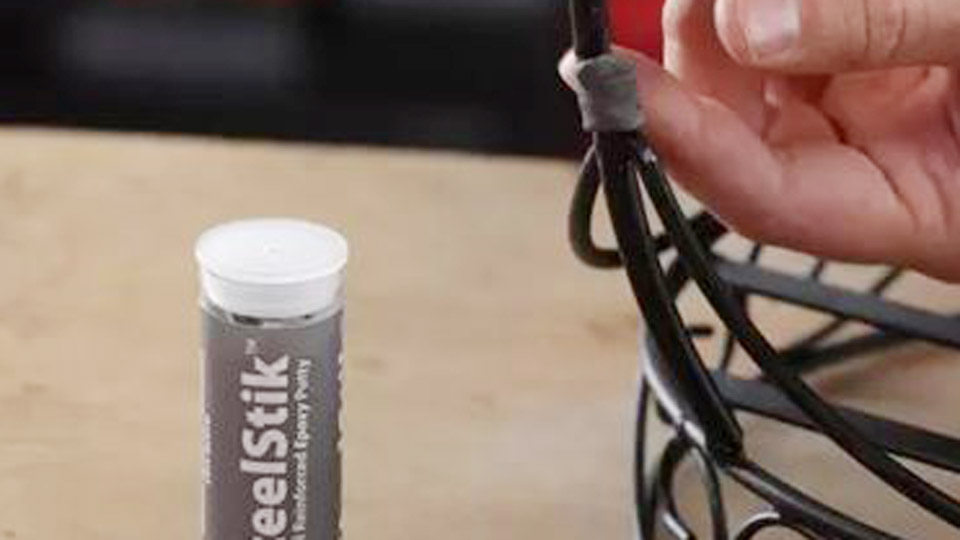
Image by amapek
Choosing the Correct JB Weld Formula for the Metal Repair
Different JB Weld products trade set speed, temperature resistance, and gap-filling ability. Selecting the wrong one wastes time and creates a joint that softens or fails under service conditions.
Original Cold-Weld for Highest Strength Static Bonds
Original JB Weld mixes 1:1 and reaches full cure in 15–24 hours at room temperature. It delivers the highest tensile rating (approximately 5020 psi) and continuous service up to roughly 500–550 °F.
Use it for cracked housings, bracket reinforcement, tank patches, and any non-structural metal joint that must be drilled or tapped later. The longer open time allows careful alignment and even spreading.
Faster Formulas When Time Constraints Override Peak Strength
KwikWeld sets in about 6 minutes and cures in 4–6 hours but drops to lower tensile strength and roughly 250–300 °F temperature rating. SteelStik putty kneads by hand, sets in 3–5 minutes, and works well for filling voids or sealing small leaks on pipes and tanks.
ExtremeHeat or HighHeat variants handle intermittent exposure near 1000 °F for exhaust components after a full room-temperature cure plus heat cycling. Match the product’s published temperature and strength numbers to the actual service environment before mixing.
Dissimilar Metals and Special Environments
Original formula bonds aluminum to steel or cast iron to mild steel once both surfaces are prepared identically. MarineWeld or WaterWeld formulations resist continuous moisture better for outdoor or damp locations.
Avoid standard formulas on polyethylene, polypropylene, or highly flexible plastics; the bond will release under peel forces.
Surface Preparation Decisions That Control Final Bond Strength
Epoxy adhesion is almost entirely mechanical. Contaminants or a polished surface reduce contact area and create a weak boundary layer that fails under shear or peel.
Cleaning Sequence That Removes Invisible Films
Start with mechanical removal of loose rust, scale, paint, and heavy dirt using a wire brush or scraper. Follow with a detergent wash if grease is present, then wipe thoroughly with acetone or lacquer thinner. These solvents evaporate cleanly and leave no petroleum residue.
Alcohol-based cleaners can leave a film that interferes with wetting. The surface must be completely dry before the next step; residual solvent traps vapor and produces porosity.
Abrasion Requirements for Mechanical Interlock
Roughen both mating faces with 60–80 grit sandpaper, a file, or abrasive cloth in a cross-hatch pattern. The goal is a matte, scratched surface that increases actual contact area. Smooth or polished metal yields only a fraction of the rated strength.
On aluminum, remove the oxide layer immediately before cleaning because fresh oxide reforms quickly and weakens adhesion. Extend the abraded zone at least ½–1 inch beyond the intended bond line so the epoxy has a clean transition.
Timing Between Prep and Application
Prepared metal begins collecting airborne moisture and dust within minutes. Mix the epoxy only after cleaning and abrasion are finished, then apply within 10–15 minutes. If delay occurs, wipe once more with fresh solvent immediately before spreading the mixed adhesive.
Mixing Technique and Working-Time Constraints
Uneven mixing leaves uncured resin or hardener pockets that never reach full hardness and create stress risers.
Achieving a True 1:1 Ratio and Uniform Color
Dispense equal-length beads of resin and hardener side by side on a clean, non-porous disposable surface such as a plastic lid or scrap metal. Mix by folding and pressing with a flat stick or putty knife for a full 60–90 seconds until the color is uniform dark gray with no streaks.
Stirring in circles traps air; folding and scraping the sides incorporates every portion. Working time after mixing is typically 15–25 minutes at 70 °F before the mass begins to thicken and generate heat. In warmer conditions the window shortens; in cooler shops it lengthens.
Temperature Effects on Mix Behavior
Below 50 °F the reaction slows dramatically and full cure may require days. Warm the unopened tubes in lukewarm water for 10–15 minutes before dispensing if the shop is cold. Above 90 °F the mix gels faster, so work in smaller batches and apply immediately.
Never add extra hardener to speed cure; the stoichiometry is fixed and excess hardener weakens the final polymer network.
Application Methods That Maximize Contact and Minimize Defects
Thickness, coverage, and pressure determine whether the joint develops continuous load paths or contains voids and starved areas.
Spreading for Bonding Versus Filling
For lap or butt joints apply a thin, continuous film to one or both surfaces—enough to wet the entire area and produce a small bead of squeeze-out when the parts are brought together. Excess thickness reduces strength because the epoxy cures more slowly in the center and can contain internal stresses.
For gap filling or rebuilding missing metal, build in successive thin layers, allowing each to reach the set stage before adding the next. This prevents trapped heat and incomplete cure in thick sections.
Alignment, Clamping Pressure, and Excess Removal
Bring the parts into final position while the epoxy is still fluid. Apply light, even clamping pressure—enough to maintain contact without forcing all adhesive out of the joint. Heavy pressure creates a starved bond line of metal-to-metal contact with almost no adhesive.
Wipe excess immediately with a solvent-dampened cloth; cured squeeze-out is difficult to remove without damaging the surrounding metal. Maintain alignment with tape, clamps, or fixtures until the set time (4–6 hours for Original) is reached.
Curing Conditions and Verification of Full Strength
Partial cure produces a soft or brittle joint that fails under load long after the surface feels hard.
Temperature and Time Windows
At approximately 70 °F, Original JB Weld reaches handling strength in 4–6 hours and full mechanical properties in 15–24 hours. Cooler ambient temperatures stretch both intervals; warmer temperatures shorten them.
Do not load, drill, sand, or paint the repair until the full cure window has passed. Gentle external heat (heat lamp or warm air at modest distance) can accelerate cure after the initial set, but avoid direct high heat that risks uneven cross-linking.
Confirming Readiness for Service
After the stated full-cure period, the surface should resist fingernail indentation and feel uniformly hard. At that point the joint can be filed, sanded, drilled, tapped, or painted. Chemical resistance to water, oil, and many solvents also develops fully only after complete cure.
Deciding When JB Weld Is Appropriate Versus When Welding Is Required
Epoxy strength numbers look impressive until compared with the parent metal and the actual stress state.
Suitable Non-Structural and Semi-Structural Uses
JB Weld performs well for sealing small leaks, filling non-critical voids, bonding brackets or covers, repairing cracked tool housings, and joining dissimilar metals where heat distortion is unacceptable.
It also works for temporary field repairs that buy time until proper welding or replacement can be performed. Broad overlap area and primarily shear or compressive loading favor epoxy performance.
Clear Limits That Demand Real Welding or Mechanical Fasteners
Any joint that carries structural load, experiences continuous vibration or impact, operates near or above the epoxy’s temperature rating, or is subject to peel or cleavage forces exceeds epoxy capability.
Vehicle frames, suspension components, pressure vessels under high internal pressure, and safety-critical brackets require fusion welding or engineered mechanical joints.
Epoxy tensile strength of roughly 4000–5000 psi remains far below the 60 000–70 000 psi typical of mild-steel welds, and the bond remains a surface interface rather than a continuous metallic section.
Post-Cure Finishing and Long-Term Performance Factors
Once fully cured, the dark-gray epoxy can be machined similarly to soft metal. Use standard high-speed-steel tools at moderate speeds; the material is abrasive and can dull cutters. For outdoor exposure, a protective paint or coating extends service life by shielding the bond line from UV and moisture cycling.
Under repeated thermal cycling or sustained high temperature near the rated limit, expect gradual reduction in strength; monitor critical repairs and schedule inspection intervals accordingly.
Wrapping Up
Successful application of JB Weld to metal rests on three non-negotiable decisions: complete removal of contaminants and oxide, exact 1:1 mixing with thorough incorporation, and uninterrupted full cure under appropriate temperature.
When those conditions are met, the epoxy delivers a hard, machinable, chemically resistant bond suitable for a wide range of non-structural metal repairs.
For any joint whose failure would create a safety hazard or high repair cost, calculate the actual stress state and choose fusion welding or mechanical fastening instead—the advanced insight is that epoxy strength is real only within its design envelope, and exceeding that envelope converts a reliable repair into a delayed failure.
FAQs
How long does JB Weld take to fully cure on metal?
At room temperature (around 70 °F) Original JB Weld reaches full cure in 15–24 hours. Cooler conditions extend the time; do not load or machine the joint until that window is complete.
Can you use JB Weld on aluminum or cast iron?
Yes, provided both surfaces are cleaned of oxide, grease, and loose material and then roughened. The same 1:1 mix and full-cure rules apply.
Does JB Weld work for high-temperature metal repairs?
Standard Original formula is rated to approximately 500–550 °F continuous. For higher intermittent temperatures, select the ExtremeHeat or HighHeat variant and follow its specific cure instructions.
Will JB Weld hold under vibration or structural loads?
It performs adequately under light static or mild vibration loads with good surface area. Continuous vibration, impact, or true structural loading exceeds its capability; use welding or mechanical fasteners in those cases.