A stripped screw hole can prevent a metal part from clamping securely, leading to loose fasteners, vibration, and premature component failure. Knowing how to fix stripped screw holes in metal is essential for restoring a strong, reliable connection without replacing the entire part.
The right repair method depends on factors such as the hole size, material thickness, load requirements, and available tools. Choosing the wrong approach can weaken the threads, reduce holding strength, or create alignment problems that complicate future maintenance.
Whether you’re repairing automotive parts, machinery, sheet metal, or fabricated assemblies, using the proper technique helps extend the life of the component while minimizing repair costs.
With a clear understanding of the available repair options, you can restore damaged threads efficiently and achieve a durable, professional-quality result.
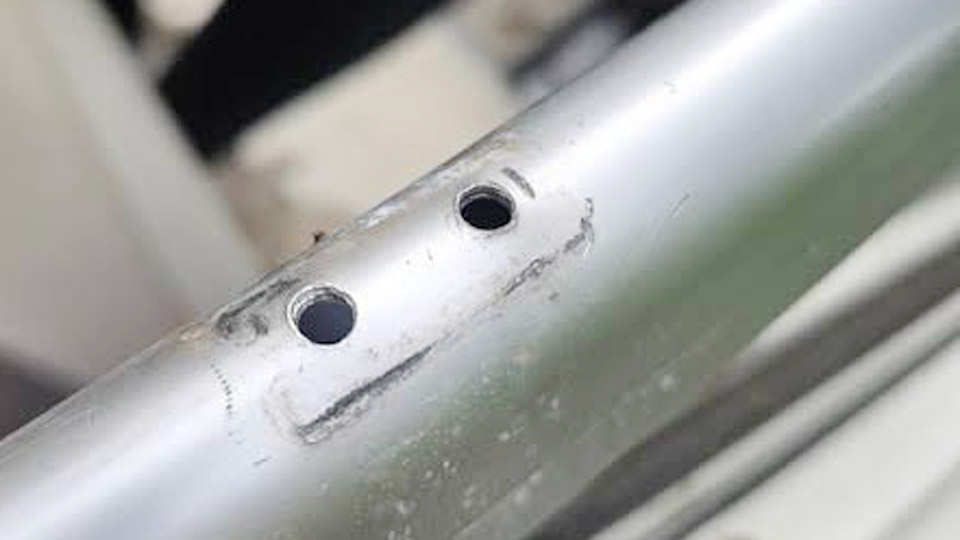
Image by r/metalworking
Why Stripped Screw Holes Happen and Why You Should Fix Them Right
Common Causes in the Shop
Over-tightening is the biggest culprit. A worker leans on a ratchet, the threads yield, and the screw turns without resistance. Cross-threading during assembly, using the wrong size fastener, or running a dirty or damaged tap also destroy threads.
Aluminum and thin sheet metal are especially vulnerable because they lack the hardness of steel. Vibration from machinery loosens fasteners over time and slowly destroys the engagement.
Consequences of Ignoring the Problem
A loose fastener can shift under load, create alignment issues, or fail completely. In safety-critical applications—machine guards, structural brackets, or equipment mounts—this is unacceptable. Temporary fixes often fail later and cost more in rework. Fixing the hole correctly the first time restores strength and keeps the assembly reliable.
Assess the Damage Before You Choose a Repair
Visual and Mechanical Check
Clean the area thoroughly. Blow out chips and wipe away oil or debris. Try threading a new screw of the original size by hand. If it spins freely with no resistance, the threads are gone.
If it catches partially, you may still have enough material for a simple upsizing. Measure the hole diameter with calipers and note the original thread pitch if possible.
Material and Load Considerations
Aluminum needs different treatment than steel. Thin sheet metal has less wall thickness to work with than a solid plate or casting. Decide whether the joint sees vibration, shear, tension, or only light clamping force.
Heavy loads or critical safety parts call for stronger repairs such as threaded inserts or weld fill. Light-duty covers or non-structural brackets can often use simpler methods.
Method 1: Upsize the Hole and Tap for a Larger Screw
When This Method Works Best
This is the fastest permanent fix when you have clearance for a larger fastener and the surrounding metal has enough wall thickness. It works well on mild steel, stainless, and thicker aluminum.
Step-by-Step Process
- Select the next standard size up (for example, #10-24 becomes 1/4-20, or M6 becomes M8).
- Drill the hole out cleanly to the correct tap-drill size for the new thread. Use a sharp bit and cutting fluid.
- Tap the new threads carefully. Keep the tap straight and reverse frequently to break chips.
- Clean the hole thoroughly and install the larger screw with thread locker if vibration is present.
Pros and Cons
Pros: Fast, strong, no special inserts required.
Cons: Changes the fastener size, may require a larger clearance hole in mating parts, and is limited by remaining material thickness.
Method 2: Thread Repair Inserts (Helicoil, Time-Sert, and Similar)
Why Inserts Are the Go-To Professional Fix
Threaded inserts restore the original screw size while adding stronger threads. Helicoil (wire inserts) and solid-body inserts like Time-Sert are common in automotive, aerospace, and industrial repair. They create a durable repair that often outlasts the original threads.
Helicoil-Style Wire Inserts
These are coiled stainless wire that forms new internal threads.
- Drill the hole to the specified oversize.
- Tap with the special insert tap (usually supplied in the kit).
- Install the insert with the installation tool until it sits slightly below the surface.
- Break off the tang if required.
- Thread in the original-size screw.
Solid Threaded Inserts (Time-Sert and Equivalents)
These are thicker-walled bushings that lock into the parent material.
- Drill and counterbore according to the kit instructions.
- Tap the hole.
- Drive the insert in with the installation tool until it seats fully.
The solid wall gives excellent pull-out strength and is preferred for high-load or high-vibration applications.
Practical Tips for Success
Always use the correct drill and tap from the kit. Cutting fluid helps on aluminum and stainless. Clean the hole completely before installation. For aluminum, solid inserts often perform better under repeated assembly cycles.
Method 3: Weld Fill, Redrill, and Retap
When Welding Is the Strongest Option
If the hole is badly oversized, the surrounding metal is cracked, or you need maximum strength, filling with weld metal and starting over is the most permanent solution. This is common in fabrication shops when repairing frames, brackets, or machine bases.
Step-by-Step Weld Repair
- Clean the area to bare metal. Remove oil, paint, and oxide.
- Choose filler that matches the base metal (ER70S-6 for mild steel, 4043 or 5356 for aluminum, appropriate stainless filler for stainless).
- Fill the hole completely using TIG or MIG. Build slightly proud of the surface.
- Allow the area to cool slowly to minimize distortion and residual stress.
- Grind or machine the surface flat.
- Center-punch, drill, and tap to the original or desired size.
- Deburr and clean before installing the fastener.
Tips for Clean Results
Use low heat input on thin material to avoid warping. On aluminum, make sure the oxide is fully cleaned and use adequate shielding gas. After welding, stress-relief if the part is critical. Always verify thread engagement with a new screw before final assembly.
Method 4: Epoxy, Thread Lockers, and Temporary Solutions
Light-Duty Options
For non-structural covers, nameplates, or low-load applications, two-part epoxy (such as high-strength metal-filled compounds) or thick thread locker can provide a temporary or semi-permanent hold.
- Clean and roughen the hole.
- Apply the compound and insert a coated screw or a temporary form.
- Allow full cure before loading.
Limitations
These methods lack the strength and reliability of mechanical repairs. Avoid them on anything that sees vibration, shear, or safety-critical loads. They are best viewed as stop-gap measures until a proper mechanical repair can be made.
Choosing the Right Repair Method
| Situation | Recommended Method | Strength Level | Speed | Original Screw Size Kept |
|---|---|---|---|---|
| Light duty, plenty of material | Upsize and retap | High | Fastest | No |
| Original size required | Helicoil or solid insert | Very High | Moderate | Yes |
| Badly damaged or cracked hole | Weld fill and retap | Highest | Slowest | Optional |
| Temporary / non-critical | Epoxy or thick thread locker | Low–Medium | Fast | Yes |
Match the method to the load, material, and available tools. In a production or repair shop, inserts and weld fill are the most common permanent solutions.
Tools and Materials Checklist
- Drill bits (correct tap-drill sizes)
- Tap set matching the desired thread
- Thread repair kits (Helicoil, Time-Sert, or equivalent)
- TIG or MIG welder and matching filler (for weld method)
- Cutting fluid, deburring tools, calipers
- Thread locker, clean rags, compressed air
- Safety gear: glasses, gloves, hearing protection
Keep a small assortment of common insert kits and taps on hand. They pay for themselves quickly.
Common Mistakes That Lead to Repeat Failures
Using a dull tap or forcing the tap creates new damage. Installing inserts crooked leaves weak engagement. Skipping thorough cleaning traps chips or oil that prevent proper seating. Over-tightening the new fastener simply strips the repair.
On aluminum, failing to account for the softer material leads to rapid re-stripping. Always verify the repair with a torque check appropriate for the fastener size and material.
Prevention: Stop Stripped Holes Before They Start
Use the correct torque values. A torque wrench or calibrated driver prevents over-tightening. Apply anti-seize on stainless and aluminum fasteners to reduce galling.
Avoid cross-threading by starting fasteners by hand. When designing or modifying parts, consider using threaded inserts from the beginning in soft materials or high-cycle locations. Regular inspection of critical fasteners catches wear early.
Real Shop Examples
On a steel machine base, a stripped 3/8-16 hole under a motor mount was welded full, ground flush, and retapped. The repair has held for years under continuous vibration. An aluminum electronics enclosure with multiple stripped #6-32 holes received solid inserts; the original screws now hold tightly and the covers come off cleanly every time.
A thin stainless bracket that had been upsized once already was repaired with a Helicoil so the mating plastic housing did not need modification.
These repairs succeed because the method matched the material and the duty cycle.
Wrapping Up
A well-executed repair restores more than just threads—it restores confidence in the assembly. Whether you choose to upsize, install an insert, or fill and re-machine, take the time to clean thoroughly, use sharp tools, and verify engagement. The extra minutes spent now prevent hours of downtime later.
Keep a small kit of common inserts and taps ready, and treat every stripped hole as an opportunity to leave the part stronger than you found it.
FAQ
Can I just use a larger screw without retapping?
Only if the existing hole already provides enough engagement and the larger screw starts cleanly. In most cases the hole needs to be drilled and tapped to the correct size for reliable threads.
Are Helicoil inserts strong enough for high-vibration applications?
Yes, when installed correctly. For extreme vibration or high pull-out loads, solid-body inserts such as Time-Sert are often preferred because of their thicker wall and locking features.
Is welding always better than using an insert?
Not always. Welding is excellent for severely damaged holes or when maximum strength is required, but inserts are faster, preserve more parent material, and keep the original screw size. Choose based on the specific damage and load.
What should I do if the hole is in thin sheet metal?
Upsizing may leave too little material. Consider a rivet nut (nutsert), a welded nut on the back side, or a solid insert designed for thin material. Epoxy is rarely adequate for structural sheet-metal joints.
How do I prevent stripping aluminum threads in the future?
Use the correct torque, apply anti-seize, avoid repeated assembly cycles when possible, and install threaded inserts during the original fabrication if the part will see frequent service.