Removing old solder from a joint often frustrates DIY welders, hobbyists, and professionals repairing electronics, copper plumbing, or preparing surfaces for stronger welded or brazed connections. Oxidized, contaminated, or excess solder prevents clean fusion, leading to weak joints, porosity, or failed repairs.
The best way to remove old solder from a joint depends on the material, joint size, and available tools, but effective techniques combine heat, mechanical action, and cleanup for reliable results.
This process matters because residual solder contaminates new welds or solders, especially when transitioning from low-temperature solder to higher-strength welding or brazing on copper, brass, or circuit components. Proper desoldering ensures strong, leak-free, or electrically sound joints.
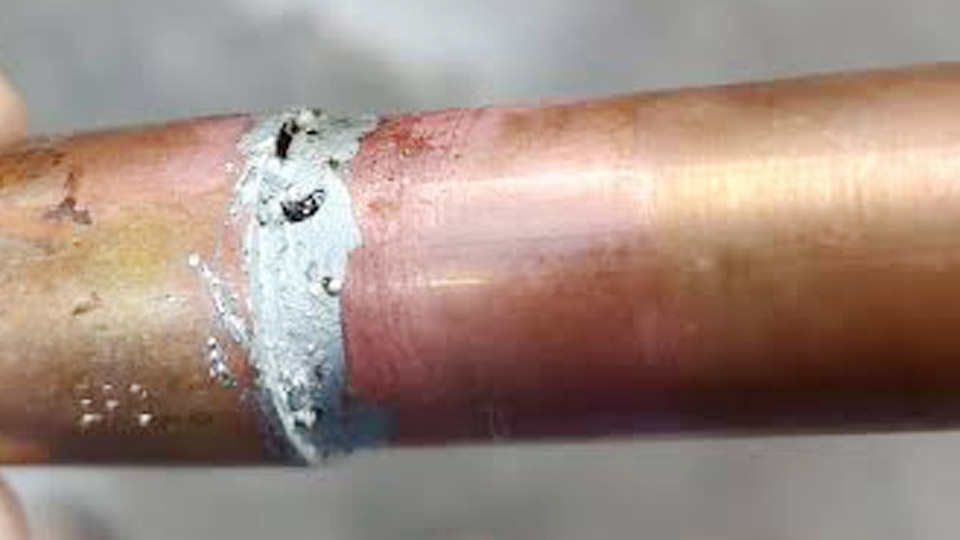
Image by r/Plumbing
Why Old Solder Removal Matters in Welding and Fabrication
Old solder joints appear in repairs involving copper pipes, automotive wiring harnesses, HVAC components, or electronics mounted near welded structures.
Lead-based or lead-free solders (melting around 180–250°C/356–482°F) leave residues that melt unpredictably under welding heat (often exceeding 1000°C/1832°F for MIG/TIG), causing inclusions or weak bonds.
Incomplete removal leads to galvanic corrosion in plumbing or signal issues in electronics. Professionals prioritize clean base metal for proper flux action and filler flow.
Common Scenarios Requiring Desoldering Before Welding
- Plumbing Repairs: Removing soldered copper fittings before brazing or welding extensions.
- Electronics in Fabricated Assemblies: Clearing solder from terminals or boards integrated into welded frames.
- Restoration Projects: Stripping old joints on vintage equipment or automotive radiators.
- Surface Prep for Brazing: Clearing low-melt solder to apply higher-temperature silver brazing alloys.
Each scenario demands tailored approaches to avoid damaging base metals like thin copper tubing or delicate PCB traces.
Choosing the Right Tools for Desoldering Joints
Tool selection balances precision, joint size, and material sensitivity. No single tool fits every job—professionals maintain a kit covering mechanical, thermal, and vacuum methods.
Soldering Irons and Temperature Control
A variable-temperature soldering iron (25–80W) serves as the foundation. Set 350–400°C (662–752°F) for most lead-free solders. Temperature-controlled stations prevent overheating copper pipes (which anneal above ~400°C) or lifting PCB pads. Fine tips (0.5–1mm) suit electronics; chisel tips handle larger joints.
Pair with flux (rosin or water-soluble) to improve flow and reduce oxidation during removal.
Desoldering Pumps and Bulbs (Solder Suckers)
Desoldering pumps provide vacuum suction for through-hole components and larger joints. Prime the spring-loaded plunger, heat the joint until solder flows, then trigger the sucker within 1–2 seconds. Effective for 1–3mm joints; multiple passes clear stubborn residues. Bulbs offer gentler suction for delicate work.
Clean the nozzle regularly to maintain suction power—clogged tools reduce efficiency dramatically.
Desoldering Braid (Wick)
Copper braid excels at wicking molten solder via capillary action. Select width matching the joint (1.5–3mm common). Place fluxed braid over the joint, apply iron heat, and lift when solder saturates the braid. Cut used sections to expose fresh braid. This method leaves the cleanest surfaces for re-soldering or welding prep.
Hot Air Rework Stations and Heat Guns
Hot air tools (300–500°C, adjustable airflow) suit surface-mount or multi-pin components. Use 4–8mm nozzles at low-to-medium flow to avoid blowing components. Ideal for plumbing where even heating prevents distortion. Combine with tweezers for component removal.
Specialized Options
- Heated Tweezers: For dual-sided heating of small components.
- Removal Alloys: Low-melt alloys (e.g., ChipQuik) that mix with old solder to lower melting point for easier removal.
- Compressed Air or Micro Blasting: For industrial cleanup of large areas, with proper PPE.
Techniques for Removing Old Solder from Different Joint Types
Electronics and PCB Joints
For through-hole: Heat one side while applying braid or sucker on the opposite. Add fresh solder first to improve heat transfer on oxidized joints. For stubborn holes, use a desoldering pump followed by a wick pass, or a small drill bit (under magnification) if clearance allows.
Surface-mount: Hot air or infrared rework prevents trace damage. Maintain 5–10mm distance and circular motion for even heating.
Copper Pipe and Plumbing Joints
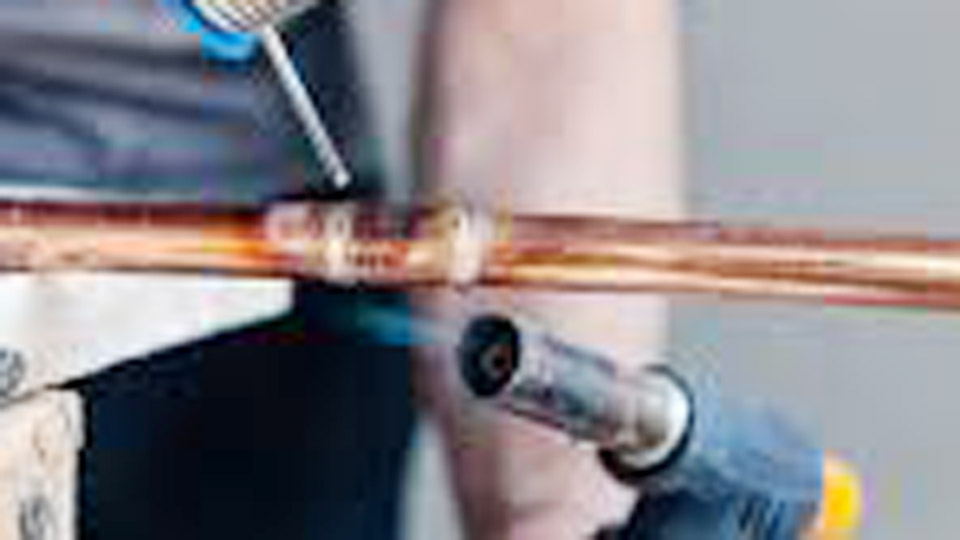
Plumbing joints require more heat due to mass. Use a propane or MAPP torch (not a soldering iron). Heat the fitting evenly until solder melts, then tap or pull apart. Residual solder wipes with a rag or brushes off while hot. For reuse without cutting, reheat and wick excess with braid or clean mechanically.
Avoid overheating to prevent pipe softening or fire hazards—work in well-ventilated areas with fire watch.
Preparing Joints for Welding or Brazing
After bulk removal, mechanically clean with wire brush, emery cloth, or Scotch-Brite to bright metal. Acid flux or pickling solutions remove oxides. Inspect for cracks or thinning. This step ensures the new higher-temperature filler bonds properly without contamination.
Step-by-Step: Best Way to Remove Old Solder Using Braid and Pump Combination
This hybrid method offers reliability across applications:
- Prep the Area: Clean surfaces, apply flux liberally.
- Initial Heat: Bring iron or torch to temperature and flow fresh solder/flux to mobilize old material.
- Braid Pass: Apply braid to absorb bulk solder.
- Vacuum Pass: Use pump for remaining pools, especially in holes or crevices.
- Final Cleanup: Reheat lightly and wipe; mechanically abrade to shiny metal.
- Inspect: Use magnification for electronics or pressure test for pipes.
Work in short cycles (3–5 seconds heat) to minimize heat-affected zones.
Factors Influencing the Best Desoldering Method
Joint Size and Material Thickness
Small electronics favor braid/wick or pumps. Large plumbing joints need torch + mechanical separation. Thin materials risk distortion—use lower heat and heat sinking (e.g., wet rags or clamps).
Solder Type and Age
Lead-free solders require higher temperatures (~217°C/423°F melting) and more flux. Aged, oxidized solder benefits from fresh solder addition to restore flow.
Environment and Scale
Shop settings allow hot air stations; field repairs rely on torches and manual tools. High-volume work justifies rework stations; one-offs use basic iron + braid.
Post-Removal Cleanup and Surface Preparation
Residual flux corrodes over time. Clean with isopropyl alcohol (>90%), distilled water, or specialized flux removers, then brush. For welding prep, degrease thoroughly and consider chemical etchants for stubborn oxides. Dry completely before new joining to prevent porosity.
Test cleanliness by applying flux—proper wetting indicates readiness.
Common Challenges and Solutions
Clogged Holes: Multiple pump/ braid cycles or low-melt alloy.
Damaged Pads/Traces: Lower temperature, use heat sinks, or repair with jumper wires.
Incomplete Removal: Always add flux and fresh solder first.
Distortion: Even heating, supports, and quick cooling.
Decision-Making Summary for Welders and Fabricators
Select methods based on joint specifics: braid for precision cleaning, pumps for volume, torch for plumbing scale. Prioritize clean base metal over speed—residual solder undermines even the best welding parameters. In practice, combining thermal wicking with mechanical finishing yields the strongest subsequent joints.
In high-reliability applications, consider ultrasonic cleaning or electrochemical stripping after primary desoldering to achieve atomic-level cleanliness, enabling superior capillary action in brazed or soldered repairs under cyclic loads.
FAQ
What is the fastest way to remove old solder from a joint?
For quick jobs, combine a hot air gun or torch with a desoldering pump. Heat evenly and vacuum immediately for larger joints; braid offers faster cleanup on small electronics than pumps alone.
Can you weld over old solder joints?
No—high welding heat melts residual solder, causing contamination, porosity, and weak fusion. Always remove old solder completely and clean to bright metal first.
How do you remove solder from copper pipes without damaging them?
Use a torch to heat the fitting, separate while hot, then wipe or brush molten solder. Follow with emery cloth cleaning. Avoid excessive heat cycles to prevent annealing the copper.
What tools do professionals use for desoldering?
Variable-temperature stations, quality braid, solder suckers, hot air rework tools, and flux. For volume, integrated desoldering irons with built-in vacuum.