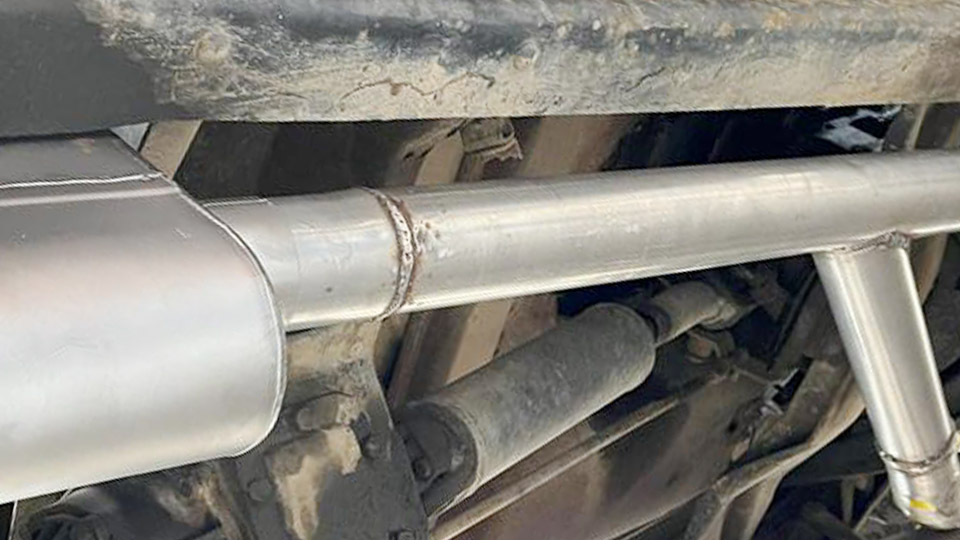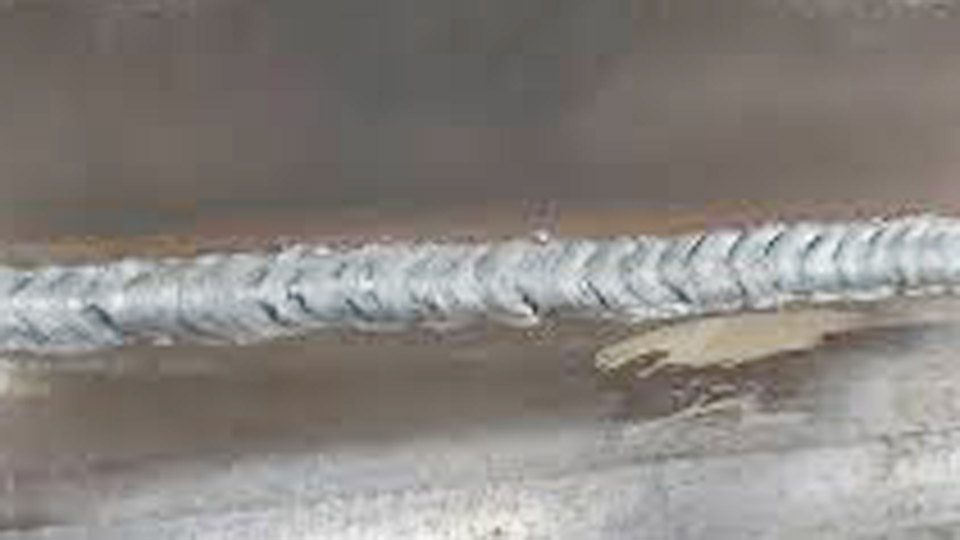
Freshly welded steel frames and fabricated metal projects often look finished until the paint starts peeling in sheets after a few weeks of handling or outdoor exposure. The root cause is almost always the same: acrylic paint applied directly to smooth, oily, or oxidized metal has almost nothing to grip.
Learning how to get acrylic paint to stay on metal requires deliberate surface preparation, the correct primer matched to the metal, controlled application of thin coats, and a protective topcoat.
These steps convert a non-porous, chemically inert surface into one that accepts and retains an acrylic film through mechanical interlock and chemical bridging.
Skipping any stage produces the familiar failure modes of edge lifting, blistering under moisture, or complete delamination under thermal cycling.
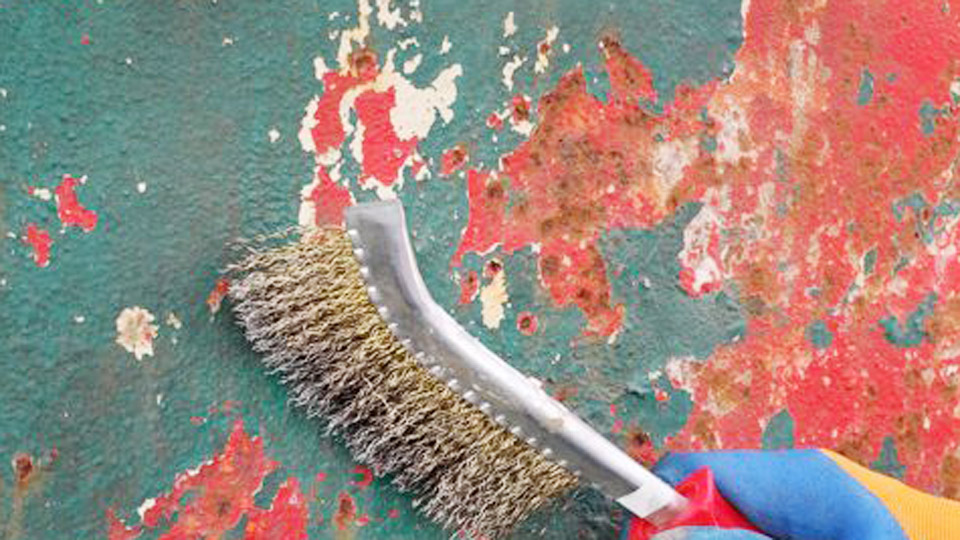
Image by artincontext
Why Acrylic Paint Fails on Bare Metal and What Creates Real Adhesion
Acrylic paint forms a continuous polymer film that relies on mechanical tooth and surface energy for attachment. Bare metal—especially rolled steel, aluminum, or galvanized sheet—presents a low-energy, non-porous surface that rejects water-based acrylics.
The Chemistry and Physics Behind Peeling
Metal lacks the microscopic pores found in wood or canvas. Without abrasion, the acrylic film sits on top rather than interlocking. Residual mill scale, cutting oils, fingerprints, and flash rust create weak boundary layers that break under stress.
Temperature changes cause the metal and paint to expand at different rates; without a flexible intermediate layer the film cracks and lifts. Moisture reaching the metal interface through any pinholes accelerates under-film corrosion that pushes the coating off.
Conditions That Allow Acrylic to Hold
Successful adhesion requires three simultaneous conditions: a clean surface free of contaminants, controlled micro-roughness (tooth) created by sanding or etching, and an intermediate primer layer that bonds chemically to the metal while presenting a receptive surface for the acrylic topcoat. When these are met, the system can deliver multi-year durability even on outdoor welded structures.
Surface Preparation Decisions That Determine Success or Failure
Preparation quality overrides every later step. Welded projects introduce extra variables—mill scale, heat-affected zones, spatter, and residual flux—that must be addressed before any coating goes on.
Degreasing and Contaminant Removal
Wipe the entire surface with acetone, mineral spirits, or a dedicated metal degreaser until a clean cloth shows no residue. Manufacturing oils and handling fingerprints are invisible but fatal to adhesion.
For heavy shop grime, a TSP solution or commercial degreaser followed by a solvent wipe produces a water-break-free surface.
On galvanized metal, a dilute white vinegar wipe etches the zinc layer and improves subsequent primer grip; rinse and dry thoroughly afterward.
Rust and Mill Scale Removal
Wire-brush or power-sand all loose rust and black mill scale down to bright metal. Coarse 80–120 grit removes heavy scale; finer 180–220 grit follows for uniformity. Heat-affected zones near welds often show discoloration and altered oxide that resists paint—treat these areas more aggressively.
Chemical rust converters can stabilize remaining tightly adherent oxide on steel, converting it into a paintable iron phosphate layer, but they are not a substitute for mechanical removal of thick scale.
Creating Mechanical Tooth
Lightly scuff the cleaned metal with 120–220 grit sandpaper or a Scotch-Brite equivalent until the surface loses its shine and appears uniformly dull. The goal is microscopic scratches that increase surface area, not deep grooves that show through the final finish.
Wipe all dust with a tack cloth or clean solvent-dampened rag and allow the metal to dry completely before priming. On aluminum the oxide layer reforms quickly, so sand and prime in the same work session.
Choosing the Right Primer for Your Metal Type
Primer is the adhesion bridge. Selecting the wrong chemistry for the substrate is the most common reason acrylic still peels after careful cleaning.
Primer Selection by Metal
| Metal Type | Primary Challenge | Recommended Primer Type | Example Products |
|---|---|---|---|
| Mild steel / iron | Flash rust, mill scale | Rust-inhibiting or clean-metal primer | Rust-Oleum Clean Metal Primer, red oxide primers |
| Galvanized steel | Zinc coating repels coatings | Bonding or galvanized-specific primer | Rust-Oleum Universal Bonding Primer, Tremclad water-based |
| Aluminum | Slick oxide layer | Self-etching primer | SEM Self-Etching Primer, acid-etch aerosols |
| Previously painted | Gloss or chalking old film | Bonding primer after scuffing | Zinsser Bulls Eye 1-2-3 |
| Stainless / hard metals | Extremely low surface energy | Self-etching or high-bond primer after aggressive scuffing | Specialty self-etch systems |
Application and Cure Requirements
Apply primer in thin, even coats—two light coats outperform one heavy coat. Follow the manufacturer’s recoat window exactly; most acrylic-compatible metal primers accept topcoat in 1–4 hours but reach full cure in 24 hours or longer.
Self-etching primers should not be sanded after application because sanding destroys the chemical etch bond. Brush, roll, or spray according to product instructions, maintaining the recommended film thickness to avoid both under-build and runs.
Applying Acrylic Paint So the Film Stays Intact
Once the primer is fully dry, the acrylic layer must be applied in a way that avoids internal stress and pinholes.
Thin Coats and Recoat Timing
Use quality acrylic formulated for hard surfaces or multi-surface use. Apply two or three thin coats rather than one thick layer. Thick films trap solvent or water, remain soft longer, and develop internal stresses that promote cracking.
Allow each coat to dry to the touch and reach the manufacturer’s recoat time before the next application. Ambient temperature and humidity affect dry times—cold or damp conditions extend them significantly and can cause poor film formation.
Brush, Roller, or Spray Choices
Synthetic brushes or foam rollers work well for small fabricated pieces and detailed weldments. Spray application (aerosol or HVLP) produces the most uniform film on large flat or tubular structures and reduces brush marks that can become weak points. Maintain consistent distance and overlapping passes to avoid dry spray or heavy edges.
Sealing Decisions That Extend Service Life
An unsealed acrylic film remains somewhat porous and vulnerable to abrasion, UV, and moisture. A clear topcoat locks the system together.
Indoor Versus Outdoor Topcoats
For indoor decorative or low-wear pieces, a clear acrylic varnish or polycrylic provides adequate protection. Outdoor or high-abrasion projects require a UV-resistant exterior clear coat—acrylic enamel, polyurethane, or specialized metal clear sprays.
Apply two thin coats after the color has fully cured (often 24–72 hours). Matte, satin, or gloss sheens are available; gloss generally offers slightly higher moisture resistance.
Compatibility and Flexibility
Choose a topcoat chemically compatible with the acrylic paint. Water-based acrylic sealers over water-based acrylic paint are safest. Solvent-based clears can be used if the paint has fully cured and the product is labeled compatible.
Flexible topcoats accommodate the expansion and contraction of metal better than brittle ones, reducing long-term cracking on outdoor structures.
Special Cases: Welded Structures, Outdoor Exposure, and Difficult Metals
Post-Weld Fabrication Realities
After welding, remove all slag, spatter, and heat tint. Grind welds flush or to the desired profile, then treat the entire assembly as bare metal. Mill scale on hot-rolled plate is particularly tenacious and must be removed or the paint will fail preferentially over scale patches. In shop environments, apply primer the same day the metal is cleaned to prevent flash rust.
Outdoor and High-Moisture Environments
Expect shorter service life outdoors even with perfect prep. Recoat intervals of 3–7 years are realistic depending on climate. Coastal or industrial atmospheres accelerate failure; more frequent inspection and touch-up of damaged areas prevent under-film corrosion from spreading.
Preheating the metal slightly before painting in cool weather can improve flow and adhesion, but avoid painting when surface temperature is below the product’s minimum or when dew is likely.
Aluminum and Galvanized Challenges
Aluminum’s oxide reforms rapidly—sand and prime immediately. Galvanized surfaces benefit from the vinegar etch or a dedicated galvanized primer; ordinary rust-inhibiting primers often fail on zinc. Self-etching primers excel on both metals when the surface is properly cleaned first.
Wrapping Up
The practical decision path is straightforward: clean until the surface is chemically free of oils, create uniform microscopic tooth, select a primer matched to the exact metal, apply thin acrylic coats within the recoat windows, and lock the system with a compatible clear topcoat rated for the service environment.
When these variables are controlled, acrylic paint remains bonded through normal handling, weather cycles, and thermal movement. Advanced fabricators further improve longevity by specifying direct-to-metal acrylic systems or epoxy primers under acrylic topcoats on critical outdoor structural work where maximum corrosion resistance is required.
FAQs
Does acrylic paint stick to metal without primer?
Only temporarily on thoroughly cleaned and aggressively scuffed indoor decorative pieces. Without primer the film lacks both chemical bridging and rust protection and typically fails within months under any real service.
What is the best primer for acrylic paint on steel?
A rust-inhibiting clean-metal primer such as Rust-Oleum Clean Metal Primer or equivalent red-oxide formulations provides the strongest combination of adhesion and corrosion control on ferrous metals.
How long should primer dry before applying acrylic paint?
Follow the product label. Most water-based bonding primers accept acrylic topcoat in 1–4 hours; full cure often requires 24 hours. Applying color too early traps solvents and weakens the bond.
Can I use regular craft acrylic on outdoor metal?
Yes if the surface is correctly primed and sealed with an exterior UV-resistant clear coat. Specialty exterior or multi-surface acrylics offer better flexibility and weather resistance for demanding applications.