TIG welding bronze requires more than simply adjusting your welder’s settings. Bronze alloys conduct heat differently than steel, and improper amperage, filler metal selection, or shielding gas coverage can lead to porosity, cracking, poor fusion, or excessive discoloration.
Understanding how to TIG weld bronze is essential whether you’re repairing marine hardware, restoring cast components, or fabricating decorative metalwork where both strength and appearance matter.
A controlled arc, proper heat input, and the right welding technique help produce clean, durable welds while minimizing distortion and preserving the alloy’s properties.
With the correct approach, you can achieve consistent, high-quality bronze welds that require less finishing and perform reliably in demanding applications.
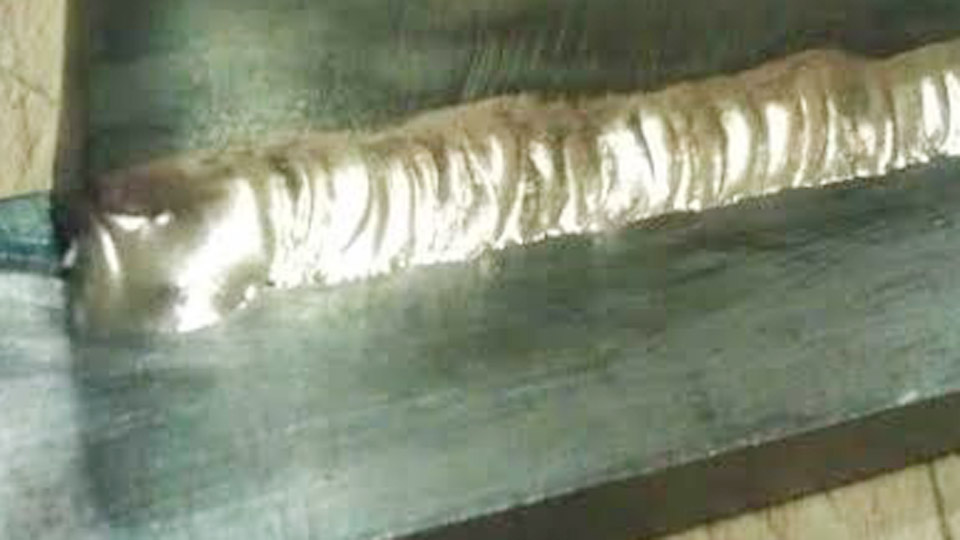
Image by weldingweb
Choosing the Correct Filler Metal for the Bronze Alloy
Filler selection determines joint strength, color match, and crack resistance more than any other single decision.
Silicon Bronze (ERCuSi-A) for Most General Work
ERCuSi-A contains approximately 3 % silicon and small amounts of manganese. It flows readily, tolerates moderate contamination, and produces a smooth gold-colored bead.
Use it for silicon bronze base metal, copper-to-steel joints, galvanized sheet, and many repair overlays. Keep the puddle small to avoid hot-short cracking; interpass temperature should stay below 150 °F (65 °C).
Aluminum Bronze (ERCuAl-A2) for Strength and Marine Service
ERCuAl-A2 carries 9–11 % aluminum plus iron. It delivers higher tensile strength and superior seawater resistance. Match it to aluminum-bronze castings or plate. The aluminum oxide film is more stubborn, so surface preparation must be thorough. Some operators switch to AC for cleaning action on heavily oxidized surfaces, though DCEN remains the default for most fusion work.
Phosphor Bronze (ERCuSn-A or ERCuSn-C) for Electrical and Spring Applications
Tin contents of 4–8 % plus phosphorus produce deposits suited to phosphor-bronze strip, electrical contacts, and wear surfaces. These fillers are less fluid than silicon bronze and require slightly higher amperage for the same thickness.
Machine Settings and Polarity Decisions That Control Heat Input
Bronze’s high thermal conductivity demands precise current control and proper polarity.
DCEN Polarity and Starting Amperage Ranges
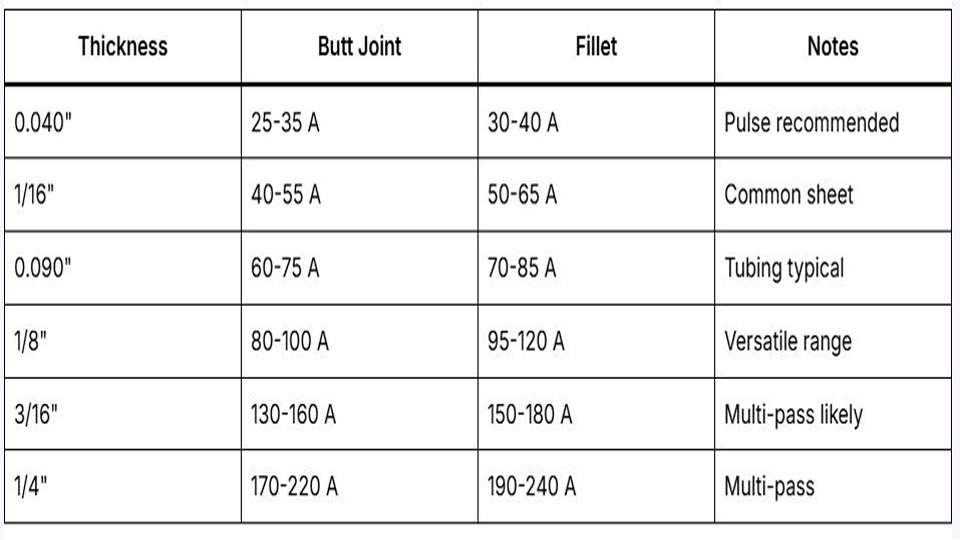
Set the machine to DC electrode negative (straight polarity). This concentrates heat in the workpiece and stabilizes the arc on copper alloys. Typical starting ranges for 1/16″–1/8″ silicon-bronze rod are:
| Material Thickness | Amperage (DCEN) | Tungsten Diameter | Argon Flow |
|---|---|---|---|
| 0.040–0.063″ (1–1.6 mm) | 40–70 A | 1/16″ | 12–15 CFH |
| 1/16–1/8″ (1.6–3.2 mm) | 70–110 A | 1/16″ or 3/32″ | 15–20 CFH |
| 3/16–1/4″ (4.8–6.4 mm) | 110–160 A | 3/32″ | 18–25 CFH |
Foot-pedal control is essential; the operator can raise current only long enough to form a small puddle and then back off to avoid overheating.
When AC Becomes Useful
Aluminum bronze occasionally benefits from AC high-frequency for oxide disruption. Balance the AC waveform toward penetration (more electrode-negative time) rather than cleaning unless the surface is heavily oxidized. Pure argon remains the shielding gas; helium mixes are rarely needed below ½″ thickness.
Surface Preparation Requirements Specific to Copper Alloys
Oxide films and residual oils cause porosity and lack of fusion faster on bronze than on steel.
Mechanical and Chemical Cleaning Sequence
Remove all mill scale, grease, and prior oxides with a stainless-steel or copper wire brush reserved exclusively for copper alloys. Follow with acetone or a dedicated degreaser wiped in one direction.
Do not use the same brush previously used on steel or aluminum; cross-contamination introduces iron or aluminum particles that create hard inclusions.
Preheat and Interpass Temperature Limits
Silicon bronze and thin sections usually need no preheat. Aluminum bronze above ¼″ or heavily restrained joints benefit from 200–300 °F (93–150 °C) preheat to reduce thermal gradients. Never exceed 400 °F interpass on silicon bronze; higher temperatures promote hot shortness and grain coarsening.
Torch Technique and Puddle Management for Fusion Versus Brazing
Two distinct approaches exist depending on joint requirements.
Fusion Welding Bronze-to-Bronze
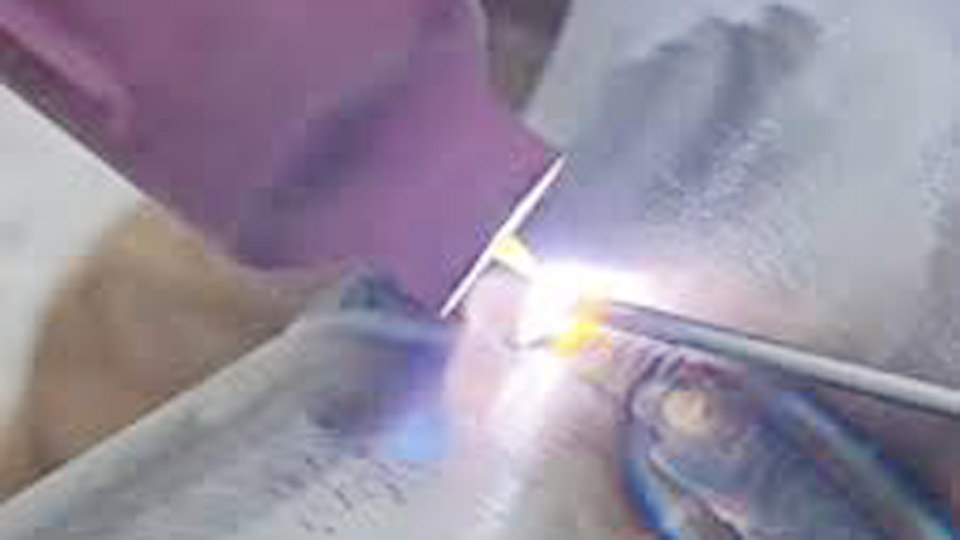
Form a small molten puddle in the base metal, then dip the filler into the leading edge. Maintain a short arc (less than 1/16″) and a 10–15° push angle. Travel steadily; prolonged dwell causes undercut and excessive dilution. Stringer beads are preferred over wide weaves to limit heat input and residual stress.
TIG Brazing Technique for Thin or Dissimilar Joints
Heat the joint only enough to wet the surface, then feed silicon-bronze filler so it melts and flows without melting the base metal. Keep the arc focused primarily on the filler rod rather than the plate.
This method joins steel to bronze, repairs thin sheet, and minimizes distortion on architectural work. Amperage is typically 20–40 % lower than fusion settings for the same thickness.
Joint Design and Distortion Control Strategies
Copper alloys expand and contract more than steel, so joint design must accommodate movement.
Preferred Joint Configurations
Butt joints with a slight root opening (1/32–1/16″) and square or slight V-groove edges work for thin material. Fillet joints on thicker plate should use a 45° angle and avoid tight root gaps that trap oxides. Copper or graphite backing bars help support the root on open joints and extract heat.
Sequencing and Clamping to Limit Warpage
Tack every 2–3 inches, alternating sides. Weld short segments and allow cooling between passes. On long seams, use a back-step technique. Rigid clamping is useful only if the fixture can expand with the workpiece; otherwise spring clamps or intermittent clamps reduce residual stress.
Post-Weld Cleaning and Inspection Criteria
Slag is minimal with TIG, but oxide discoloration and residual flux (if any) must be removed.
Mechanical Cleaning and Color Match
Wire-brush the bead while still warm for easiest oxide removal. For architectural or decorative work, light grinding or polishing restores the characteristic bronze color. Avoid aggressive abrasives that embed particles.
Acceptance Indicators for Sound Welds
A successful deposit shows uniform ripple, complete fusion at the toes, and no visible porosity or crater cracks. Cross-section or dye-penetrant inspection confirms internal quality on critical components. Hardness and color should closely match the base metal when the correct filler is chosen.
Wrapping Up
Selecting the matching filler, staying on DCEN with controlled amperage, and deciding deliberately between fusion and TIG-brazing techniques produce dense, serviceable bronze joints.
On critical aluminum-bronze marine components, the advanced practice of combining a short preheat with pulsed current further narrows the heat-affected zone and preserves corrosion resistance without sacrificing fusion.
FAQs
What filler rod is best for TIG welding bronze?
ERCuSi-A silicon bronze covers the majority of general and dissimilar-metal work. Use ERCuAl-A2 for aluminum-bronze base metal that requires higher strength or marine corrosion resistance.
What amperage should I use to TIG weld 1/8″ bronze?
Start at 70–110 A on DCEN with 1/16″ or 3/32″ tungsten and pure argon at 15–20 CFH. Adjust with the foot pedal to form a small, controlled puddle.
Do I need to preheat bronze before TIG welding?
Thin silicon bronze usually needs none. Aluminum bronze thicker than ¼″ or restrained joints benefit from 200–300 °F preheat to reduce cracking risk.
Can I TIG weld bronze to steel?
Yes. Silicon-bronze filler in a TIG-brazing technique joins the two metals effectively while keeping heat input low enough to avoid melting the steel excessively.