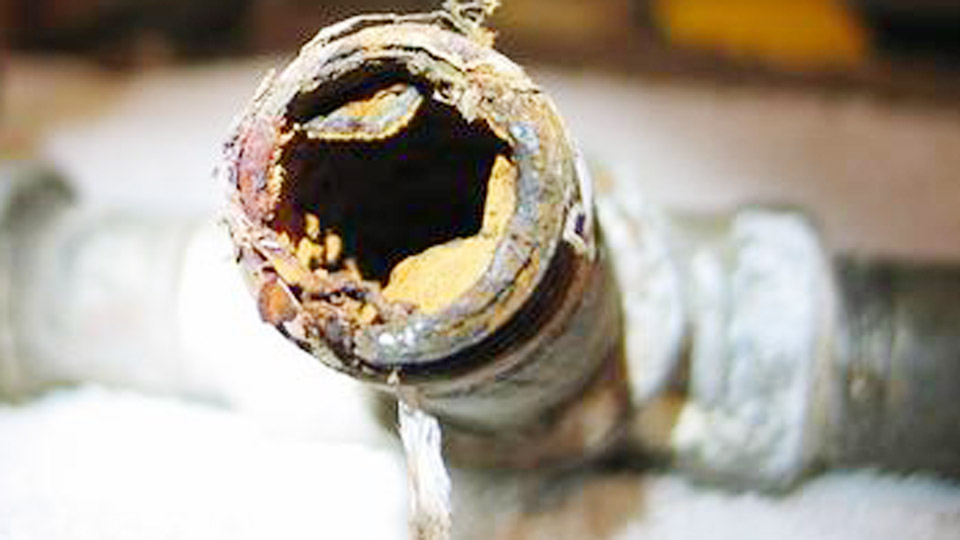
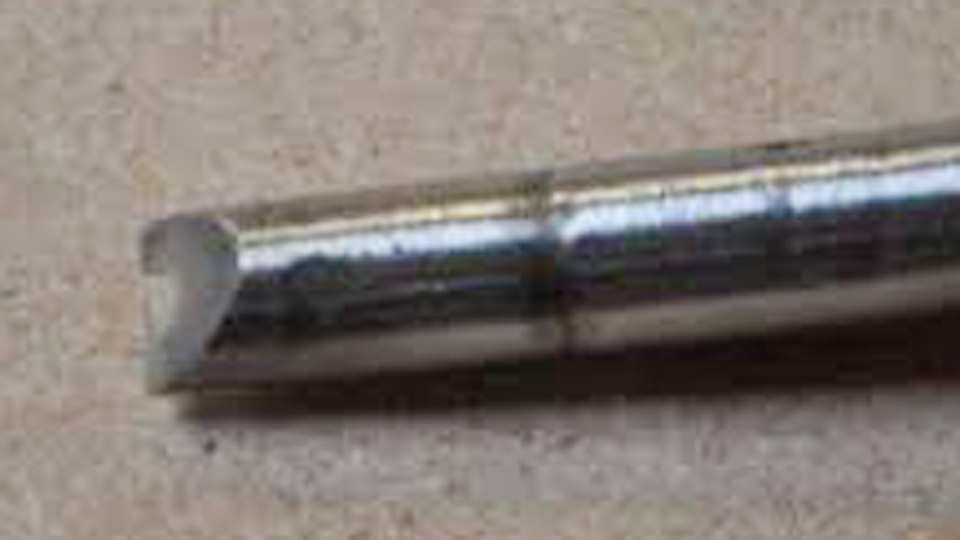
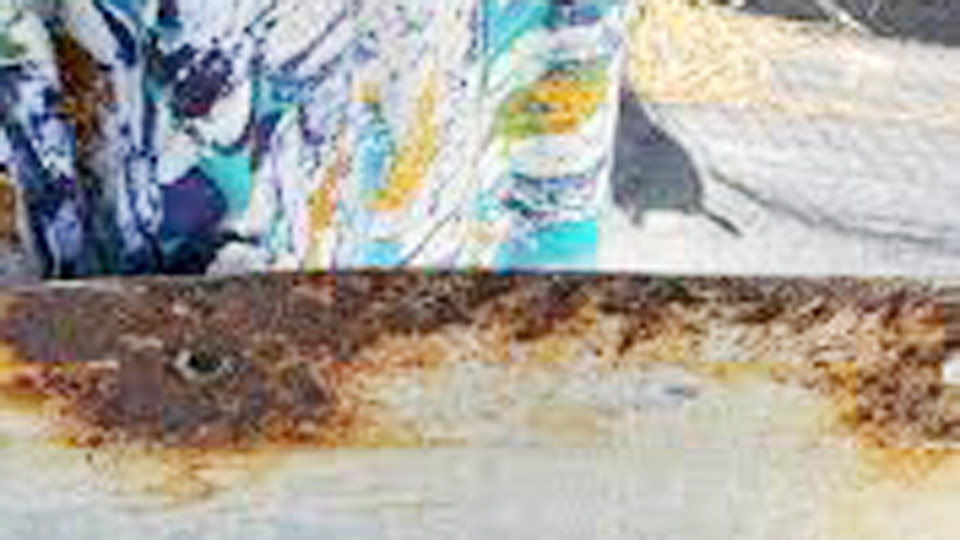
Rusted metal poses one of the most common frustrations for welders restoring equipment, fabricating repairs, or building projects from scrap. Loose scale flakes off during welding, contaminants cause porosity, and unprotected surfaces corrode again quickly after fabrication.
Learning how to use Rustoleum on rusted metal addresses these issues directly by stabilizing rust, improving surface conditions for welding preparation or post-weld protection, and delivering long-term corrosion resistance without full rust removal in many cases.
Proper application extends material life, reduces rework, and maintains structural integrity in real-world fabrication environments where complete rust eradication is often impractical.
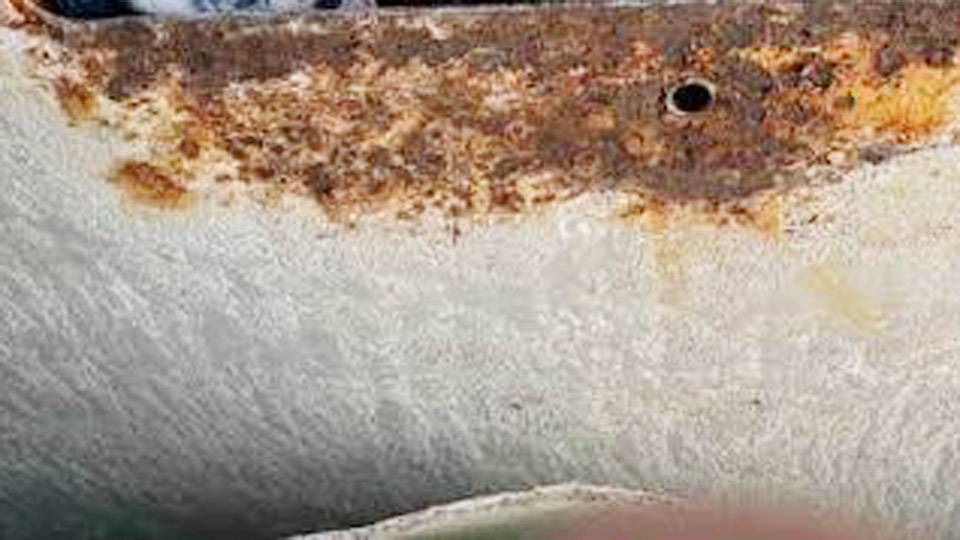
Image by fb/Above Ground Swimming Pools Group
Surface Assessment and Product Selection
Evaluating Rust Severity for Welding and Coating Decisions
Classify rust levels before choosing a Rustoleum product or welding approach. Light surface rust (orange powder) allows direct welding after minimal cleaning. Moderate rust with pitting requires mechanical removal of loose material plus a converter or primer.
Heavy, flaking scale with deep penetration demands aggressive prep or replacement of affected sections for load-bearing welds.
Measure pit depth with a caliper or visual gauge. For structural members, remove metal down to sound base if pits exceed 20-30% of thickness. Non-structural panels tolerate more surface treatment.
Choosing Between Rust Reformer, Rusty Metal Primer, and Topcoats
Rust Reformer chemically converts iron oxide into a stable, paintable compound. Apply it directly over firm rust after removing loose debris. It suits quick stabilization before welding prep or as a base layer.
Stops Rust Rusty Metal Primer bonds tightly to heavily rusted surfaces, creating a durable undercoat for topcoats. Use it when maximum adhesion and corrosion blocking are needed post-weld or on non-weld areas.
Clean Metal Primer targets lightly rusted or bare metal for superior topcoat bonding. Avoid on heavy rust.
Select spray for irregular shapes and brush/roller for controlled application on flat weldments. High-heat variants exist for exhaust or engine components, rated up to specific temperatures—verify against your process heat input.
Preparation Techniques for Optimal Results
Mechanical Cleaning Methods Tailored to Welders
Start with a wire wheel on an angle grinder (80-120 grit) or wire brush to knock off loose scale and flaking rust. Follow with 220-grit sanding to feather edges and create profile for adhesion. For enclosed areas or thin material, use needle scalers to minimize distortion.
Degrease thoroughly with mineral spirits or TSP substitute. Wipe multiple times until cloths remain clean. Residual oils or contaminants cause weld defects like hydrogen cracking in MIG or TIG processes.
Chemical Conversion vs. Full Removal Trade-offs
Phosphoric acid-based treatments etch and convert light rust. Apply, dwell per instructions, rinse, and dry completely. Combine with mechanical methods for best results on pitted areas.
For welding, prioritize bare metal in the joint zone. Apply Rustoleum products to adjacent areas only, or use weld-through primers specifically formulated with zinc for seam areas where full cleaning is impossible. Standard Rustoleum primers and paints contaminate the weld pool—remove them from the fusion zone.
Application Processes for Different Scenarios
Step-by-Step Application on Pre-Weld Rusted Fabrications
- Clean and mechanically prepare as above.
- Mask weld joint areas to keep them bare.
- Shake or stir product vigorously.
- Apply thin, even coats (spray 8-12 inches away in overlapping sweeps; brush in one direction).
- Allow full dry time—typically 24 hours before topcoating or further handling.
- Topcoat with compatible Rustoleum enamel for color and extra protection.
Focus on thin coats to prevent runs and ensure curing. Multiple light layers outperform one heavy coat.
Post-Weld Coating and Protection Strategies
After welding and slag removal, cool the assembly completely. Grind or wire-brush weld zones and heat-affected areas to remove discoloration and spatter. Clean again, then apply Rusty Metal Primer to exposed metal followed by topcoat. This restores corrosion protection lost during welding heat.
For painted assemblies that require repair welds, grind paint back 1-2 inches from the joint. Weld, then blend primer and paint to match.
Compatibility with Common Welding Processes
MIG and Flux-Cored Considerations
MIG welding is sensitive to surface coatings. Remove all Rustoleum products from the weld area to avoid porosity and weak fusion. Flux-cored wire tolerates slightly more contamination but still performs best on clean metal. Use weld-through primers sparingly on overlapping joints if disassembly isn’t feasible.
Post-weld, the primer-paint system seals crevices prone to crevice corrosion in humid environments.
TIG and Stick Welding Specifics
TIG demands the cleanest surfaces. Any primer residue causes inclusions or arc instability. Grind thoroughly and use acetone final wipe. Stick welding (SMAW) handles minor surface issues better due to flux, but deep rust still requires removal for sound beads.
High-heat Rustoleum formulations withstand some post-weld exposure but are not substitutes for proper joint prep.
Environmental and Performance Factors
Indoor vs. Outdoor and Temperature Ratings
Standard Stops Rust products perform indoors and outdoors but avoid application below 50°F or above recommended humidity. For high-temperature service (exhausts, fire pits), select specialized high-heat paints rated to 1200°F+ after proper priming.
Outdoor projects benefit from zinc-rich primers or additional clear topcoats in marine or road salt environments.
Durability Testing and Expected Lifespan
Properly prepared and coated rusted metal with Rustoleum systems resists corrosion for years under normal exposure. Real-world performance depends on prep quality more than product choice. Annual inspections catch edge lifting early.
Advanced Techniques and Common Decision Points
Blending Repairs on Large Structures
When patching large rusted sections, feather existing coatings 3-4 inches beyond repair boundaries. Apply converter or primer to new metal and blend coats for invisible transitions. This maintains uniform protection and aesthetics.
Storage and Shelf Life Management
Store cans inverted to prevent tip clogs. Test spray on scrap before major projects. Expired or poorly stored product yields poor atomization and adhesion.
Real-World Application Insights
Effective use of Rustoleum on rusted metal comes down to matching product to rust severity and welding sequence. Prioritize clean joint areas for weld quality, then leverage these coatings for comprehensive protection elsewhere. This approach minimizes downtime on restoration projects while delivering professional, durable results.
For pro-level work, combine mechanical prep with chemical conversion on non-critical surfaces and always verify intercoat compatibility when layering different Rustoleum lines. This yields weldments that not only hold structurally but resist the environment long after fabrication.
FAQ
Can I weld directly over Rustoleum Rusty Metal Primer?
No. Remove primer from the weld zone to prevent contamination, porosity, and weak joints. Apply coatings after welding and cleanup for best results.
How long does Rust Reformer need to cure before topcoating or welding nearby?
Allow 24 hours full cure before topcoating. Keep weld areas masked or cleaned regardless of cure time.
Is Rustoleum suitable for outdoor welded structures like trailers or gates?
Yes, when properly prepared and topcoated. Use Rusty Metal Primer on rusted sections followed by appropriate enamel. Reapply as needed on high-wear edges.
What’s the difference between Rust Reformer and Rusty Metal Primer?
Rust Reformer chemically converts rust for minimal prep. Rusty Metal Primer provides stronger bonding and build for heavily rusted surfaces needing robust topcoats. Choose based on rust thickness and desired film build.