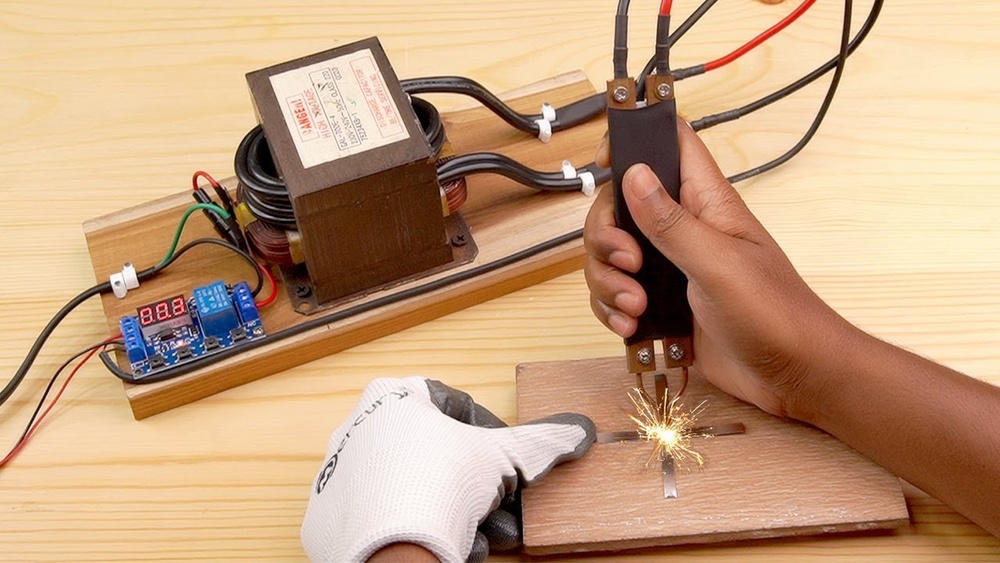
Building your own spot welding transformer is a rewarding project for anyone interested in metalworking, electronics, or DIY fabrication. Spot welding is widely used for joining sheet metals, especially in automotive repairs, battery pack construction, and small-scale manufacturing.
Many hobbyists and professionals prefer to make their own spot welders because commercial machines can be expensive and sometimes too powerful or bulky for small jobs.
In this guide, you’ll learn how to make a spot welding transformer from scratch, including parts selection, safety tips, step-by-step instructions, and troubleshooting advice. The explanations are simple, clear, and practical, so even beginners can follow along confidently.
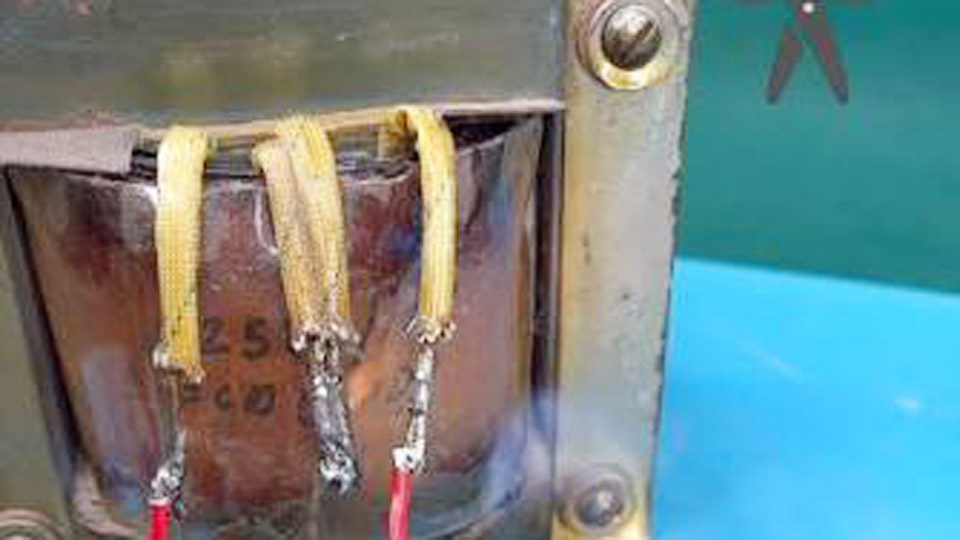
Image by CreativeOwn
Understanding Spot Welding And Transformers
Spot welding uses electric current to heat and join two metal pieces. A transformer is the heart of a spot welder. It reduces high voltage from your wall outlet to a low voltage, but increases the current to a very high level—often over 1000 amps—needed for welding.
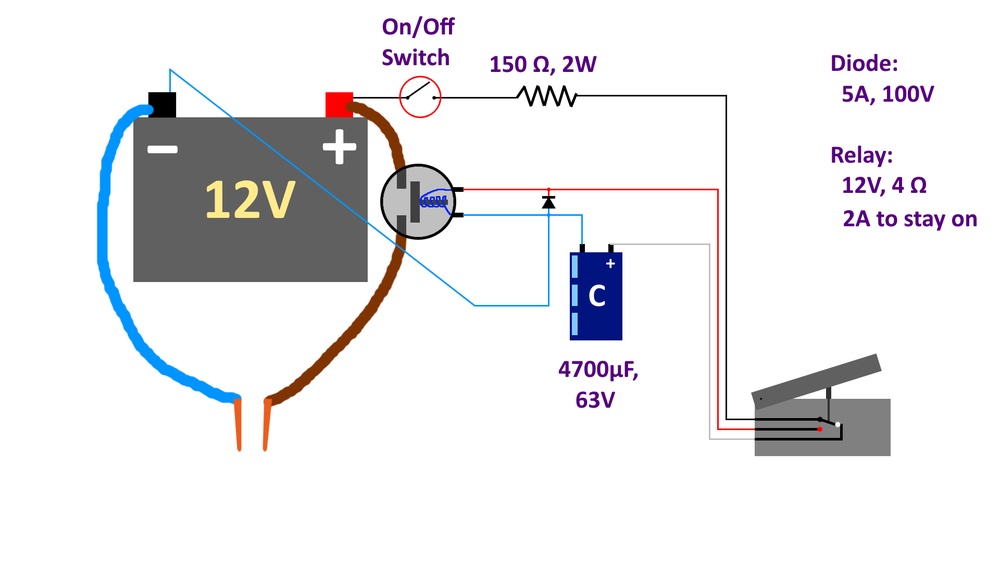
The process is fast: you press two metal pieces together, apply current for a brief moment (usually 0.1–1 second), and the metals fuse.
Why use a transformer? Household electricity is dangerous and not suitable for direct welding. A transformer makes it safe by lowering voltage and raising current. This is ideal for melting the small area between two metal sheets without shocking the user or damaging the parts.
| Feature | Spot Welder Transformer | Direct Electrical Connection |
|---|---|---|
| Voltage | 2–8 V (low) | 110–240 V (high) |
| Current | 1000–2000 A (very high) | 10–16 A (household) |
| Safety | Much safer | Very dangerous |
| Suitability | Welding metals | General appliances |
Choosing The Right Materials And Tools
Before starting, you need to gather the right parts and tools. Some materials can be salvaged, others must be bought new. Your choices impact performance, safety, and durability.
Essential Components
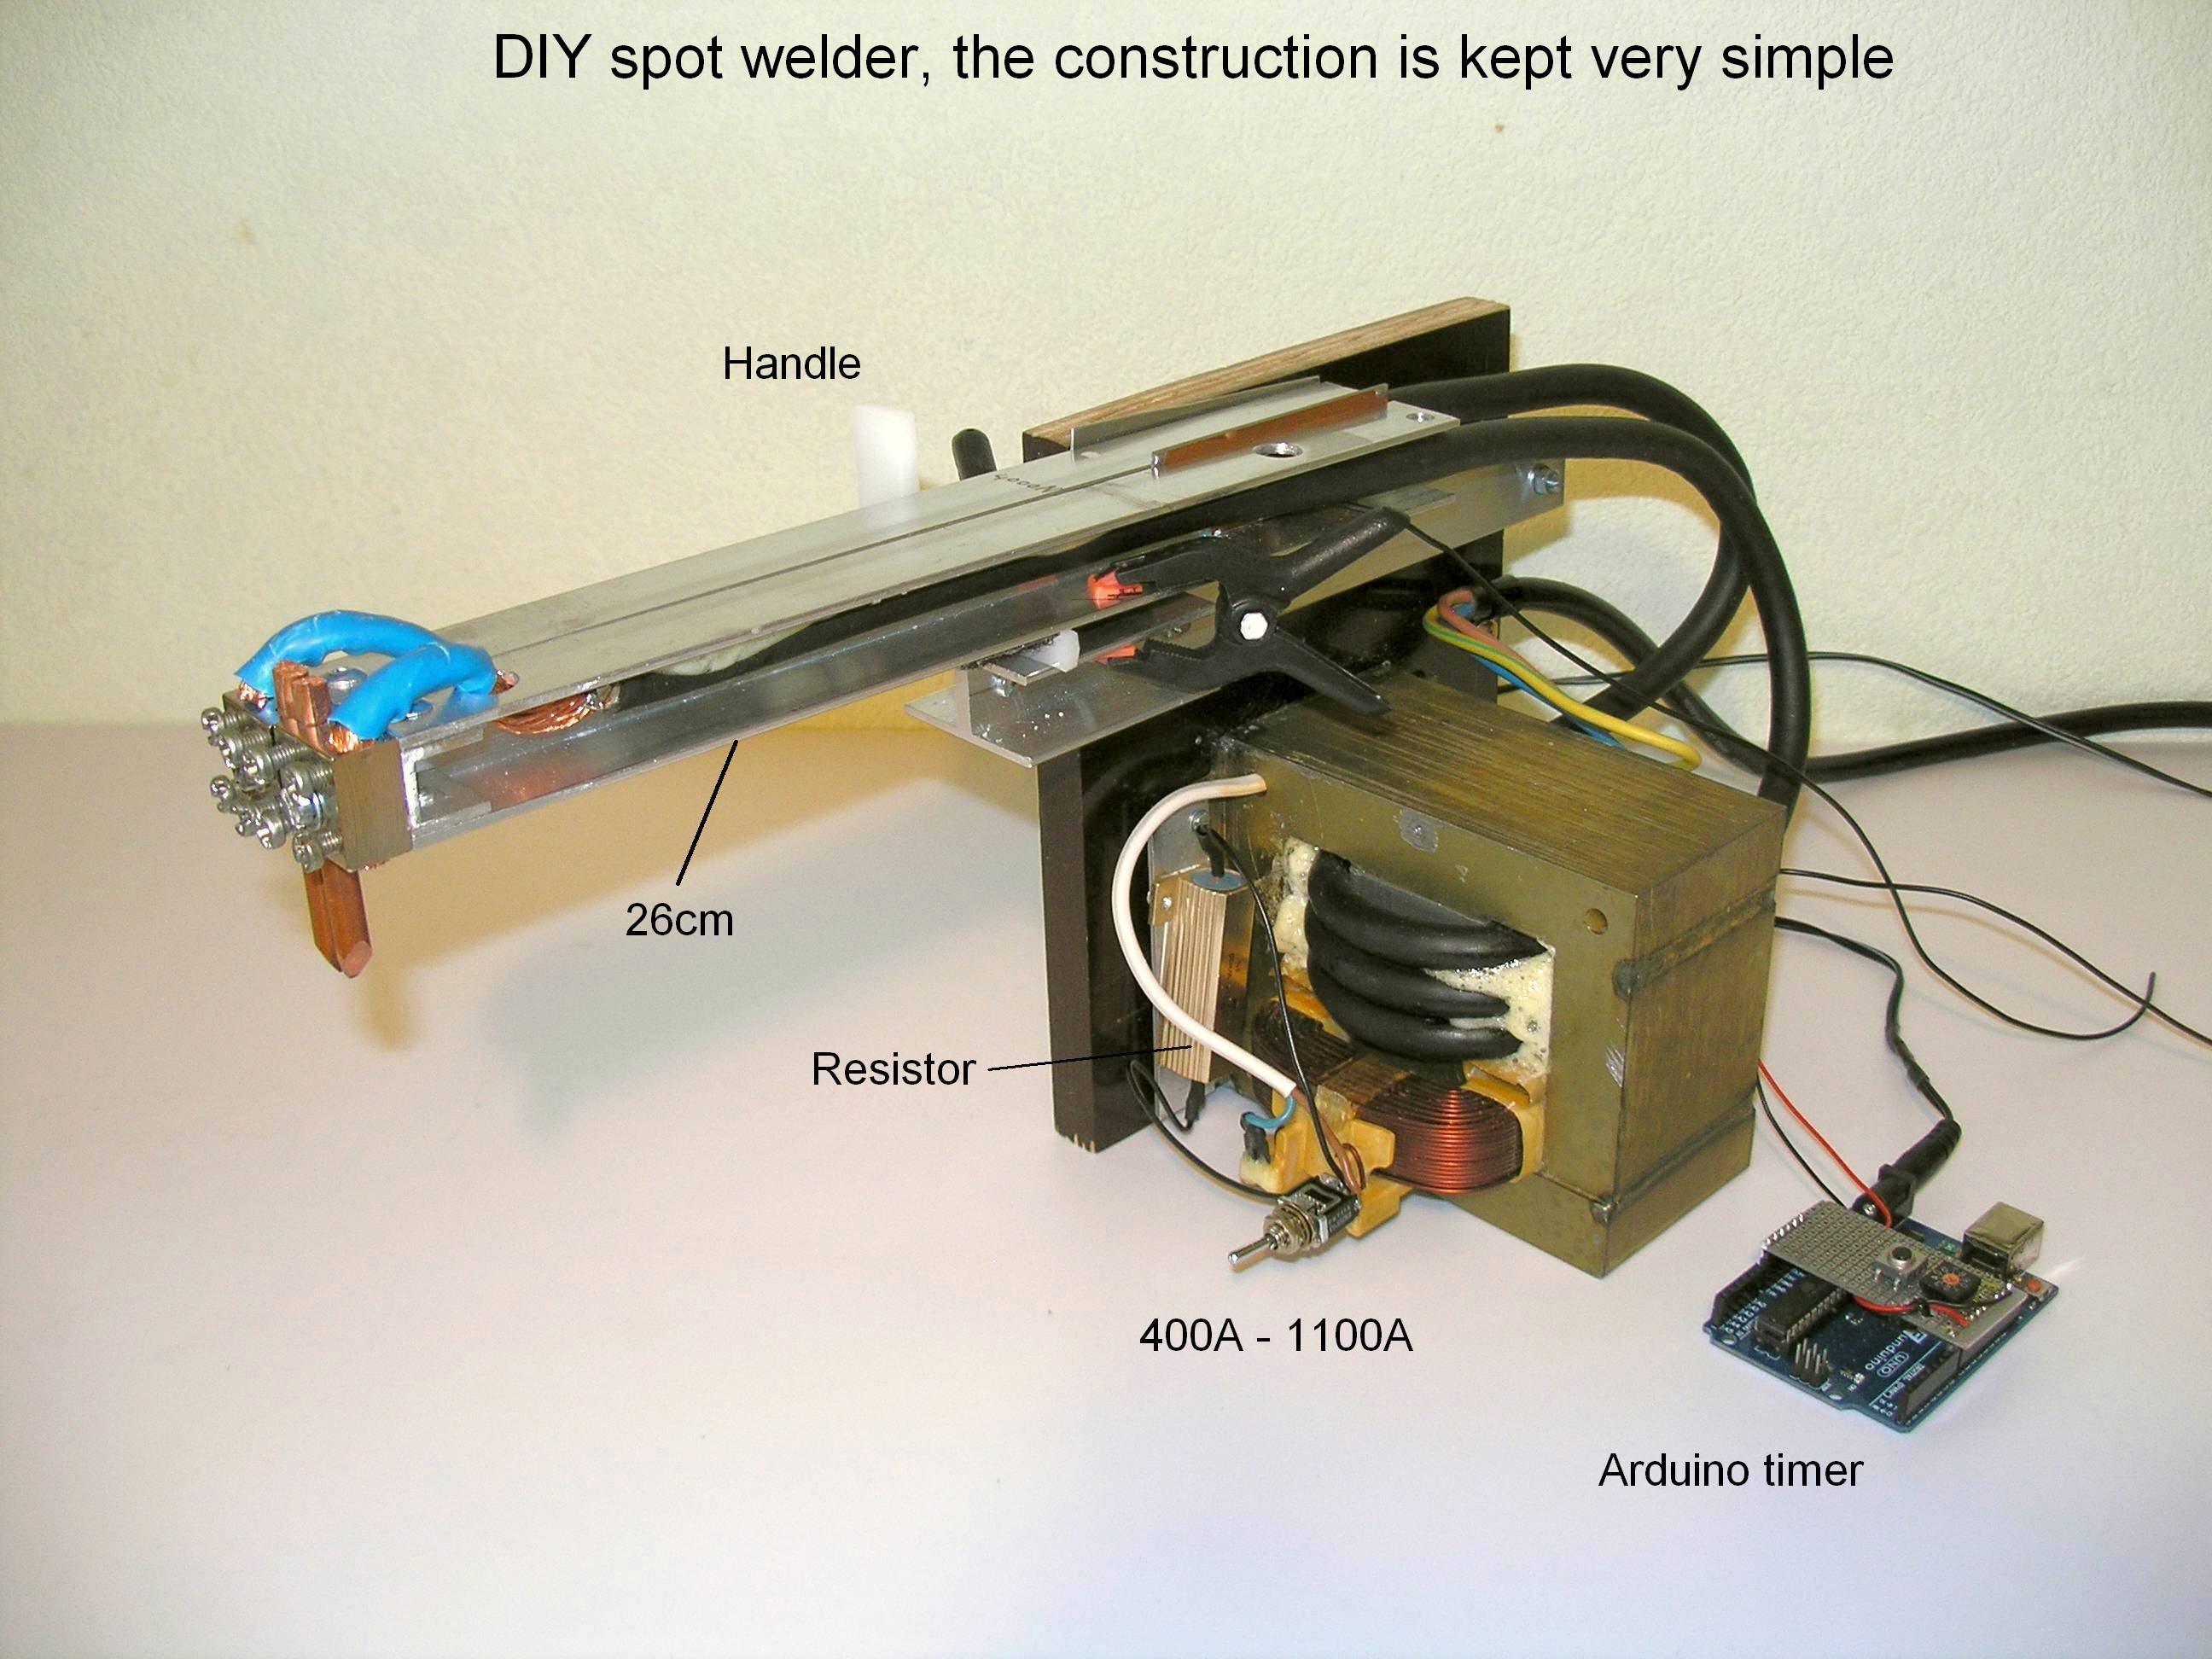
- Transformer Core and Primary Coil: Most DIYers use a microwave oven transformer (MOT) as the base. It’s powerful, cheap, and easy to find. You’ll keep the primary coil (the thick wire) but remove the secondary coil (the thin wire).
- Secondary Coil Wire: Use thick copper wire or cable (8 AWG or lower). Welding cable or stranded wire is best because it carries high current and is flexible.
- Electrodes: Copper rods or bars are preferred. They conduct heat and electricity well, and last longer.
- Insulation Materials: Electrical tape, heat shrink tubing, and epoxy resin for safety.
- Switch or Trigger: For controlling weld duration. A momentary push button or foot pedal works well.
- Casing: Use a plastic or metal box to keep parts safe and organized.
Tools You’ll Need
- Screwdrivers
- Pliers
- Wire cutters/strippers
- Soldering iron (optional)
- Drill and bits (for mounting electrodes)
- Multimeter (for testing)
- Safety goggles and gloves
Practical Tips
- Always use thick wire for the secondary. Thin wire overheats and can cause fires.
- MOTs can be dangerous. Discharge the capacitor before opening a microwave oven.
- Don’t skip insulation—it prevents shocks and short circuits.
Credit: hackaday.com
Building The Spot Welding Transformer Step-by-step
Making the transformer is the most crucial part of building a spot welder. Here’s a clear process to follow:
Step 1: Salvage The Microwave Oven Transformer
Find an old microwave oven (preferably over 1000W). Open the casing, locate the transformer (heavy, block-shaped), and remove it. Make sure to discharge any capacitors—they hold dangerous charge even when unplugged.
Step 2: Remove The Secondary Coil
The transformer has two coils:
- Primary coil: Thick wire, stays in place.
- Secondary coil: Thin wire, must be removed.
Carefully cut away the secondary coil using a saw or chisel. Don’t damage the core or primary coil. Removing the secondary opens space for your new high-current wire.
Step 3: Wind The New Secondary Coil
Take your thick copper wire and wind it tightly into the space where the old coil was. For most spot welders, 2–3 turns is enough. The fewer the turns, the higher the current but lower the voltage.
Example: If you use 2 turns of 8 AWG copper wire, you’ll get about 2–4 volts and over 1000 amps.
Non-obvious insight: Many beginners wind too many turns, resulting in higher voltage but lower current. Keep turns low for best welding results.
Step 4: Insulate And Secure The Coil
Wrap the new coil with heat-resistant insulation. Use electrical tape and heat shrink tubing. Secure the coil to the core so it doesn’t move or rub.
Step 5: Attach Electrodes
Drill holes in the casing or a mounting block for copper electrodes. Fix them so they’re aligned and can press together. Connect each end of the secondary coil to one electrode.
Step 6: Add A Switch Or Timer
Wire a momentary switch or foot pedal to the primary coil circuit. This controls the welding duration. For advanced builds, use a timer relay for precise weld times.
Step 7: Build The Casing
Place all components in a safe enclosure. Make sure wires are tidy and insulated. Add cooling holes if needed, as the transformer can get hot.
Step 8: Test And Troubleshoot
Plug in the transformer (use a GFCI outlet for safety). Test the output voltage with a multimeter. Press the electrodes together with a small metal sample and trigger the switch. If the weld is weak, check connections and coil turns.
Common mistake: Forgetting to check for shorts in the transformer before plugging in. Always use a multimeter to check for continuity and shorts.
Spot Welding Transformer Performance And Upgrades
The basic transformer works well for thin sheet metal (up to 1 mm thick). For thicker metals or longer welds, consider upgrades.
Improving Performance
- Use more powerful MOTs (from larger microwaves).
- Upgrade to thicker secondary wire for even higher current.
- Use water-cooled electrodes for continuous welding.
Safety Upgrades
- Add fuses to both primary and secondary circuits.
- Install a thermal cutoff switch to shut down the transformer if it overheats.
- Use insulated electrode holders.
Advanced Features
- Digital timer for precise weld duration.
- Adjustable pressure arms for consistent welds.
- Foot pedal for hands-free operation.
| Upgrade | Benefit | Estimated Cost |
|---|---|---|
| Thicker secondary wire | Higher current, stronger welds | $15–$30 |
| Water-cooled electrodes | Longer sessions, less wear | $40–$70 |
| Digital timer | Consistent, repeatable welds | $20–$50 |
| Thermal cutoff switch | Safety, prevents overheating | $10–$25 |
Using Your Spot Welding Transformer Safely
Safety is crucial when working with high current and voltage. Even though the transformer lowers voltage, the current is still enough to cause burns, fires, or damage. Always follow these rules:
- Wear safety goggles and insulated gloves.
- Keep the work area dry and clear of flammable materials.
- Never touch electrodes or exposed wires when the transformer is on.
- Use a GFCI outlet for extra protection against shocks.
- Let the transformer cool between sessions.
- Don’t use the spot welder near water or damp surfaces.
Non-obvious insight: Many DIYers forget that the transformer’s casing can become electrically live if insulation fails. Always check for stray voltage before touching the box.
Troubleshooting Common Problems
Even with careful assembly, issues can arise. Here’s how to fix the most common spot welding transformer problems:
Weak Welds
- Check that the secondary coil has enough turns (2–3 is ideal).
- Make sure electrodes are clean and tightly pressed against the metal.
- Use thicker wire for the secondary if current is low.
Transformer Gets Hot Quickly
- Add cooling holes or a small fan.
- Reduce welding duration.
- Use thicker wire for the secondary to reduce resistance.
Sparks Or Shorts
- Check all connections for loose wires or exposed metal.
- Insulate secondary coil thoroughly.
- Use a multimeter to test for shorts before powering up.
Electrode Wear
- Use copper instead of steel.
- Clean electrodes regularly with sandpaper.
- Consider water-cooling for heavy use.
Timer Or Switch Not Working
- Test switch with a multimeter.
- Replace with a higher-rated component if needed.
- Check wiring for mistakes.
Comparing Diy Vs Commercial Spot Welders
It’s natural to wonder how your homemade transformer compares to commercial machines. Here’s a quick comparison:
| Feature | DIY Spot Welder | Commercial Spot Welder |
|---|---|---|
| Cost | $50–$100 | $200–$2000+ |
| Power | 1000–2000 A | 1000–3000 A |
| Adjustability | Limited | High (timers, pressure settings) |
| Safety | Depends on build | Certified, safer |
| Durability | Good for light use | Heavy duty |
DIY spot welders are perfect for small projects, learning, and saving money. Commercial welders offer more features and higher reliability, but cost much more.
Real-life Examples And Applications
Spot welding transformers are used in many real-world situations:
- Battery pack assembly: Join nickel strips for lithium-ion cells.
- Automotive repairs: Weld sheet metal for car bodywork.
- Electronics: Fuse metal tabs for circuit boards.
- Metal art and sculpture: Connect thin metal pieces cleanly.
For example, a hobbyist building an electric bike battery can use a homemade spot welder to join dozens of cells quickly and safely. In car repair shops, spot welders fix panels without excessive heat, preserving paint and structural integrity.
Tips For Beginners And Advanced Builders
If you’re new to transformer building, start simple. Use a single MOT, wind 2 turns of thick wire, and test with small metal samples. Always double-check for safety.
For advanced users:
- Experiment with dual transformers for more power.
- Add features like adjustable pressure arms and timers.
- Build a custom casing for portability.
Non-obvious insight: Many spot welding issues come from poor electrode alignment. Take time to mount electrodes so they press squarely and evenly.
Wrapping Up
Building your own spot welding transformer is a practical, affordable way to start welding at home. With careful construction and attention to safety, you’ll have a useful tool for many metalworking projects. Take your time, follow the steps closely, and enjoy the satisfaction of making something powerful with your own hands.
Frequently Asked Questions
What Metals Can I Weld With A Spot Welding Transformer?
Most sheet metals like steel, nickel, and stainless steel can be welded. Aluminum is harder because it conducts heat and electricity differently, but with higher current and special electrodes, it’s possible.
Is It Safe To Build And Use A Spot Welding Transformer At Home?
Yes, if you follow safety rules. Always insulate wires, use proper fuses, and never touch exposed metal when powered. Use a GFCI outlet and wear protective gear.
How Thick Can The Metal Be For Spot Welding?
DIY spot welders can usually handle metals up to 1 mm thick. For thicker materials, use more powerful transformers or multiple MOTs. Commercial machines can weld up to 3 mm.
Can I Use Other Transformers Besides Microwave Oven Transformers?
Yes, but MOTs are preferred for their size and power. Other types like old UPS or inverter transformers can work, but may require more modification.