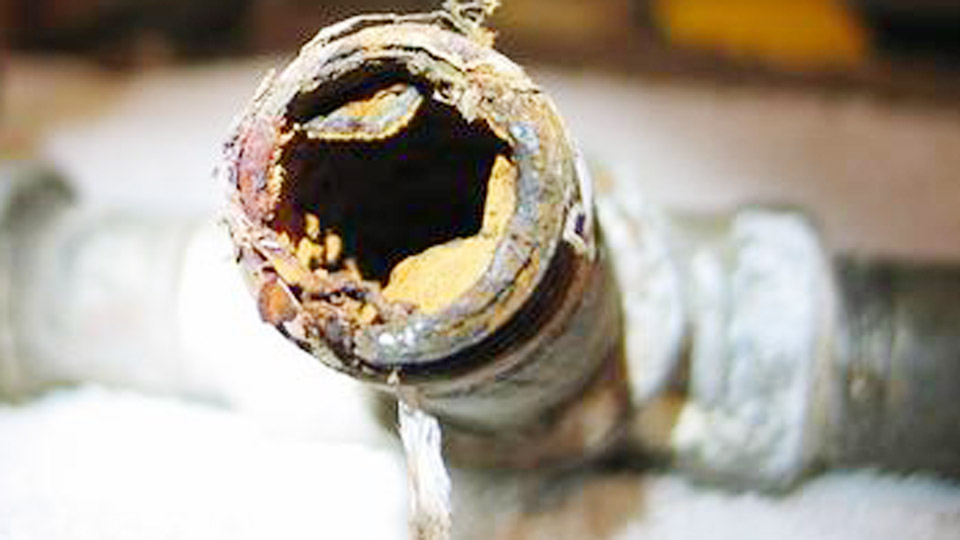
Many welders encounter frustration when attempting to join brass components—joints crack under load, filler fails to flow evenly, or the base metal distorts from excessive heat.
Learning how to braze brass resolves these issues by using lower-temperature filler metals that create durable, leak-proof connections without melting the base material.
This process excels for plumbing fittings, musical instruments, decorative hardware, and repairs involving brass-to-brass or brass-to-dissimilar metals. Proper technique delivers joints often stronger than the parent metal while preserving brass properties.
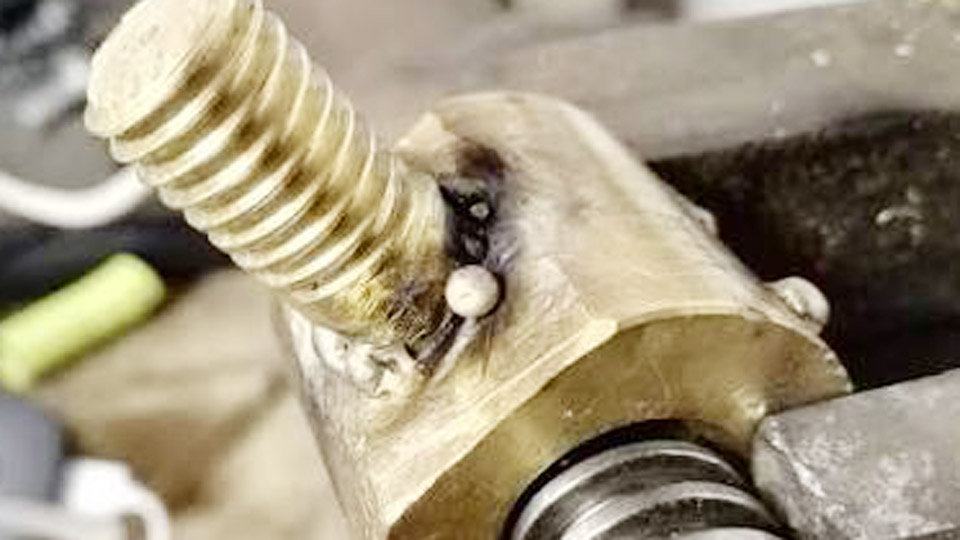
Image by mig-welding.co.uk
Joint Design Considerations for Brazed Brass Assemblies
Effective brazing starts with thoughtful joint geometry tailored to the loads and service conditions.
Clearance and Fit-Up Requirements
Capillary action drives filler metal distribution, so joint clearance proves critical. For most brass applications, aim for 0.001″ to 0.005″ (0.025–0.127 mm) at brazing temperature for optimal strength. Clearances narrower than 0.001″ restrict flow; wider gaps reduce strength toward that of the filler alone.
Brass expands more than steel when heated. For a brass bushing in a steel sleeve, machine a larger room-temperature clearance (e.g., 0.004–0.006″) so the gap remains ideal at temperature. Reverse the materials for an interference fit at room temperature that loosens appropriately. Always verify fit with test assemblies on scrap.
Butt, Lap, and Hybrid Joint Configurations
Butt joints suit applications needing minimal thickness change but offer limited bonding area equal to the thinner member’s cross-section.
Lap joints increase bonding surface—typically 3x the thickness of the thinner member for balanced strength. Use the “rule of three” as a starting point, adjusting upward for higher loads based on base metal tensile strength.
Butt-lap hybrids combine single-thickness appearance with maximum strength. For pressure-tight or leak-proof applications, prioritize laps and incorporate vents to release expanding gases and prevent flux entrapment.
Stress Distribution and Service Demands
Design joints to spread stress away from edges. Add fillets with extra filler or sluggish alloys where vibration or cyclic loading occurs. For electrical conductivity, minimize filler thickness with tight clearances. Corrosion resistance improves with silver-bearing fillers and minimal exposed filler lines.
Material Selection: Filler Metals and Fluxes for Brass
Choosing compatible consumables determines joint performance across temperature, strength, and corrosion environments.
Copper-Zinc and Silver-Based Fillers
Standard brass brazing uses copper-zinc (brass) fillers matching base zinc content for alloys up to 30% zinc. Higher-zinc brasses require lower-zinc or zinc-free options to minimize dezincification.
Silver brazing alloys (e.g., BAg series) provide lower melting points (around 1100–1500°F), superior flow, and higher strength, ideal for thin sections or heat-sensitive parts.
Phosphorus-copper alloys (BCuP) work self-fluxing on copper but require flux with brass due to zinc content. Nickel-silver alloys enhance ductility and color matching for visible repairs.
Flux Selection and Application
Flux removes oxides and promotes wetting. Borax-based or boric acid fluxes suit brass; apply as paste or brush-on shortly before heating. For copper-phosphorus on brass/bronze fittings, use white flux.
Flux activity peaks when it becomes quiet, fluid, and transparent like clear water—use this as your temperature indicator.
Pre-flux male parts in tube assemblies to minimize internal residue. Reapply flux to filler rod ends for extended heating cycles.
Estimating Filler Requirements
Calculate based on joint area and alloy density. Lap joints consume more than butts. Reference manufacturer charts for precise volumes—overuse creates wasteful fillets without added strength.
Equipment Setup for Effective Brass Brazing
Torch selection and flame control directly impact heat distribution and success.
Torch Types and Gas Mixtures
Oxy-acetylene torches offer precise control with neutral or slightly carburizing flames for most work. Avoid oxidizing flames that promote scaling. Air-acetylene or propane/MAPP torches suffice for smaller jobs or silver soldering but may struggle with larger masses.
For TIG brazing, use DCEN with argon and silicon bronze or aluminum bronze rods at lower amperages to control heat input on thin brass.
Supporting Tools and Workspace
Secure assemblies with clamps or jigs on firebrick or heat-resistant surfaces. Keep wire brushes, solvents (acetone), emery cloth, and pliers nearby. Ensure excellent ventilation for fumes.
Surface Preparation Techniques
Cleanliness cannot be overstated—contaminants block capillary action and cause voids.
Mechanical and Chemical Cleaning
Remove oxides, oils, and scale with stainless steel brushes, emery cloth, or Scotch-Brite. For stubborn residues, use solvents followed by drying. Avoid contaminating cleaned surfaces. Brass benefits from bright, bare metal exposure.
Pre-Assembly Inspection
Verify fit, deburr edges, and ensure alignment. Round out-of-round tubing. Clean interior surfaces of fittings thoroughly.
The Brazing Process: Controlled Heating and Filler Application
Execute with focus on uniform temperature and capillary flow.
Heating Strategy and Temperature Control
Heat the heavier or larger mass first, then bring the entire joint to temperature evenly. For tube-to-fitting, warm the tube adjacent to the fitting before directing to the flange. Sweep the flame to maintain uniformity. Target filler melting range (typically 1100–1900°F) without exceeding brass solidus to avoid melting or weakening.
Flux behavior guides timing: bubbling phase transitions to fluid transparency signals readiness.
Applying Filler Metal
Touch the rod to the joint only after base metals reach temperature. The filler melts and draws in via capillary action. Feed continuously while maintaining heat on both sides. For vertical joints, heat tube then fitting to encourage upward flow. Stop once the joint fills—excess creates unnecessary buildup.
On horizontal runs, start at the bottom for natural dam formation.
Cooling and Post-Braze Cleanup
Allow natural cooling to minimize distortion. Quench or brush flux residues immediately while warm for easy removal. Inspect for full penetration, smooth fillets, and absence of porosity or cracks.
Brazing Brass to Dissimilar Metals
Brass pairs well with steel, copper, and others when accounting for expansion and metallurgy.
Brass to Steel Considerations
Use silver alloys with active fluxes like Tenacity 4A or equivalent. Heat steel preferentially to compensate for lower thermal conductivity. Lower-temperature silver solders reduce risk of melting brass.
Brass to Copper or Bronze
Phosphorus-copper fillers work with flux on brass components. Self-fluxing behavior on pure copper simplifies some joints, but always flux brass sides.
Troubleshooting Common Brazing Issues in Brass
Address problems systematically for reliable results.
Poor Flow or Incomplete Penetration
Causes include insufficient heat, dirty surfaces, wrong clearance, or improper flame. Reheat evenly and ensure flux activity. Adjust clearances or joint design as needed.
Cracking or Weak Joints
Overheating volatilizes zinc or causes brittleness. Uneven heating induces stress. Match filler expansion characteristics and control cooling rates.
Porosity and Leaks
Entrapped flux/gases or carbon from flame settings create paths. Vent joints and use neutral flames.
Distortion or Base Metal Damage
Minimize heat input with silver fillers on thin sections. Fixture parts securely.
Advanced Techniques and Applications
Furnace and Induction Brazing
Production environments benefit from controlled atmospheres or induction for repeatability and minimal oxidation.
Repair and Restoration Work
Brazing excels for antique hardware or instrument repairs where welding would distort or discolor. Color-matched fillers preserve aesthetics.
High-Performance Joints
For demanding service, combine proper lap lengths with silver alloys and post-braze heat treatment where applicable. Test joints under expected loads.
Decision-Making Summary for Brazing Brass Projects
Selecting the right filler, clearance, and heat strategy based on material combination, joint geometry, and service demands separates professional results from failed attempts. Prioritize capillary-friendly designs, thorough cleaning, and precise temperature control to achieve joints that withstand mechanical stress, pressure, and thermal cycling.
In critical applications, the brazed joint’s performance often hinges less on the filler’s inherent strength and more on how well the process preserves the base metal’s microstructure—mastering minimal heat cycles and compatible metallurgy unlocks consistently superior outcomes over fusion methods.
FAQ
What temperature is needed to braze brass?
Brazing temperatures typically range from 1,100°F to 2,000°F depending on the filler metal, staying below brass melting point (around 1,650–1,720°F for common alloys). Use flux behavior or pyrometers for control.
Can you braze brass with a propane torch?
Yes, for smaller parts and silver-based fillers with lower melting points. Oxy-acetylene provides better control for larger assemblies or higher-temperature brass fillers.
Is flux always required when brazing brass?
Yes, unlike self-fluxing phosphorus-copper on pure copper. Brass zinc content requires active flux to prevent oxidation and ensure wetting.
How strong are brazed brass joints compared to welded ones?
Properly designed brazed joints often match or exceed base metal strength in shear/tensile while minimizing distortion and heat-affected zone issues common in welding.