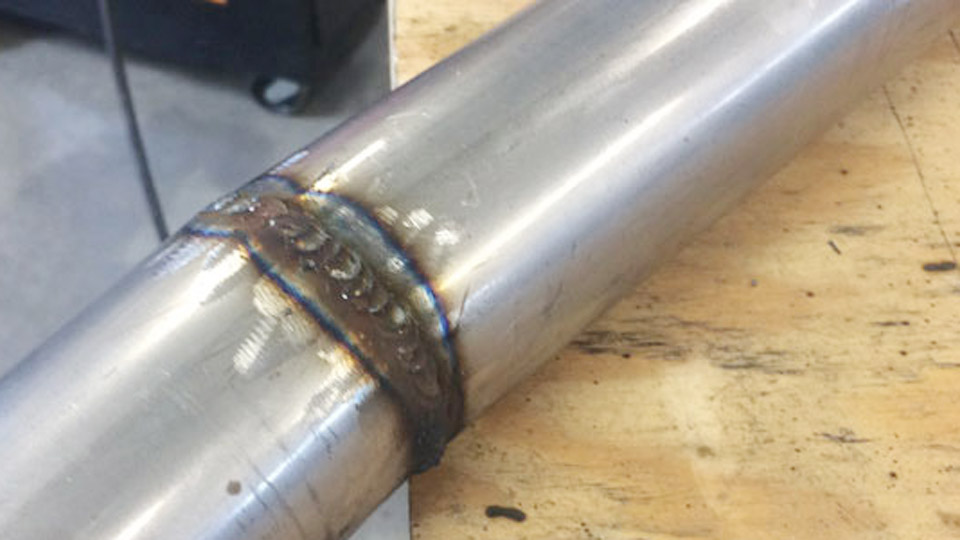
Most attempts to MIG weld cast iron end with a crack that appears either during cooling or the first time the part returns to service. High carbon content and graphite structure make the material expand and contract unevenly, turning ordinary steel-wire settings into a brittle, high-hardness heat-affected zone.
Learning how to MIG weld cast iron correctly centers on matching filler metal chemistry to the base metal, controlling total heat input, and managing residual stress—not simply dialing up amperage.
These decisions determine whether a cracked exhaust manifold, pump housing, or machine base becomes a permanent repair or a repeated failure.
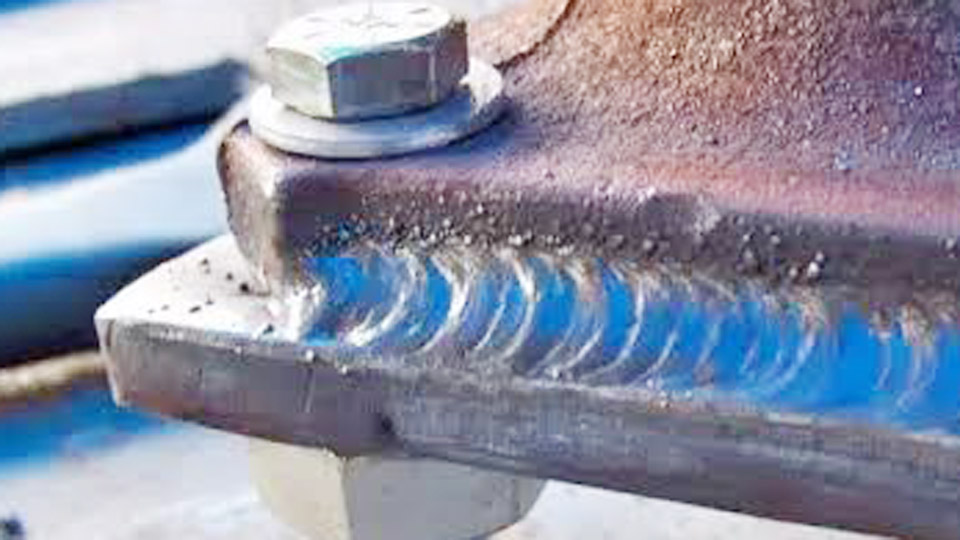
Image by weldingpros
Selecting Filler Metal That Matches Cast Iron Behavior
Filler choice overrides almost every other variable. Standard ER70S-6 mild-steel wire produces a hard, crack-prone fusion zone because carbon migrates into the deposit and forms martensite on cooling.
Pure Nickel (ERNi-CI / Ni-99) Deposit Characteristics
Pure nickel wire yields a soft, ductile weld metal that tolerates the contraction of gray cast iron. The deposit remains machinable and shows low residual stress.
It works best on gray iron with moderate phosphorus levels and on thin-to-medium sections where strength demands are secondary to crack resistance. Expect higher cost and slightly lower tensile strength than nickel-iron alloys.
Nickel-Iron (Ni-55 / ERNiFe-CI) Strength and Dilution Control
Ni-55 contains roughly 55 % nickel and the balance iron. The deposit develops higher strength and better resistance to cracking under restraint.
It is the preferred choice for joining cast iron to mild steel and for thicker sections that must carry load. Dilution must still be kept low; long arcs or excessive weaving increase iron pickup and raise hardness in the fusion line.
Limited Use of Mild Steel or Stainless Wires
Mild-steel wire can succeed on non-structural, low-stress repairs when heat input is kept extremely low and the part is allowed to cool slowly. Stainless 309L is sometimes used as a buttering layer, but chromium can form hard carbides.
Both options carry higher risk of delayed cracking and should be reserved for temporary fixes or parts that will not see cyclic loading.
Establishing and Holding the Correct Preheat Window
Preheat slows the cooling rate through the critical transformation range and reduces the temperature gradient that drives cracking.
Target Temperatures by Section Thickness
Thin sections under ½ inch often succeed with 400–600 °F preheat. Medium sections (½–1 inch) typically require 600–800 °F. Heavy castings may need 800–1100 °F.
Never exceed approximately 1400 °F; higher temperatures push the material into the critical range and alter the graphite structure permanently. Use a temperature-indicating crayon or infrared thermometer rather than visual color judgment.
Interpass Temperature Limits
Keep interpass temperature below the original preheat value and preferably under 700 °F. Allowing the part to climb continuously raises the risk of graphitization and softens the base metal beyond useful strength. Monitor with the same instruments used for initial preheat.
Localized Versus Full-Part Heating
Small repairs can use a rosebud or induction coil focused on the weld zone plus a surrounding band several inches wide. Large or highly restrained castings benefit from furnace or full-part heating so that contraction is uniform. Uneven heating creates new residual stresses that simply move the crack elsewhere.
Preparing the Joint to Minimize Stress Concentrations
Surface condition and geometry control both fusion quality and residual stress distribution.
Crack Removal and Bevel Design
Grind or carbon-arc gouge the crack until sound metal appears. Create a U- or V-groove with a root radius rather than a sharp V; the radius reduces stress concentration.
On thick sections, a double-sided preparation halves the volume of weld metal required and balances residual stress. Undercut the sides slightly so the final bead does not leave a hard notch at the toe.
Contaminant Removal Beyond Visual Cleanliness
Cast iron often contains oil, grease, or residual graphite that migrates under heat and produces porosity. Degrease thoroughly, then grind until bright metal appears.
On old engine parts, heat the area lightly before final grinding to drive out residual hydrocarbons. Any remaining carbon film will dissolve into the weld pool and raise hardness.
Controlling Heat Input With Bead Sequence and Technique
Even with correct wire and preheat, continuous welding builds excessive heat and residual stress.
Short Stringer Bead Limits
Deposit beads no longer than 1–2 inches. Longer beads allow the heat-affected zone to expand and contract over a greater distance, increasing the chance of longitudinal cracks. Use a short arc and stringer technique rather than wide weaves; weaving raises dilution and heat input simultaneously.
Immediate Peening of Each Pass
While the bead is still hot (dull red to black), peen the surface with the rounded end of a ball-peen hammer or a pneumatic needle scaler. Peening stretches the surface layers and counters the tensile stress that develops on cooling. Skip peening only when the deposit is pure nickel and the section is thin and unrestrained.
Skip-Welding and Staggered Sequences
Move around the casting rather than completing one area at a time. Deposit a short bead, peen, then move to a distant location. This distributes heat and prevents any single zone from remaining at elevated temperature long enough to develop large residual stresses.
Machine Settings and Shielding Gas for Nickel Wires
Nickel wires behave differently from mild-steel wires and require adjusted parameters.
Shielding Gas Selection
Pure argon or argon with small additions of helium produces stable arcs and low oxidation on nickel alloys. Conventional 75/25 argon-CO₂ mixes can be used with some Ni-55 wires but increase spatter and oxidation. Verify the wire manufacturer’s recommendation; incorrect gas raises porosity and reduces ductility.
Voltage, Wire Feed Speed, and Transfer Mode
Run short-circuit or low-energy pulsed transfer. Typical starting points for 0.035-inch nickel wire fall in the 16–20 V and 150–250 ipm wire-speed range, adjusted for the specific machine and joint.
Higher voltage lengthens the arc, increases dilution, and raises heat input. Maintain a short stick-out to preserve arc force without excessive melting of the nickel wire.
Polarity and Torch Angle
Use DCEP (electrode positive) for most solid nickel wires. A slight drag angle of 5–15 degrees keeps the arc focused on the leading edge of the puddle and reduces the chance of undercut on the cast-iron sidewalls.
Managing Cooling Rate After the Final Pass
The cooling cycle is as critical as the welding cycle.
Slow-Cool Methods
Immediately after the last bead, cover the part with a welding blanket, dry sand, or vermiculite. For critical castings, return the part to a furnace and cool at a controlled rate of 50–100 °F per hour down through 400 °F. Rapid air cooling recreates the steep thermal gradient that causes cracking even when every other step was correct.
Post-Weld Stress Relief Options
When the service load is high or the casting is complex, a formal stress-relief cycle at 1100–1200 °F followed by slow cooling further reduces residual stress. This step is rarely practical for field repairs but remains the most reliable method for shop-restored components that must meet original performance.
Decision Criteria for When MIG Is the Wrong Process
MIG is convenient but not always optimal. Heavy, highly restrained castings with deep cracks often respond better to stick electrodes (Ni-99 or Ni-55) because the lower travel speed and higher deposition efficiency allow better heat management.
Thin decorative or low-stress parts may be candidates for brazing instead of fusion welding. Evaluate section thickness, restraint level, and required machinability before committing to a MIG procedure.
Wrapping Up
Successful MIG welding of cast iron rests on three simultaneous decisions: nickel-based filler that accommodates contraction, preheat and interpass control that limits the cooling rate, and short, peened beads that keep residual stress low. When those three factors are matched to the specific casting, the repair survives thermal cycling and mechanical load.
Advanced operators further reduce risk by buttering the groove faces with a thin pure-nickel layer before filling with Ni-55, creating a ductile buffer that isolates the high-carbon base metal from the stronger fill metal.
FAQs
What wire is best for MIG welding cast iron?
Pure nickel (ERNi-CI / Ni-99) for maximum ductility and machinability; Ni-55 (nickel-iron) when higher strength or cast-to-steel joints are required.
What preheat temperature should I use for MIG welding cast iron?
Most gray-iron repairs succeed between 400–800 °F depending on thickness; heavier sections may need up to 1100 °F. Stay below 1400 °F.
Can I MIG weld cast iron with regular mild steel wire?
Only for low-stress, non-critical repairs with strict short-bead technique, preheat, and slow cooling. Expect higher risk of hard, crack-prone heat-affected zones.
How do I stop cast iron from cracking after MIG welding?
Use short 1–2 inch stringer beads, peen each pass while hot, maintain proper preheat, and cool the part slowly under insulation or in a controlled furnace cycle.