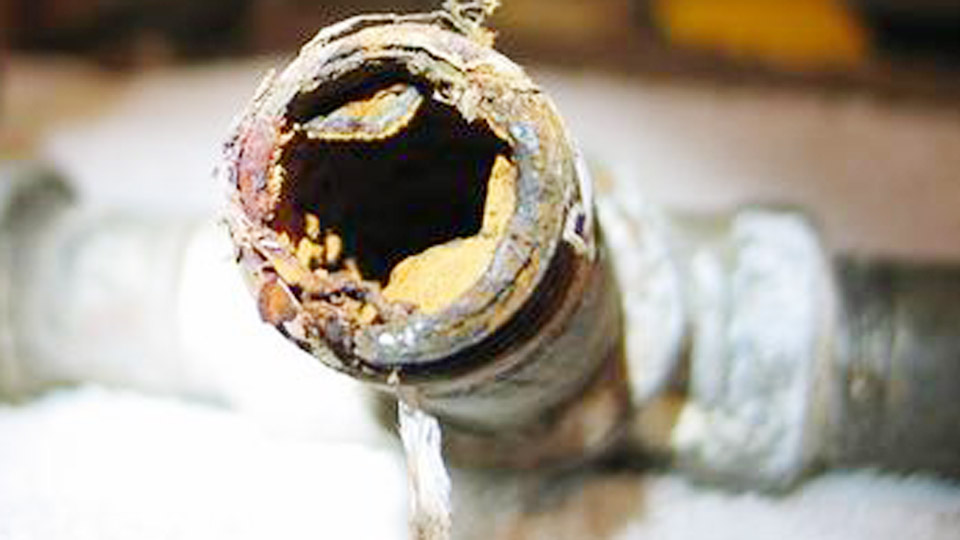
Copper corrosion can appear as green deposits, dark tarnish, or a dull, discolored surface, making it difficult to maintain clean metal components and reliable connections.
Understanding how to remove corrosion from copper is important because the wrong cleaning method can scratch the surface, damage protective coatings, or leave chemical residues that accelerate further oxidation.
The best approach depends on the severity of corrosion, the condition of the copper, and whether the material is part of plumbing, electrical components, decorative fixtures, or fabrication work. Mild discoloration often requires simple cleaning, while heavier corrosion may need more controlled treatment.
Choosing the right materials and cleaning technique helps restore copper without unnecessarily removing its surface. Knowing how to identify corrosion and select an appropriate removal method will help you achieve cleaner results while reducing the risk of recurring oxidation.
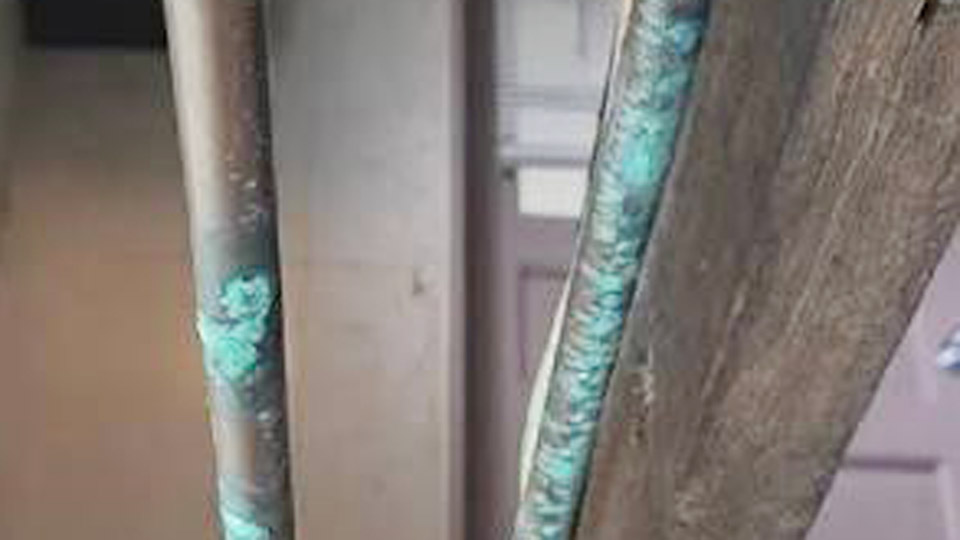
Image by tktk
Identifying the Corrosion Layer Before Choosing a Removal Method
Different copper corrosion products respond to different treatments. Selecting the wrong approach wastes time or embeds contaminants that later appear as defects.
Black and Red Copper Oxides Versus Green Patina
Black cupric oxide (CuO) and red cuprous oxide form quickly in air or during prior heating. They are relatively thin and respond well to abrasion.
Green patina (basic copper carbonate or chloride) develops over longer moisture exposure and is thicker, more adherent, and chemically more stubborn. Patina on outdoor or buried pipe often contains chlorides that accelerate future attack if not fully removed and rinsed.
Surface Contaminants That Mimic or Mask Corrosion
Oils, marking inks, residual flux, and shop dirt frequently sit on top of or intermix with oxide. These organic films prevent both mechanical and chemical cleaners from reaching the metal.
A solvent wipe with acetone or a non-chlorinated degreaser is therefore the first action before any abrasive or acid step. Chlorinated solvents must be avoided near arc processes because of phosgene risk and residue problems.
Mechanical Removal Techniques That Preserve Base Metal
Mechanical methods give immediate visual confirmation of clean copper and leave no chemical residue that could outgas or form inclusions during welding.
Abrasive Cloth and Grit Selection for Pipe and Sheet
Emery or sand cloth in the 120–220 grit range removes light to moderate oxide without excessive metal loss. For heavy corrosion start at 80–120 grit, then finish at finer grit to erase deep scratches that could trap slag or flux. Wrap the cloth around the pipe end and work circumferentially beyond the intended joint depth.
On sheet, use a straight-line or orbital motion with light pressure to avoid local thinning. Dedicated non-woven abrasive pads (Scotch-Brite style) follow the same grit logic and conform better to irregular contours.
Wire Brushes and Internal Pipe Tools
Brass-bristle or stainless-steel brushes sized to the pipe diameter clean both exterior and interior surfaces. Carbon-steel brushes introduce iron particles that later cause pitting or galvanic corrosion; they must never contact copper intended for welding or service.
Powered rotary brushes at moderate speed (3,000–5,000 rpm) accelerate cleaning of large areas but require controlled pressure to prevent gouging thin wall tubing. After brushing, vacuum or wipe away all debris so loose particles cannot re-contaminate the joint.
Limitations of Aggressive Grinding or Blasting
Flap discs or aluminum-oxide media blasting strip heavy scale rapidly on thick sections, yet they remove measurable base metal and can embed abrasive particles.
Blast only when thickness tolerance allows and follow with a thorough solvent wipe. For precision TIG work on thin copper, aggressive abrasion is usually reserved for the final few millimeters of the weld zone after bulk cleaning.
Chemical Approaches for Stubborn or Inaccessible Corrosion
When mechanical access is limited or oxide is deeply embedded, mild acids dissolve the corrosion products without excessive metal removal.
Vinegar-and-Salt Solutions and Contact Times
A mixture of white vinegar (approximately 5 % acetic acid) with 1–2 tablespoons of table salt per cup forms an effective, low-cost cleaner. Soak small fittings 15–60 minutes at room temperature; heavier layers may need longer or mild warming (never aluminum containers).
For large or fixed surfaces, apply as a paste or soaked cloth. The acid converts copper carbonate and oxide into soluble acetate; salt provides mild abrasion. Agitate periodically, then scrub with a nylon brush. Complete removal is indicated by bright salmon-pink copper.
Citric Acid, Commercial Brighteners, and Phosphoric Products
Citric acid solutions offer similar action with lower odor. Commercial copper cleaners and phosphoric-acid gels act faster on heavy patina and can leave a temporary conversion layer that slows re-oxidation.
Follow manufacturer dilution and contact-time limits exactly. Strong mineral acids are rarely justified for welding prep because of residual risk and over-etch potential on thin sections.
Mandatory Rinse, Neutralization, and Drying Sequence
Acid residues continue to attack copper and can generate hydrogen or porosity under the arc. Rinse thoroughly with clean water, neutralize residual acid with a dilute baking-soda solution if the process specification requires it, rinse again, and dry completely with clean cloth or filtered air.
Any moisture film left on the surface will reform oxide within minutes. Final solvent wipe with acetone removes the last traces of cleaner and fingerprints.
Process-Specific Cleaning Requirements
Cleaning intensity must match the joining process because flux availability and heat input differ.
TIG Welding Demands Near-Zero Residue
TIG relies solely on the arc and filler for fusion; no flux is present to dissolve remaining oxide. The sequence is degrease → mechanical clean to bright metal → optional mild chemical if needed → final mechanical polish → solvent wipe immediately before striking the arc.
The cleaned zone should extend at least 25–50 mm beyond the weld edges. Argon shielding and, where required, purge gas protect the hot surface, but they cannot compensate for pre-existing contamination.
Brazing and Soldering Allow Controlled Flux Assistance
After mechanical cleaning to bright copper, apply a compatible flux that both dissolves residual oxide and prevents re-oxidation during heating. Flux must be matched to the filler alloy and service temperature.
Excess flux left inside closed systems can cause later corrosion, so controlled application and post-process cleaning remain important. Capillary action fails if oxide or dirt blocks the joint clearance.
Hybrid Mechanical-Plus-Chemical Workflows for Heavy Corrosion
On salvage pipe or outdoor components carrying thick green layers, combine methods: remove bulk material mechanically, dissolve remaining film chemically, rinse and dry, then finish mechanically and solvent-wipe. This hybrid approach minimizes both residual chemistry and excessive metal removal.
Verifying Cleanliness and Protecting the Surface Until Welding
Visual brightness is necessary but not always sufficient. A clean copper surface appears uniformly salmon-colored with no dull gray or green patches. For critical joints, a final wipe with a clean, solvent-dampened cloth that shows no discoloration confirms readiness.
Once cleaned, the surface begins re-oxidizing in air within minutes to hours depending on humidity. Cover with clean plastic, store in a dry area, or weld immediately. Fingerprints reintroduce oils; handle only with clean gloves after the final wipe.
Decision Criteria for Method Selection on the Job
Choose mechanical methods first when the surface is accessible, the corrosion is light to moderate, and zero chemical residue is mandatory (most TIG applications). Move to chemical or hybrid methods when internal surfaces, heavy patina, or complex geometry prevent complete abrasion.
Always finish with solvent cleaning and dryness verification. Track the time from final clean to welding; most procedures limit this interval to a few hours under shop conditions.
Matching the cleaning method to the specific corrosion type, joint geometry, and process requirements produces oxide-free metal that accepts filler cleanly and yields sound, durable copper welds.
FAQs
How do you remove green corrosion from copper pipe before soldering?
Abrade the exterior and interior to bright metal with emery cloth or sized wire brushes, apply flux immediately, and assemble the joint. For heavy green layers, a short vinegar-salt soak followed by thorough rinse and re-abrasion improves results.
Can you TIG weld copper with oxide still present?
No. Residual oxide causes porosity, arc instability, and lack of fusion. The surface must be cleaned to bright metal and solvent-wiped immediately before welding.
What grit sandpaper is best for cleaning copper before welding?
120–220 grit emery or sand cloth removes oxide effectively while limiting metal loss. Start coarser only on heavy scale, then finish finer to erase deep scratches.
How long after cleaning can copper be welded?
Under typical shop humidity, weld within a few hours. Re-oxidation begins quickly; if delay is unavoidable, protect the surface from air and moisture and re-clean if any dulling appears.