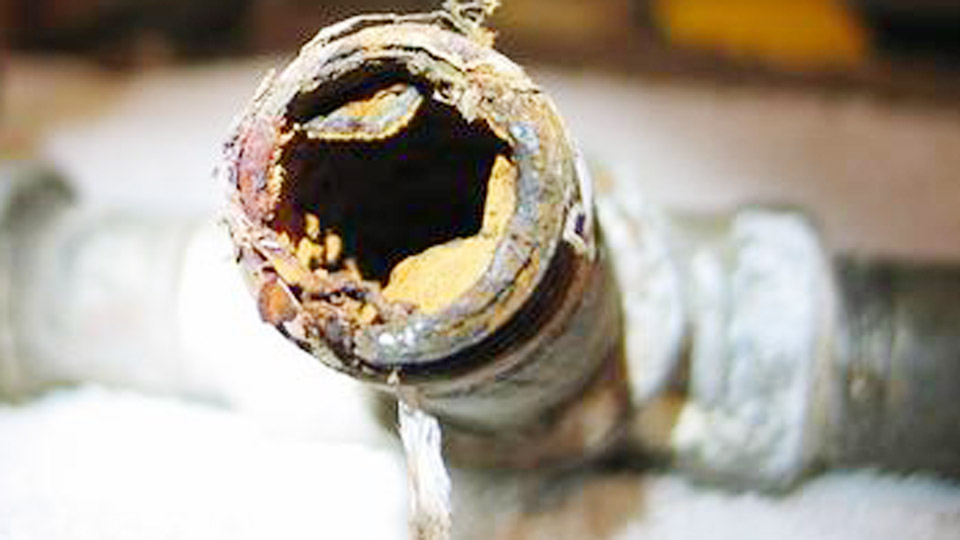
Green oxidation on copper is more than a cosmetic problem—it can indicate prolonged exposure to moisture, air, or corrosive substances. If you’re figuring out how to remove green oxidation from copper, the goal is to dissolve the oxidation without unnecessarily scratching, thinning, or damaging the copper surface.
This is especially important for copper pipes, fittings, cookware, decorative pieces, and electrical components where surface condition can affect appearance or performance.
The right cleaning method depends on how heavy the oxidation is and whether the copper is bare, coated, or part of another assembly. Using an appropriate cleaner and controlled scrubbing technique can remove the green buildup while preserving the underlying metal.
The sections ahead explain practical removal methods, suitable household solutions, precautions to avoid surface damage, and ways to slow oxidation from returning.
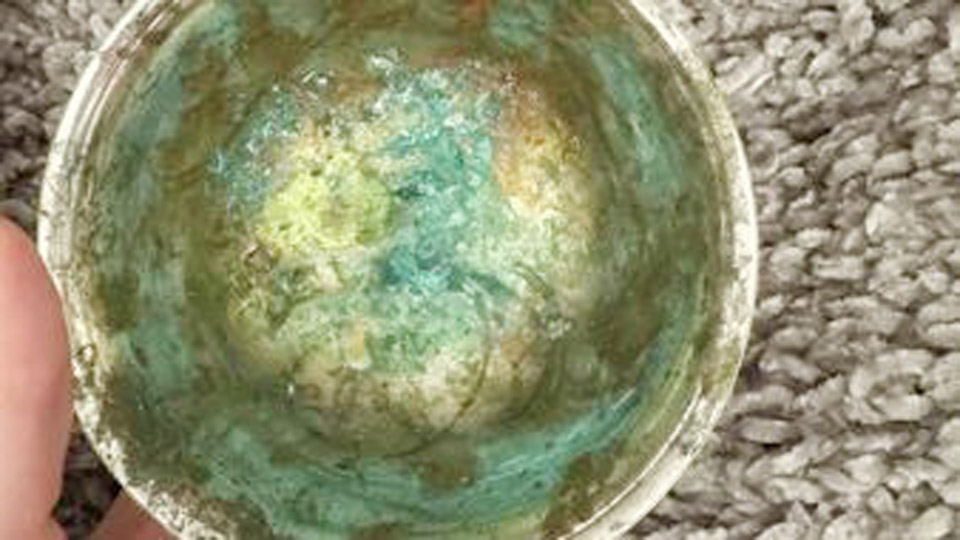
Image by r/CleaningTips
Why Green Oxidation Prevents Sound Copper Joints
Copper forms two common surface films: the thin black or brown cuprous/cupric oxide that appears quickly in air, and the thicker green verdigris that develops with prolonged moisture, carbon dioxide, or chloride exposure.
Both interfere with welding, but the green layer is more disruptive because it is thicker, more stable, and often hides additional contamination in pits or seams.
Oxide Barrier Effects on Arc and Capillary Action
In TIG welding the oxide raises the surface tension of the molten pool and traps gas, producing porosity that is visible on radiographic or section inspection.
In brazing and soldering the same film blocks capillary flow of the filler alloy, leaving voids along the joint interface. Residual chloride-containing verdigris can also promote post-weld corrosion under residual stress.
Thickness and Location That Matter Most
Light surface green on accessible outer diameters can often be removed mechanically in under a minute. Thick crust inside fittings, under flux residues, or on stored tubing requires chemical assistance because abrasives cannot reach the full surface.
Depths greater than a few thousandths of an inch may also leave pitting that must be evaluated before accepting the joint.
Mechanical Methods That Produce Bright Metal Ready for Welding
Mechanical cleaning is the first choice for most weld preparations because it leaves no chemical residue and gives immediate visual confirmation of clean copper.
Wire Brush and Abrasive Selection for Copper
Use a stainless-steel or brass-bristle brush dedicated exclusively to copper and copper alloys. Steel bristles transfer iron particles that later appear as inclusions or create galvanic sites. Brush at moderate speed—typically 2,000–4,000 RPM on a die grinder or drill—to avoid smearing or embedding debris.
For flat sheet or pipe exteriors, 120-grit emery cloth or plumber’s sand cloth wrapped around the tube and rotated produces a consistent bright finish. Scotch-Brite or non-woven abrasive pads in medium or fine grades finish the surface without deep scratches that can trap contaminants.
Technique for Pipe Ends and Fitting Interiors
Clean at least 1 to 1½ times the insertion depth on pipe ends and the full depth of the fitting cup. Deburr both inside and outside edges after cutting so the abrasive can contact the entire joint face.
Compressed air or a clean dry cloth removes the resulting dust before any solvent wipe. Powered wire wheels work well on larger surfaces but require light pressure to avoid wall thinning on thin-wall tubing.
Chemical Approaches for Heavy or Inaccessible Green Layers
When mechanical tools cannot reach the oxide or the layer is thick, mild organic acids dissolve the carbonate without aggressive attack on the base metal.
Vinegar-and-Salt Solutions and Working Parameters
White vinegar (approximately 5 % acetic acid) combined with table salt provides an effective, low-cost bath. A practical ratio is 1 cup vinegar plus 1–2 tablespoons salt. Submerge small fittings or apply a soaked cloth to fixed pipe for 15–45 minutes depending on thickness of the green layer.
The acetic acid converts the carbonate to soluble copper acetate; salt assists by mild abrasion and improved conductivity of the solution. After soaking, scrub remaining soft residue with a nylon brush, then rinse thoroughly with clean water.
A short neutralizing rinse in dilute baking-soda solution (1 tablespoon per cup of water) stops residual acid activity. Dry completely before any further handling.
Citric Acid and Commercial Copper Cleaners
Citric acid powder mixed in warm water offers a milder alternative that is useful for electrical components or parts that cannot tolerate prolonged vinegar exposure.
Commercial copper and brass cleaners based on similar organic acids or proprietary formulations work faster on heavy crust but must be rinsed equally thoroughly.
Phosphoric-acid-based products at 10–20 % concentration remove oxide more rapidly and can leave a thin conversion film that slows reoxidation for a limited time—useful when multiple joints must be cleaned before brazing. Always confirm compatibility with any residual solder or plating on the part.
Selecting the Right Combination for Joint Geometry and Severity
The decision between pure mechanical, pure chemical, or hybrid cleaning depends on access, oxide thickness, and the joining process that follows.
Accessible Surfaces Versus Confined Joints
Open pipe ends, sheet edges, and bus-bar faces respond quickly to emery cloth or a dedicated brush and usually need no chemical step. Socket fittings, internal tube walls, or heavily pitted stored material benefit from a short chemical soak followed by light mechanical finishing.
Hybrid sequences—chemical softening of the bulk oxide, then mechanical brightening—minimize material removal while guaranteeing a clean metallic surface.
Process-Specific Cleanliness Requirements
TIG welding of copper demands the highest surface quality because no flux is present to dissolve residual oxide. Brazing and soldering tolerate slightly less perfect surfaces provided a suitable flux is applied immediately after cleaning, yet residual green still risks incomplete fillets.
Electrical bus work requires both oxide removal and complete elimination of any conductive residues that could raise contact resistance.
Final Solvent Wipe, Timing, and Protection Before Welding
Even a bright copper surface reoxidizes in air within minutes to hours depending on humidity and temperature. The last cleaning steps therefore control the success of the joint.
Acetone or Approved Degreaser as the Last Step
After mechanical or chemical oxide removal, wipe the joint area with acetone, isopropyl alcohol, or a non-chlorinated solvent on a clean lint-free cloth. This removes fingerprints, residual salts, and any thin organic film. Allow the solvent to evaporate fully; trapped solvent can generate porosity under the arc.
Working Window and Interim Protection
Weld or braze as soon as practical after the final wipe. If delay is unavoidable, cover the cleaned surfaces with clean plastic film or store the parts in a dry, sealed container.
Some shops apply a thin coat of flux immediately after cleaning when brazing is scheduled within a few hours; the flux both protects and continues mild cleaning during heat-up. For pure TIG work the surface must remain bare and dry until the torch is lit.
Decision Summary for Reliable Copper Joints
Match the cleaning method to oxide severity and joint access: mechanical abrasion for light, open surfaces; vinegar-salt or citric solutions for moderate to heavy layers in confined spaces; hybrid sequences when both bulk removal and final brightness are required.
Always finish with a solvent wipe and minimize the time between cleaning and the application of heat. The resulting bright copper surface allows full wetting, low porosity, and consistent mechanical properties whether the process is TIG, brazing, or soldering.
Advanced practice includes documenting the exact abrasive grit or acid concentration and contact time for each alloy and joint design so the preparation becomes repeatable rather than empirical on every new job.
Wrapping Up
Does vinegar remove green oxidation from copper pipes?
Yes. A white-vinegar and salt solution dissolves the green carbonate layer on copper pipes within 15–45 minutes. Rinse thoroughly and dry before welding or brazing.
Can I use a steel wire brush on copper?
No. Steel bristles transfer iron particles that become inclusions or create galvanic corrosion sites. Use only stainless-steel or brass brushes dedicated to copper.
How soon after cleaning must copper be welded?
Weld or braze as soon as practical. Copper begins to reform oxide within minutes in normal shop air; delay beyond a few hours usually requires re-cleaning.
Is mechanical cleaning enough for TIG welding copper?
For light oxidation on accessible surfaces, yes. Heavy green layers or internal surfaces normally need a chemical step followed by final mechanical brightening and a solvent wipe.