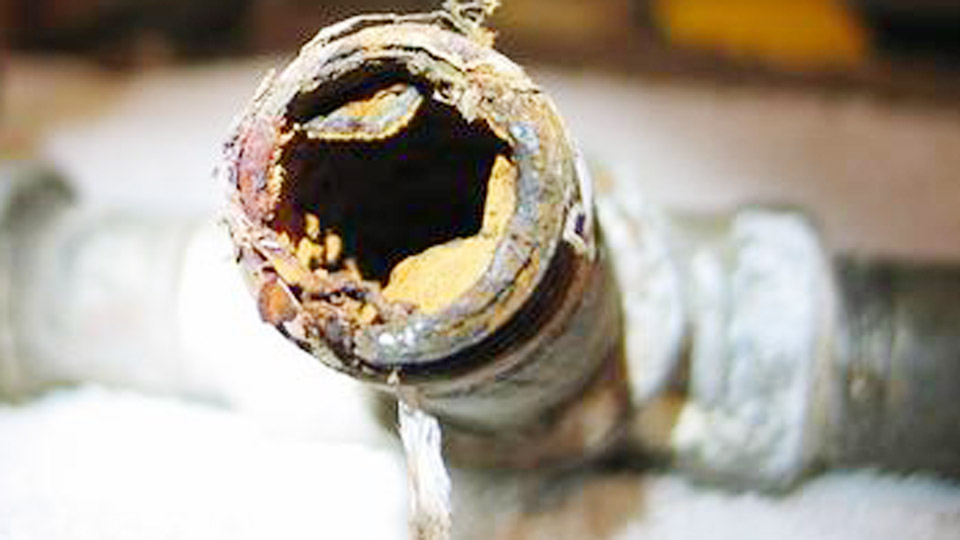
Green oxidation on jewelry is more than a cosmetic issue—it often signals a chemical reaction between the metal and moisture, air, or skin oils that can gradually affect both appearance and durability.
If you’re wondering How to Remove Green Oxidation from Jewelry?, using the right cleaning method is essential to restore the finish without scratching delicate surfaces or damaging protective coatings.
This is especially important for copper, brass, bronze, and plated jewelry, where aggressive cleaners or improper polishing can shorten the item’s lifespan and increase the need for costly repairs or refinishing.
Understanding what causes the green residue and how different metals respond to various cleaning solutions helps you choose the safest and most effective approach.
The following guide explains proven techniques to remove oxidation, prevent it from returning, and keep your jewelry looking clean, polished, and well protected over time.
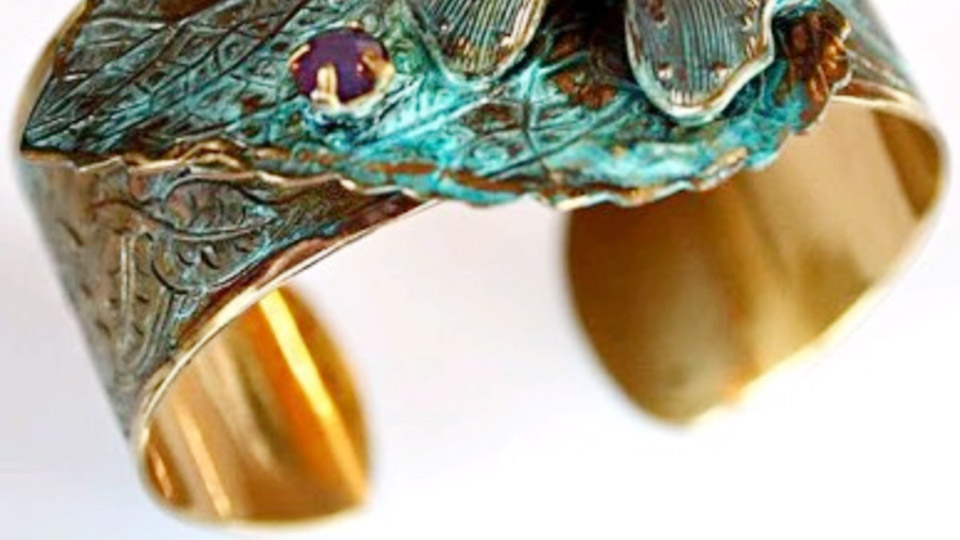
Image by hubpages
Understanding Green Oxidation in Jewelry Metals
Chemical Formation and Triggers
Green oxidation forms primarily from copper reacting with moisture, oxygen, carbon dioxide, and skin acids (sweat pH 4.5–7). The result is basic copper carbonate (Cu₂(OH)₂CO₃), the same verdigris seen on copper roofs or statues.
In alloys, sterling silver (7.5% copper) and brass (60–70% copper) accelerate this process. Plated items expose base metals faster when the thin gold or silver layer wears.
Humidity, lotions, perfumes, and chlorides speed the reaction. In a welding shop, flux residues or incomplete post-weld cleaning can mimic or worsen this on copper tubing or custom fabricated jewelry.
Impact on Welding and Fabrication
Oxidation layers reduce electrical conductivity critical for arc stability in TIG on copper alloys. They trap gases, leading to porosity, and interfere with solder flow. Pre-weld cleaning to bright metal (80–120 grit equivalent surface) ensures strong fusion. For jewelry makers, residual oxidation also causes uneven patina or weak settings around gemstones.
Quantitatively, unprotected copper corrodes at 0.5–1.5 micrometers per year in typical environments, but shop conditions or skin contact accelerate visible buildup within weeks.
Safe Mechanical Removal Methods
Wire Brushing and Abrasive Techniques for Shop Use
Start with mechanical methods for accessible surfaces and heavier buildup before welding. Use stainless steel bristles (0.006–0.010 inch) on a low-speed grinder or Dremel at 2,000–5,000 RPM.
This lifts loose patina without deep gouging. Follow with 220–400 grit abrasive pads or Scotch-Brite for a smooth finish suitable for TIG or brazing.
For intricate jewelry chains or filigree, a soft brass or nylon brush prevents scratching softer metals. Test on a hidden area—over-aggressive brushing can thin plating.
Sanding and Polishing for Precision Work
On flat or convex surfaces like rings or pendants, progress from 400 to 1200 grit wet/dry sandpaper. For final polish, use jeweler’s rouge or a felt wheel with compound. This prepares copper for clean solder joints while restoring shine. Avoid on gemstone-set pieces to prevent micro-abrasions.
Chemical Cleaning Approaches
Mild Acid Soaks: Vinegar and Lemon-Based Solutions
White vinegar (5% acetic acid) dissolves verdigris effectively: Cu₂(OH)₂CO₃ + 2CH₃COOH → soluble acetates + water + CO₂. Soak for 10–30 minutes, agitate with a soft brush, then rinse thoroughly. Neutralize with a baking soda solution (1 tbsp per cup water) to stop residual acid activity.
Lemon juice with salt provides citric acid action for copper and brass. Apply directly or soak briefly (2–5 minutes). These are shop-friendly but require full drying to prevent new oxidation.
Precautions by Metal:
- Copper/Brass: Safe for longer soaks.
- Sterling Silver: Limit exposure to avoid over-etching.
- Gold-Plated: Short contact only; acids strip plating quickly.
- Gemstones: Avoid acids entirely—use soap and water.
Baking Soda Paste and Electrolytic Methods
Mix baking soda with water into a thick paste for mild abrasion. Apply, let sit 10–15 minutes, scrub gently, and rinse. This works well on silver and lighter tarnish without heavy scratching.
For stubborn cases in the shop, set up electrolytic cleaning: Use a plastic container with sodium carbonate solution (1 tbsp/gallon), connect the jewelry as cathode (negative) to a battery charger or DC supply, with a steel anode.
Run at low voltage (6–12V) for 30–60 minutes. Bubbles lift oxidation while preserving detail—ideal for detailed welded assemblies.
Metal-Specific Removal Strategies
Sterling Silver and Copper Jewelry
Sterling silver benefits from aluminum foil + baking soda + hot water (electrochemical reduction). Line a bowl with foil (shiny side up), add jewelry, dissolve 1 tbsp baking soda and salt in hot water, soak 5–10 minutes. This transfers sulfur compounds without abrasion.
For solid copper, combine vinegar/salt soaks with mechanical follow-up. Post-clean, apply a clear lacquer or Renaissance Wax for protection in high-humidity shops.
Gold-Plated and Costume Jewelry
Prioritize minimal intervention. Start with mild dish soap and lukewarm water (5–10 minute soak, soft toothbrush). Avoid acids and abrasives that breach plating. For clasps or backs showing copper, targeted baking soda paste followed by immediate drying and optional clear nail polish barrier on skin-contact areas.
Brass and Bronze Pieces
These respond well to lemon-salt rubs or vinegar soaks. After cleaning, a light polish restores luster. In fabrication, clean thoroughly before any torch work to ensure proper filler flow.
| Metal Type | Primary Method | Time/Notes | Post-Clean Protection |
|---|---|---|---|
| Sterling Silver | Foil + Baking Soda | 5–10 min | Anti-tarnish cloth/storage |
| Copper/Brass | Vinegar/Salt or Lemon | 10–30 min soak | Wax or lacquer |
| Gold-Plated | Soap + Water | 5–10 min, gentle | Avoid chemicals |
| Costume | Soap or Baking Soda Paste | Short exposure | Nail polish on contact points |
Advanced Techniques for Welders and Fabricators
Pre-Weld and Post-Weld Oxidation Control
Before any soldering or welding on copper alloys, remove all visible green to bare metal. Use phosphoric acid gels (10–15%) for targeted application on larger components, followed by neutralization. After welding, pickle in a jeweler’s solution (vinegar + salt boiled briefly) to remove heat-induced scale.
Ultrasonic cleaners with specialized jewelry solutions reach crevices in intricate welded designs without manual labor.
Preventing Re-Oxidation in the Shop
Store cleaned pieces in airtight containers with silica gel or anti-tarnish strips. Apply protective coatings immediately after drying. For wearable items, advise customers to remove jewelry before lotions, swimming, or heavy sweating. In fabrication, work in low-humidity environments and clean flux residues promptly.
Real-World Application Insights
Effective removal balances speed, safety, and material preservation. For one-off repairs, household acids suffice. In production or frequent custom work, invest in electrolytic setups or commercial pickle solutions for repeatability. Always test methods on scrap or inconspicuous areas—plating thickness and alloy variations differ widely.
Mastering these processes lets welders deliver durable, visually perfect pieces while maintaining workflow efficiency.
FAQ
What causes jewelry to turn skin green?
Copper in alloys oxidizes with sweat and skin acids, forming transferable copper salts. Clean the piece thoroughly and apply a barrier coating on contact surfaces.
Can I weld over green oxidation?
No. It causes porosity and weak joints. Always clean to bright metal first using mechanical or chemical methods.
Is vinegar safe for all jewelry?
No—safe for solid copper/brass in moderation but risks damaging plating, gemstones, or delicate finishes. Test and rinse/neutralize always.
How do I prevent green oxidation from returning?
Dry pieces completely after cleaning, store properly, apply protective wax or lacquer, and minimize exposure to moisture, chemicals, and sweat. Regular light cleaning maintains results.