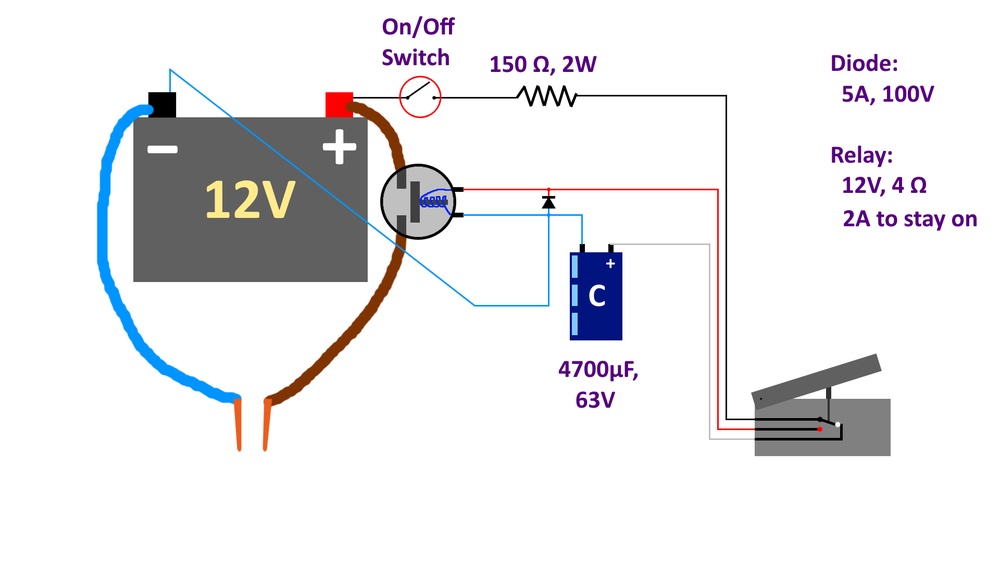
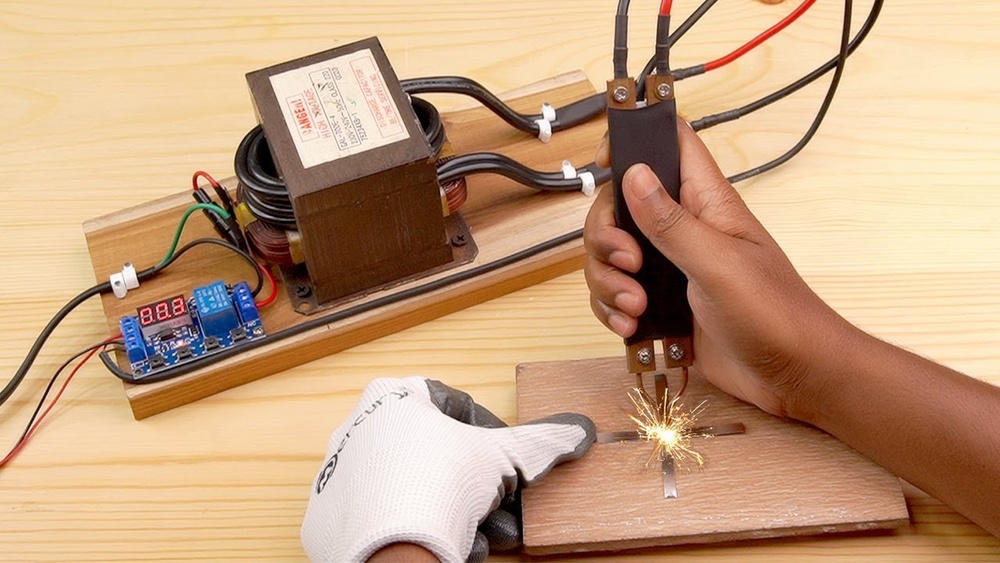
Spot welding is a powerful technique used in many industries to join metal sheets quickly and reliably. You see it in car manufacturing, electronics, and even home repairs. But working a spot welding machine takes skill, safety awareness, and a clear understanding of the process.
If you’re new to spot welding, or want to get better results, this guide will walk you through every essential step.
You’ll learn how the machine works, how to set it up, and how to avoid common mistakes. Even beginners can follow these steps to make strong, clean welds.
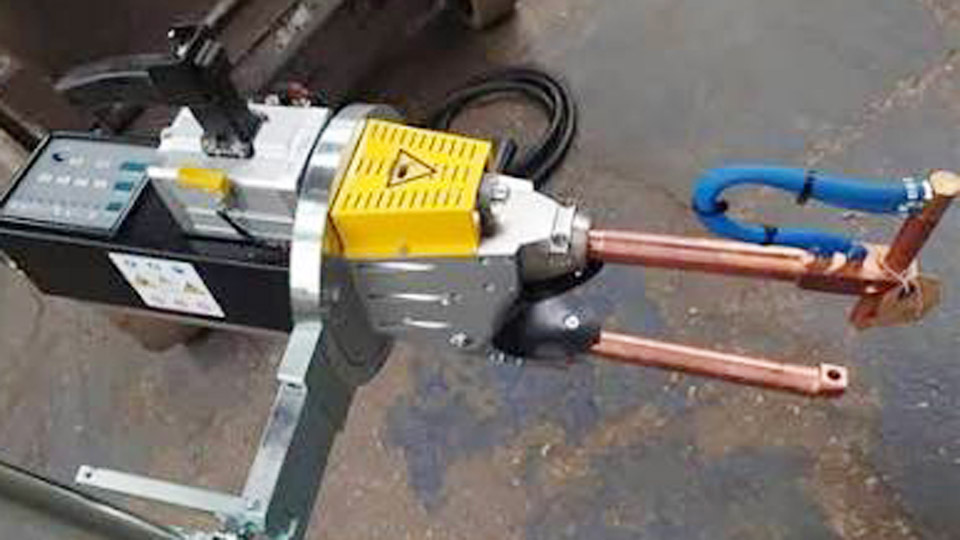
Image by westermans
What Is Spot Welding?
Spot welding is a method where an electric current passes through two metal sheets, heating and melting them at a small point. This creates a weld spot without needing extra materials like solder or glue. It’s fast, cost-effective, and works best for thin metal sheets, usually steel or aluminum.
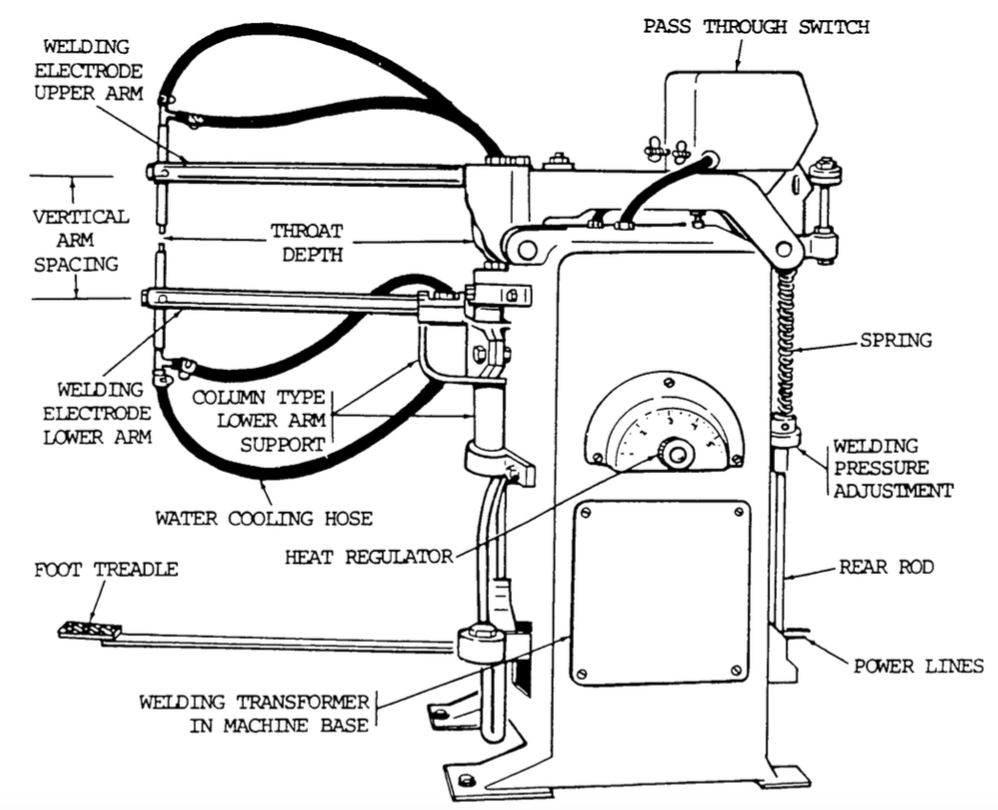
Most spot welding machines use two copper electrodes. When you press the electrodes against the metal and start the current, the heat forms a bond at the contact point. The process takes just a few seconds, but the results can last for years.
Types Of Spot Welding Machines
There are several types of spot welding machines, each designed for different tasks and materials. Choosing the right one is key to your success.
| Type | Main Use | Typical Power | Sheet Thickness |
|---|---|---|---|
| Manual | Small repairs, hobby work | 1–10 kVA | Up to 2 mm |
| Pneumatic | Industrial, automotive | 10–100 kVA | 2–10 mm |
| Automatic | Mass production lines | 20–200 kVA | 2–12 mm |
Manual machines are portable and good for beginners. Pneumatic machines use air pressure for better control and consistency. Automatic machines are used in factories and can weld hundreds of spots per hour.

Credit: www.youtube.com
Safety Precautions Before Starting
Spot welding involves high voltage and heat, so safety is critical. Many beginners ignore these steps, but accidents can happen fast.
- Wear protective gear: Always use welding gloves, safety glasses, and flame-resistant clothing. Metal splatter and sparks are common.
- Check ventilation: Spot welding can produce fumes, especially with coated metals. Work in a well-ventilated area or use an exhaust fan.
- Inspect the machine: Look for damaged cables, loose electrodes, or broken parts. Never use a faulty machine.
- Clear the workspace: Remove flammable materials and keep your area tidy.
- Understand emergency procedures: Know where the power switch and fire extinguisher are located.
Neglecting these steps can lead to burns, electric shocks, or fire.
Setting Up The Spot Welding Machine
Proper setup is the foundation for strong welds. Even experienced welders sometimes rush this stage, but it’s worth taking your time.
Positioning The Machine
Place your spot welding machine on a stable, level surface. If you’re using a manual unit, make sure it’s close to your work area. For larger machines, bolt them down to prevent movement.
Connecting Power
Most machines require a dedicated electrical outlet. Check the voltage and amperage requirements in your manual. Using the wrong power supply can damage the machine or cause dangerous sparks.
Adjusting The Electrodes
Electrodes should be clean and aligned. Dirty or misaligned electrodes reduce weld quality. Use a wire brush to clean copper tips, and make sure they touch the metal sheets evenly.
Setting The Welding Parameters
Spot welding machines let you adjust:
- Current (measured in kA): Higher current means more heat.
- Weld time (milliseconds): Too short, and the weld is weak; too long, and you burn through.
- Electrode force: Controls how tightly the electrodes press the metal.
Here’s a comparison table of recommended settings for different materials:
| Material | Sheet Thickness | Current (kA) | Weld Time (ms) | Electrode Force (N) |
|---|---|---|---|---|
| Mild Steel | 1 mm | 6–8 | 100–200 | 300–500 |
| Stainless Steel | 1 mm | 7–9 | 120–220 | 350–550 |
| Aluminum | 1 mm | 9–11 | 150–300 | 400–600 |
Always start with the recommended settings, then adjust based on your results.
Preparing The Materials
The quality of your weld depends not only on the machine, but also on how well you prepare the metal.
Cleaning The Metal Sheets
Dirty, rusty, or painted metal will not weld properly. Use a wire brush, sandpaper, or solvent to clean the surfaces. Focus on the areas that will touch the electrodes.
Clamping The Sheets
Place the sheets together with no gap. For thicker materials, use a clamp to hold them tightly. Even a small gap can weaken the weld.
Marking The Weld Spots
For precise work, mark the exact points you want to weld. Use a marker or scriber. Space your welds evenly—usually about 20–50 mm apart for most jobs.
Making The Weld
Now, you’re ready to operate the spot welding machine. This step is where most mistakes happen, but following the process carefully will help you get good results.
Step-by-step Welding Process
- Position the electrodes: Place them directly on the marked spot. Both electrodes should touch the metal sheets.
- Activate the machine: For manual machines, press the trigger or foot pedal. Automatic machines will weld when you press the start button.
- Hold the pressure: Keep the electrodes pressed until the weld cycle finishes. This usually takes 0.1–1 second, depending on settings.
- Release and move to the next spot: Let go, then repeat for other marked points.
Signs Of A Good Weld
- The weld spot is shiny and round, about 5–8 mm wide.
- No burn marks or holes.
- Sheets are tightly joined and don’t separate when pulled.
Common Mistakes And How To Fix Them
- Too little current: Weld doesn’t hold. Increase current or weld time.
- Too much current: Burn-through or holes. Lower current or shorten time.
- Dirty electrodes or metal: Weak welds. Clean before welding.
- Misaligned electrodes: Weld is off-center. Check alignment.
A non-obvious tip: If you see cracking around the weld spot, it’s usually due to too much force or incorrect settings. Adjust electrode force and check material thickness.
Credit: www.wcwelding.com
Testing The Welds
After finishing your welds, testing is important. Many beginners skip this, but it helps ensure strong joints.
Visual Inspection
Look for uniform, shiny weld spots. Avoid dull, gray, or cracked spots.
Mechanical Testing
Try to pull the sheets apart by hand or with pliers. A strong spot weld should resist separation. For critical jobs, use a peel test or tensile test.
Advanced Testing
For industrial work, you might use ultrasonic or X-ray inspection. These methods check for hidden flaws.
Maintenance And Troubleshooting
A well-maintained spot welding machine works better and lasts longer. Regular care prevents problems and keeps your welds strong.
Cleaning Electrodes
Electrodes wear out and get dirty. Clean them after every few welds. Replace if they’re misshapen or worn down.
Checking Connections
Loose cables or connectors can cause sparks or weak welds. Tighten all connections before starting.
Cooling System
Many machines have water cooling for electrodes. Check coolant levels and flow regularly.
Troubleshooting Tips
- Machine won’t start: Check power supply, fuses, and switches.
- Welds are weak: Clean electrodes, adjust settings, check metal prep.
- Excessive sparking: Lower current, improve contact, clean electrodes.
One overlooked insight: Always check electrode alignment after replacing tips. Even a slight misalignment can ruin weld quality.
Applications Of Spot Welding
Spot welding is used in many fields. Here are some examples:
- Automotive industry: Car bodies are made with thousands of spot welds. It’s fast and reliable for thin steel panels.
- Electronics: Battery packs and circuit boards use spot welding to make tiny, strong connections.
- Home repairs: You can fix metal furniture, tools, or appliances with a small spot welder.
- Aerospace: Aircraft parts need precise, strong welds.
- Construction: Metal frames and structures often use spot welding for joints.
Spot welding is popular because it saves time and money, and requires less skill than other welding methods.
Comparing Spot Welding With Other Welding Techniques
It’s important to know when spot welding is the best choice. Here’s a comparison with other common welding methods:
| Technique | Main Benefit | Drawback | Best For |
|---|---|---|---|
| Spot Welding | Fast, no filler needed | Limited to thin sheets | Automotive, electronics |
| MIG Welding | Works on thick materials | Slower, needs filler wire | Heavy structures |
| TIG Welding | Precise, clean welds | Requires skill, slower | Aerospace, fine work |
| Arc Welding | Versatile, strong joints | Messy, more fumes | Construction, pipelines |
Spot welding stands out for speed and simplicity, but it’s not suitable for thick or complex joints.
Tips For Better Spot Welding Results
Improving your spot welding technique can make a big difference. Here are some practical tips:
- Practice on scrap metal: Before starting your real project, test the settings on leftover pieces.
- Adjust for different metals: Aluminum needs higher current and shorter time compared to steel.
- Avoid overlapping welds: Too many welds close together can weaken the sheet.
- Keep electrodes cool: Overheated electrodes wear out quickly and make poor welds.
- Use consistent pressure: Uneven force leads to uneven welds.
A non-obvious insight: Changing electrode shape can improve weld quality for special jobs. Dome-shaped tips make stronger joints for thick materials.
Advanced Spot Welding Techniques
Once you master basic spot welding, you can try advanced methods for better performance.
Multiple Welds In One Cycle
Some machines let you make several welds at once. This is useful for production lines, but you must set the timing and current carefully.
Pulsed Spot Welding
Instead of a single burst, pulsed welding uses several short bursts of current. This can make cleaner welds, especially for delicate materials.
Using Custom Electrodes
Special shapes or materials for electrodes let you weld odd shapes or thicker sheets. Copper alloys are common, but sometimes you need tungsten tips for extra durability.
Troubleshooting Common Spot Welding Problems
Even with careful setup, problems can happen. Here are solutions for frequent issues:
- Electrodes sticking: Usually caused by excess heat. Lower current or check for dirty electrodes.
- Welds too small: Increase current or weld time.
- Welds too large: Reduce current, shorten time, or decrease force.
- Metal sheets warping: Space welds farther apart, use lower heat.
If you keep having trouble, recheck your settings and material preparation. Sometimes changing just one parameter solves the problem.
Wrapping Up
Spot welding is a valuable skill that opens many doors in repair and manufacturing. By understanding your machine, preparing your materials, and following each step with care, you’ll make strong, reliable welds. Don’t rush—practice, test, and learn from each job.
With these tips, even beginners can achieve professional results and avoid common mistakes.
Frequently Asked Questions
What Metals Can Be Spot Welded?
Spot welding works best with mild steel, stainless steel, and aluminum. Copper and brass are harder to weld because they conduct electricity too well, so the heat doesn’t build up enough. Always check your machine’s manual for recommended materials.
How Thick Can The Sheets Be For Spot Welding?
Most spot welding machines can join sheets up to 3 mm thick. Industrial machines go higher—sometimes up to 12 mm. For thicker materials, other welding methods work better.
Is Spot Welding Safe For Beginners?
Yes, if you follow safety precautions and learn the basics. Always wear protective gear and check your machine before starting. Beginners should start with manual spot welders and practice on scrap metal.
Why Do My Welds Look Dull Or Cracked?
Dull or cracked welds often mean bad electrode contact, dirty surfaces, or wrong settings. Clean everything well, check alignment, and adjust current or force. Sometimes, changing electrode shape improves results.