Every car owner knows the value of a well-maintained vehicle. The rocker panels—those long strips below the doors—are more than just cosmetic. They strengthen your car’s frame and protect against road debris, rust, and moisture.
But if your rocker panels become damaged or rusty, it’s not just an eyesore. The integrity of your car’s body can suffer. That’s where spot welding comes in. Spot welding rocker panels is a practical skill that can restore strength and extend your vehicle’s life.
This guide will take you step-by-step through the process, helping you understand what’s needed, how to do it safely, and how to avoid common mistakes. Whether you’re a beginner or someone with a bit of experience, you’ll find actionable advice and insights for a successful repair.
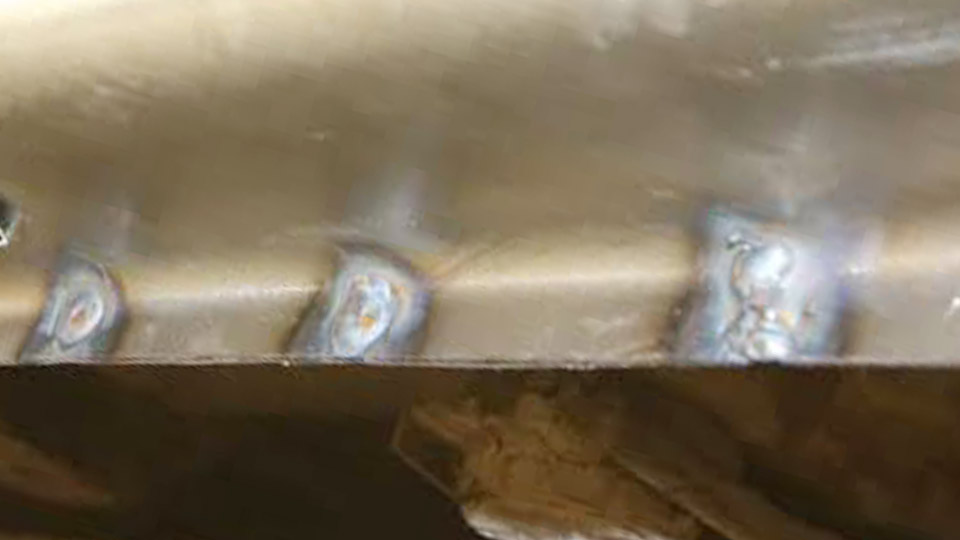
Image by hotrod
Understanding Spot Welding And Rocker Panels
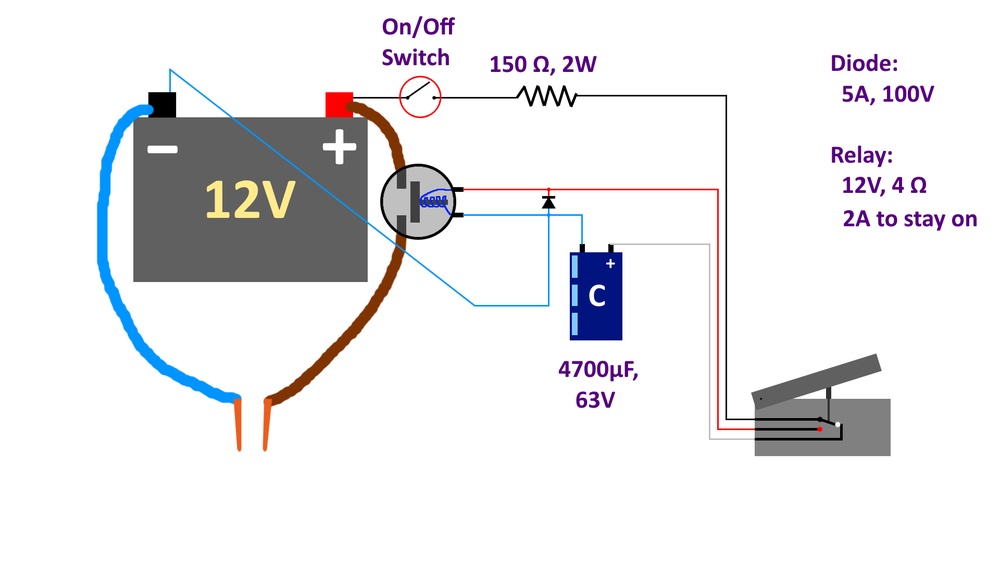
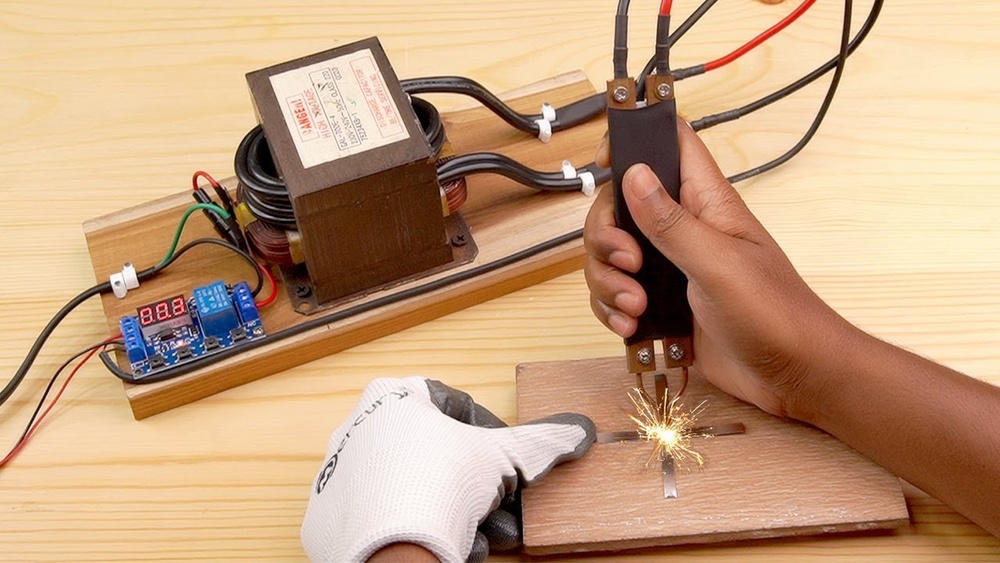
Spot welding is a common technique in car body repair, especially for joining sheet metal. Two metal pieces are pressed together, and an electric current creates heat at the contact point, melting and bonding them. It’s fast, strong, and doesn’t require extra materials like solder or rivets.
Rocker panels are located between the front and rear wheel wells, under the doors. They’re vital for structural support, especially in side impacts. They’re also a frequent target for rust, because water, salt, and debris collect here.
Why Spot Welding Is Used For Rocker Panels
- Strength: Spot welds create a robust join without weakening the metal.
- Speed: The process is quick compared to other methods.
- Clean Finish: Spot welding leaves a neat, professional look.
Common Signs Rocker Panels Need Repair
- Visible rust or holes
- Weak or sagging panels
- Paint bubbling or flaking near the bottom of doors
- Unusual noises from the lower car body
Ignoring these signs can lead to more serious problems, like failed safety inspections or compromised crash protection.
Preparing For Spot Welding Rocker Panels
Before starting, preparation is key. Skipping steps here can lead to poor results or safety hazards. Here’s how to get ready:
Tools And Materials Needed
- Spot welder (handheld or stationary)
- Replacement rocker panels (OEM or aftermarket)
- Angle grinder or metal cutting tool
- Sheet metal clamps
- Weld-through primer
- Protective gear: Welding helmet, gloves, fire-resistant jacket
- Wire brush or sandpaper
- Paint and rust inhibitor
- Measuring tape
- Marker or chalk
Safety Precautions
Spot welding involves high heat and electricity. Always:
- Disconnect the car battery before welding
- Wear eye and skin protection
- Work in a well-ventilated area
- Keep a fire extinguisher nearby
Many beginners forget to check for fuel lines or wiring near the weld area. Always inspect and shield these before starting.
Removing Old Rocker Panels
- Jack up the car and secure it with stands.
- Mark the section to remove.
- Use an angle grinder to cut away rusted or damaged panels.
- Clean the area thoroughly—rust, paint, and dirt can ruin weld quality.
Some panels are spot-welded from the factory; you may need to drill out old welds using a spot weld cutter.
How To Spot Weld Rocker Panels: Step-by-step
Spot welding is not difficult, but it demands precision and patience. Follow these steps for best results.
1. Test Fit The New Panel
Place the replacement rocker panel against the car. Ensure it aligns perfectly with mounting points and door gaps. Use clamps to hold it in place. If the fit is off, trim the panel for a snug match.
2. Surface Preparation
Clean both the car body and new panel where welds will be made. Use a wire brush or sandpaper to remove paint and rust. Apply weld-through primer to prevent future corrosion. Beginners often skip primer, but it’s vital for long-term durability.
3. Mark Welding Points
Mark where each spot weld will go. Factory welds are usually spaced 1-1. 5 inches apart. Consistent spacing ensures strength.
4. Clamping
Use sheet metal clamps to press the panel tightly against the car body. Loose panels lead to weak welds and gaps. Check alignment again before welding.
5. Spot Welding
Set the spot welder to the recommended settings for your panel thickness (usually 18-22 gauge). Place the welder’s electrodes over the marked spot, squeeze to hold the metal, and trigger the weld. Hold for 1-2 seconds, then release.
Move to the next spot, repeating the process. Alternate sides to avoid warping the panel from heat buildup.
6. Checking Weld Quality
Inspect each weld for:
- Complete fusion (no gaps)
- Smooth, even appearance
- No burn-through or holes
If a weld looks weak, redo it before moving on.
7. Finishing Touches
Once all welds are complete:
- Grind down rough welds with an angle grinder for a flush finish.
- Clean the area and apply rust inhibitor.
- Paint over the repair to match the rest of the car.
Practical Tips For Success
- Weld in short bursts to avoid overheating.
- Allow cooling time between welds.
- Double-check alignment before final welding.
A common mistake is welding too quickly without proper cooling. This causes panel warping and weak joints.
Comparing Spot Welding To Other Methods
Spot welding is not the only way to attach rocker panels. Here’s how it stacks up against alternatives:
| Method | Strength | Speed | Cost | Finish |
|---|---|---|---|---|
| Spot Welding | High | Fast | Medium | Clean |
| MIG Welding | Very High | Medium | Medium-High | Requires grinding |
| Riveting | Medium | Medium | Low | Visible rivets |
| Adhesive Bonding | Medium | Slow | Low-Medium | Clean |
Spot welding is preferred for its speed and neat finish. MIG welding is stronger but requires more skill and cleanup. Riveting and adhesives are easier for beginners but don’t offer the same structural support.
Selecting The Right Replacement Rocker Panels
Choosing a quality panel is critical. Not all panels are equal. Here’s what to consider:
Oem Vs Aftermarket
| Type | Fit | Durability | Price |
|---|---|---|---|
| OEM | Excellent | High | High |
| Aftermarket | Varies | Medium-High | Low-Medium |
OEM panels (original manufacturer) fit perfectly and match your car’s specs. Aftermarket panels are cheaper but may need adjustment. Always check reviews and ask for recommendations before buying.
Material Thickness
Most cars use 18-22 gauge steel. Thicker panels are stronger but harder to weld. Make sure your spot welder can handle the thickness.
Rust Protection
Look for panels with coated surfaces or galvanized finish. This protects against future rust—especially important in wet or snowy climates.
Common Mistakes In Spot Welding Rocker Panels
Even experienced welders make errors. Here are mistakes to avoid:
- Skipping surface cleaning: Dirt, rust, or paint blocks welds.
- Poor alignment: Panels that aren’t flush will not seal properly.
- Incorrect weld spacing: Too few welds mean weak joints; too many can warp metal.
- Overheating: Causes metal distortion and weakens the panel.
- Ignoring primer: Leads to rust under the weld.
- Welding over wiring/fuel lines: Dangerous and can cause fires.
- Failing to check weld quality: Weak welds can break and compromise safety.
One non-obvious insight: Always check welds from the inside if possible. Often, the outside looks fine, but the inside reveals incomplete fusion.
Spot Welding For Rust Repair Vs Collision Repair
Rocker panels are usually replaced due to rust, but sometimes after accidents. The approach changes slightly.
| Repair Type | Panel Preparation | Welding Steps | Finish |
|---|---|---|---|
| Rust Repair | Remove rust, clean | Spot weld replacement | Paint, rust-proof |
| Collision Repair | Align frame, remove bent sections | Spot weld or MIG weld | Paint, structural checks |
In collision repair, it’s important to check frame alignment before welding. A bent frame can cause door gaps and uneven panels.
Ensuring Long-term Durability
Spot welding is just the beginning. To ensure your rocker panels last:
- Always apply rust inhibitor inside and outside the repair area.
- Use quality paint with proper curing.
- Inspect welds annually, especially after winter.
Many beginners miss the importance of sealing the inside of the rocker panel. Moisture often enters from behind, causing hidden rust.
Real-world Example: Spot Welding A 2008 Honda Accord Rocker Panel
Let’s look at a practical example. A 2008 Honda Accord develops rust holes in both rocker panels. The owner decides to spot weld replacements.
- Preparation: Car is jacked up, battery disconnected, old panels cut away.
- Test Fit: Aftermarket panels are clamped and trimmed for perfect fit.
- Welding: Welds are spaced every 1.25 inches, using a handheld spot welder.
- Quality Check: Each weld is inspected and re-welded if weak.
- Finishing: Panels are ground smooth, primed, and painted with matching color.
After repair, the car passes safety inspection and looks factory-fresh. The owner also applies extra rust-proofing inside the panel—a step often skipped but crucial for longevity.
Cost And Time Estimates
Spot welding rocker panels is cheaper than full body shop repairs. Here are typical costs:
- Spot welder rental: $50–$80 per day
- Replacement panels: $80–$200 each
- Supplies: $60–$100 (primer, paint, tools)
- Labor time: 6–12 hours (DIY); 1–2 days (professional)
Professional shops may charge $600–$1,200 for the full job. Doing it yourself saves money but requires patience and careful work.
Spot Welder Settings For Different Panel Types
Choosing the right settings is crucial. Here’s a quick reference:
| Panel Thickness (Gauge) | Current (Amps) | Weld Time (Seconds) |
|---|---|---|
| 22 | 8,000 | 1.0 |
| 20 | 10,000 | 1.2 |
| 18 | 12,000 | 1.4 |
Always consult your spot welder’s manual for exact settings. Too much current burns through; too little creates weak welds.
Spot Welding: Skill Level And Learning Curve
Spot welding is easier than MIG or TIG welding but still takes practice. Beginners should:
- Practice on scrap metal before working on the car
- Watch tutorial videos
- Seek advice from local auto forums
One overlooked tip: Try welding with different clamp pressures. Too tight or loose affects weld quality.
Post-weld Inspection And Safety
After welding:
- Check for hot spots or smoke
- Inspect welds for cracks or gaps
- Ensure all tools are powered off
- Reconnect the battery only after confirming no electrical issues
Failure to inspect can mean hidden faults. A professional inspection is wise if you’re unsure.
Environmental And Legal Considerations
Disposing of old panels and paint must follow local laws. Many areas have rules about metal recycling and hazardous waste. Some states require repairs to meet certain safety standards.
Wrapping Up
Spot welding rocker panels is a practical skill that can save money and restore your car’s strength. With careful preparation, the right tools, and attention to detail, you can achieve professional results—even as a beginner.
The process is straightforward, but requires patience, precision, and a focus on safety. If you follow these steps and tips, your car’s rocker panels will be strong, rust-free, and ready for years of service.
Frequently Asked Questions
How Do I Know If My Rocker Panels Need Spot Welding?
Check for visible rust, holes, or sagging below your doors. If the panels are loose, noisy, or fail inspection, spot welding is often required.
Can I Spot Weld Rocker Panels With A Regular Arc Welder?
No. Arc welders are designed for continuous welds, not spot welds. Use a dedicated spot welder for best results.
Should I Use Oem Or Aftermarket Rocker Panels?
OEM panels fit best and last longer. Aftermarket panels are cheaper but may need trimming. For a perfect match, OEM is preferred.
How Long Does It Take To Spot Weld Rocker Panels?
DIY repairs take 6–12 hours, depending on experience. Professionals usually finish in 1–2 days.
Is It Safe To Spot Weld Near Fuel Lines Or Wiring?
No. Always check and shield fuel lines and wiring before welding. Move or cover them to prevent fire or damage.