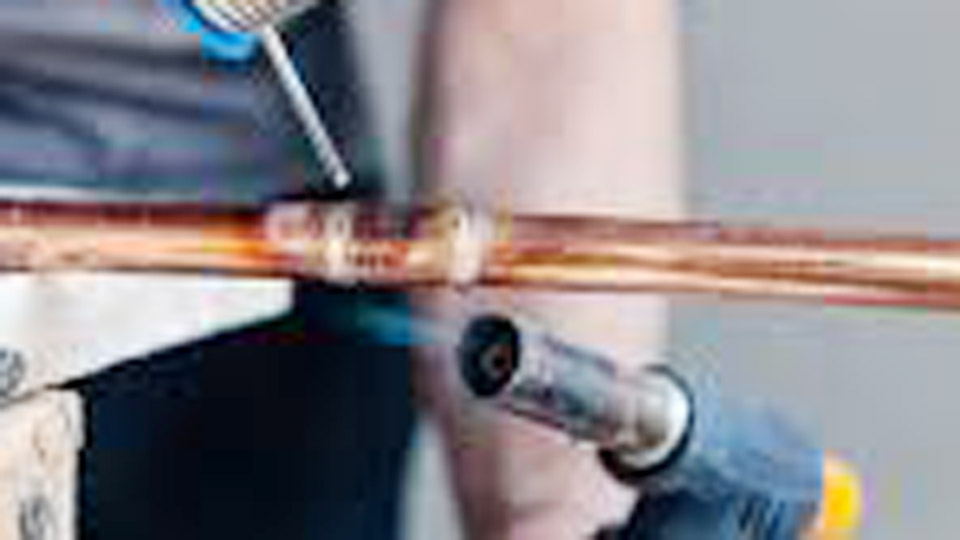
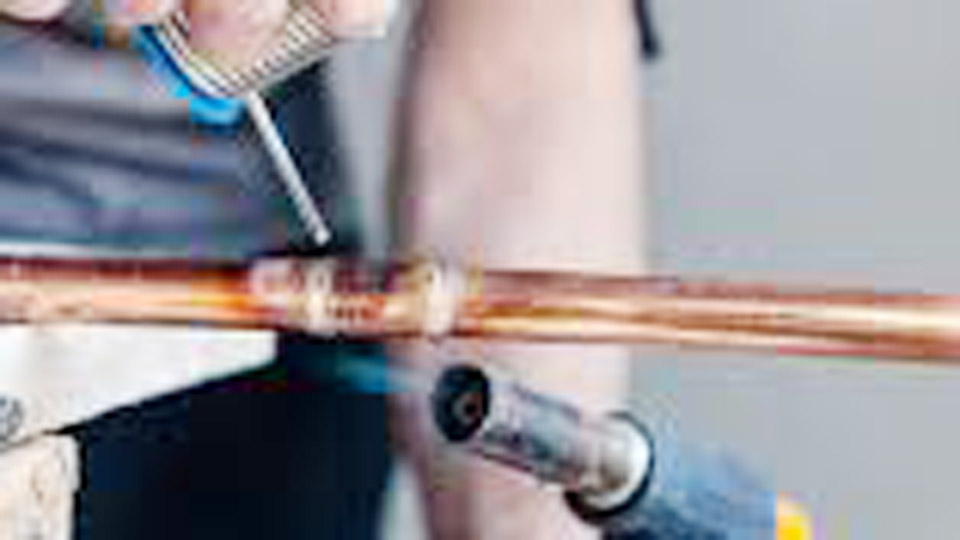
Caulk and sealant joints on galvanized steel gutters fail within a few seasons under thermal expansion, UV exposure, and freeze-thaw cycles, leaving water to attack every cut edge where the zinc coating ends.
Knowing how to solder galvanized steel gutters creates a continuous metal bond that seals the exposed steel core and restores corrosion resistance at seams, miters, and downspout outlets. T
raditional hot-dipped galvanized material accepts solder when the zinc surface is properly cleaned and fluxed; modern paint-grip or Galvalume coatings often do not.
Correct acid flux, controlled heat below the zinc burn-off point, and full capillary fill of the lap determine whether the joint lasts as long as the gutter itself or begins rusting from the inside within a year.
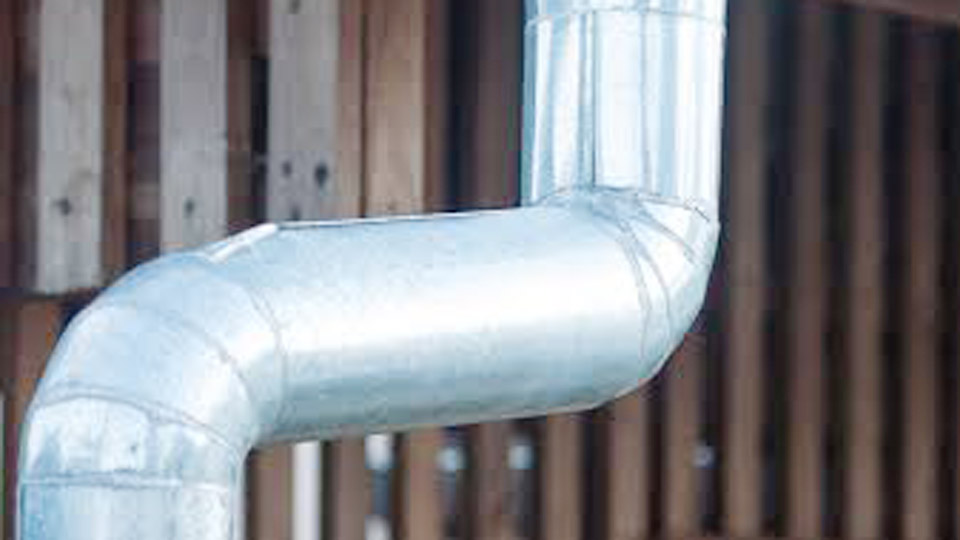
Image by ljworld
Material and Coating Decisions That Determine Solderability
Not every galvanized product behaves the same under solder heat. The coating type and sheet gauge dictate flux aggressiveness and heat tolerance before the protective layer is destroyed.
Traditional Hot-Dipped Versus Paint-Grip and Galvalume
Hot-dipped galvanized steel carries a relatively pure zinc layer that accepts zinc-chloride or hydrochloric-based fluxes and allows solder to wet and flow. Paint-grip finishes include phosphate or chromate treatments engineered for paint adhesion; these layers resist solder wetting and often produce weak or non-existent bonds.
Galvalume (zinc-aluminum alloy) coatings melt and flow at lower temperatures than pure zinc, making them prone to burn-through and poor adhesion. Confirm the mill coating before ordering or attempting to solder existing stock.
Gauge Selection for Gutter Work
Most residential and light commercial gutters use 24- or 26-gauge galvanized sheet. Thinner gauges heat faster and require lower iron mass or shorter contact time to avoid local zinc vaporization. Heavier 22-gauge material holds heat longer and benefits from larger copper bits that deliver steady thermal mass without prolonged flame exposure.
Flux Chemistry and Surface Preparation Requirements
Acid flux performs two functions: it strips residual oxides and promotes wetting of the zinc surface so solder can flow by capillary action into the lap.
Zinc Chloride Versus Muriatic Acid Fluxes
Zinc-chloride pastes or liquids formulated for galvanized sheet remain active long enough for controlled heating and leave fewer aggressive residues when neutralized.
Diluted muriatic acid (hydrochloric) is effective for aggressive cleaning on heavily oxidized or mill-scale surfaces but demands thorough post-solder neutralization with a baking-soda solution or copious water rinsing.
Residual acid accelerates corrosion if left on the joint. Apply flux only to the immediate joint area after mechanical cleaning.
Mechanical Cleaning Sequence Before Flux
Wire-brush or abrasive-pad both mating surfaces until bright metal appears. Remove oil, forming lubricants, and loose zinc oxide.
Overlap the joint 1 to 1½ inches for standard gutter seams; shorter laps reduce the capillary path and increase the chance of incomplete fill. Flux both faces immediately before assembly so the acid remains active during heating.
Heat Delivery Methods and Temperature Control
Direct torch flame easily exceeds the temperature at which zinc begins to vaporize and produce toxic fumes while destroying the coating adjacent to the joint. Controlled heat through a massive copper bit is the preferred professional method.
Copper Soldering Irons Versus Direct Torch Application
A 1- to 3-pound copper soldering iron (or a 250–400 W electric equivalent with large tip) stores and transfers heat more evenly than an open flame. Heat the iron with a propane or MAP-gas torch until the tip is hot enough to melt solder instantly on contact, then wipe and tin the tip on a sal-ammoniac block.
Place the tinned iron on the joint so heat conducts into the metal rather than bathing the zinc surface in flame. Direct torch heat is usable only with extreme care and distance control; it is rarely the first choice for quality galvanized work.
Target Temperature and Solder Behavior
Most 50/50 or 60/40 tin-lead solders begin to flow near 360–460 °F and reach full fluidity around 600 °F. Zinc itself melts near 787 °F.
Keep the base metal just hot enough for the solder to wet and draw into the lap; visible zinc boiling or white oxide smoke indicates excessive temperature and coating damage. Feed solid ⅛-inch or bar solder into the heated joint rather than melting large quantities on the iron.
Joint Design and Assembly Sequence for Gutter Seams
Proper mechanical fit and support prevent movement while the solder solidifies and ensure capillary action fills the entire lap.
Lap Orientation and Support During Soldering
Assemble sections so the upstream piece overlaps the downstream piece in the direction of water flow. Clamp or rivet the lap temporarily if needed to maintain contact pressure. Support the joint from below so gravity does not pull the molten solder out of the seam. Work from the inside of the gutter where possible so excess solder can be wiped clean on the exterior face.
Filling the Joint by Capillary Action
Once both surfaces are fluxed and the iron is applied, touch the solder to the joint edge opposite the iron. The molten alloy should be drawn the full width of the lap.
Incomplete fill leaves voids that later trap water and initiate rust. After the joint solidifies, inspect both sides for continuous fillets and reheat only the deficient sections if necessary.
Post-Solder Cleaning and Corrosion Prevention
Acid flux residue left on galvanized surfaces continues to etch the zinc and steel long after the joint cools.
Neutralization and Residue Removal
Immediately after soldering, neutralize residual acid with a dilute baking-soda solution or rinse thoroughly with clean water. Dry the area completely. Any remaining flux crystals or acidic film will create localized corrosion cells that undermine the new solder bond. Wipe excess solder while still warm for a smooth exterior appearance that sheds water cleanly.
Edge Sealing Beyond the Primary Seam
Every cut edge, miter cut, and outlet hole exposes bare steel. Flux and solder these edges as well, or apply a compatible zinc-rich coating if soldering is impractical. Failure to protect cut edges is a primary cause of early rust even when the main seams appear sound.
Lead Versus Lead-Free Solder Performance on Galvanized Gutters
Traditional 50/50 tin-lead solder offers a wide plastic range that accommodates minor movement during cooling and wets galvanized surfaces reliably. Many jurisdictions restrict lead-bearing solders for potable-water systems, but rain gutters are generally outside those restrictions.
Lead-free alloys (tin-antimony or tin-copper) require higher temperatures and tighter process control; some operators report reduced wetting on zinc coatings.
For outdoor gutter service where lead is permitted, 50/50 remains the most forgiving choice. Acid-core solders combine flux and alloy in one wire and can simplify small repairs when external flux is applied first.
Common Failure Modes Linked to Technique Errors
Incomplete wetting usually traces to inadequate cleaning or spent flux. Burned zinc adjacent to the joint indicates excessive heat or prolonged flame contact. Cracked or porous solder results from movement during solidification or contamination.
Joints that leak only under heavy flow often contain voids that capillary action never filled. Each of these defects is preventable by verifying surface brightness, using fresh acid flux, controlling iron temperature, and maintaining joint pressure until the solder freezes.
Wrapping Up
Soldered galvanized gutters succeed when the coating type is confirmed solderable, acid flux is matched to the surface, heat is delivered through a massive copper bit rather than open flame, and every cut edge receives the same protection as the primary seam.
The resulting continuous metal joint expands and contracts with the gutter itself and eliminates the cyclic failure inherent in sealant-only connections.
Advanced installers further improve longevity by soldering as many seams as possible on the ground before final hanging, minimizing overhead work and ensuring consistent heat and cleaning under controlled conditions.