When you work with metal, joining parts is often essential. Spot welding is a popular method for attaching thin sheets of metal, especially in the automotive and manufacturing industries. But sometimes spot welds fail. They might break, rust, or not hold properly.
When that happens, you need to re weld spot welds. This process seems simple, but doing it correctly requires skill, planning, and the right equipment. If you rush or skip steps, you risk damaging the metal or making weak joints.
This article will help you understand how to re weld spot welds safely and effectively. We’ll cover tools, preparation, common mistakes, and practical tips.
Whether you’re repairing a car body or fixing a metal project, you’ll learn everything you need to know within these pages. Let’s dive in and make your next re weld job strong and reliable.
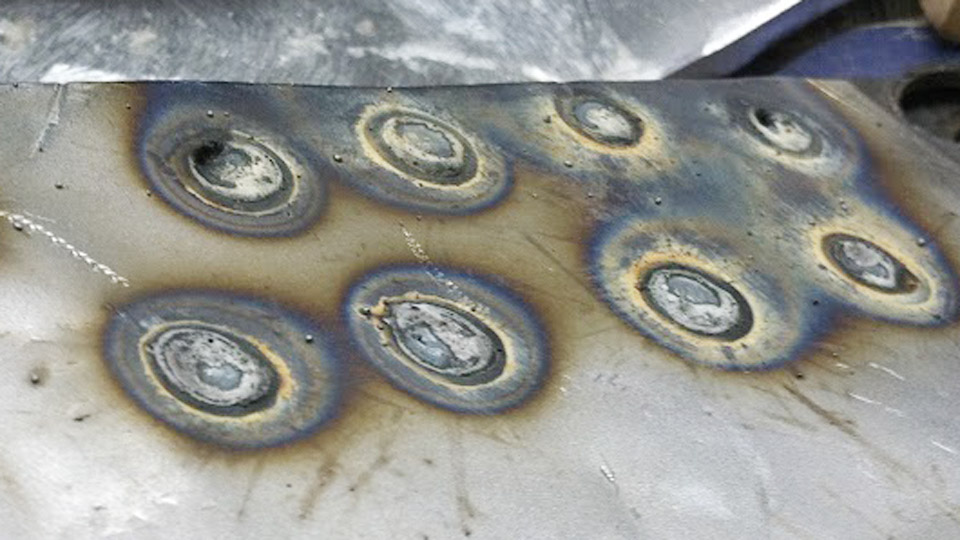
Image by weldingweb
What Are Spot Welds And Why Do They Fail?
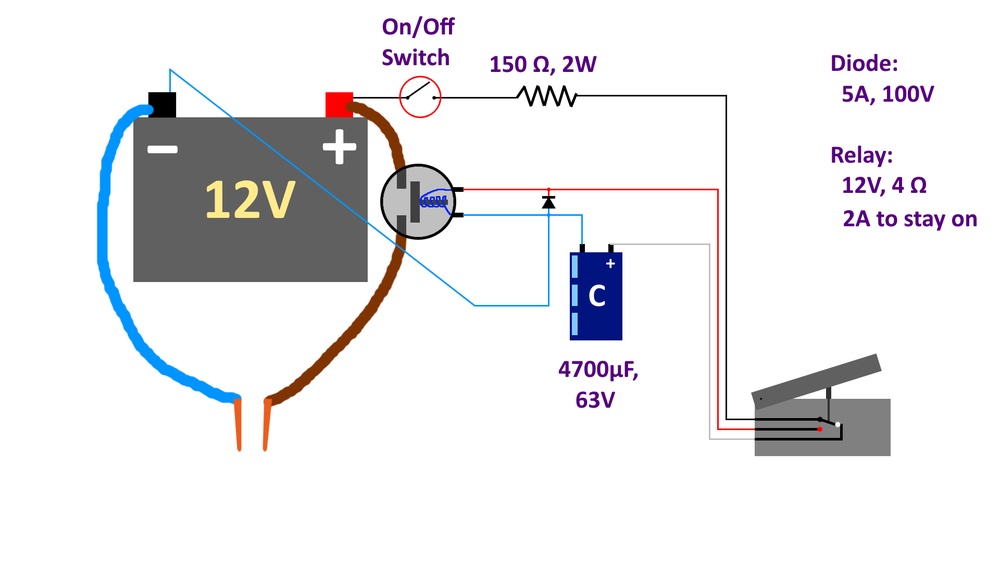
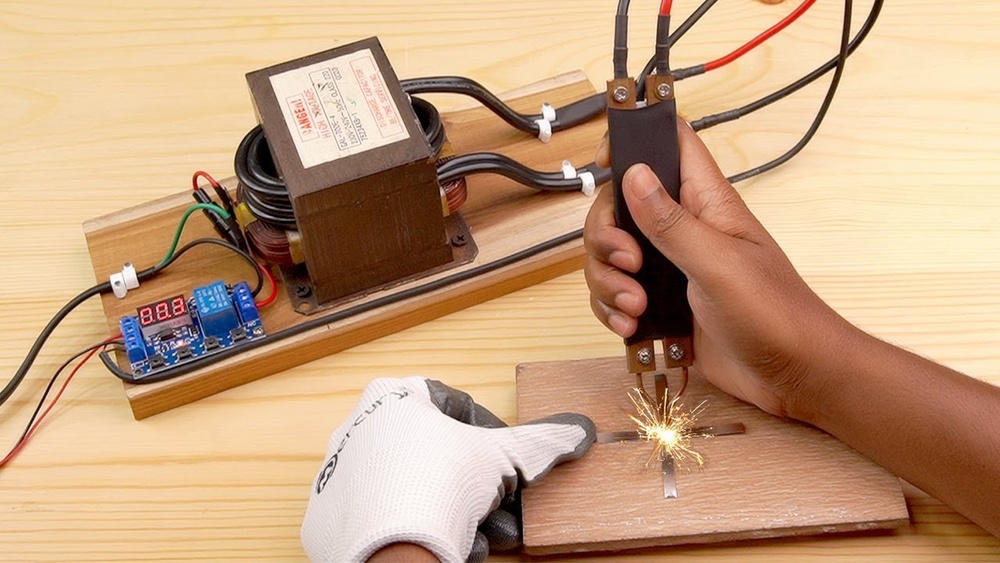
Spot welding uses electrical current and pressure to join metal sheets at small points. It’s fast, efficient, and leaves minimal marks. You see it often in car frames, appliances, and steel furniture.
But spot welds aren’t perfect. Here are reasons why they fail:
- Corrosion: Moisture and salt cause rust, weakening the weld.
- Mechanical stress: Vibration, bending, or impacts may break the weld.
- Poor technique: Incorrect current, pressure, or timing create weak joints.
- Material fatigue: Over time, repeated stress can crack welds.
- Thin or dirty metal: Surface contaminants or thin sheets don’t weld well.
When a spot weld breaks, the parts separate or become loose. Sometimes, you’ll see visible cracks or rust. Other times, you’ll notice rattling, movement, or poor structural support.
Tools And Equipment Needed For Re Welding Spot Welds
Before you start, you need the right tools. Using incorrect tools can damage the metal or create unsafe welds.
Here’s what you’ll need:
- Spot welder: Either portable or stationary, depending on the project size.
- MIG/TIG welder: Useful for patching or reinforcing.
- Angle grinder: Removes old welds and cleans surfaces.
- Wire brush or sanding disk: Cleans rust and paint.
- Welding helmet and gloves: Protects your eyes and hands.
- Clamps: Holds metal sheets firmly together.
- Drill and spot weld cutter: Removes failed welds.
- Measuring tools: Ensures precise alignment.
Here’s a quick comparison of the main welding machines used in re welding:
| Machine Type | Best Use | Power Source | Ease of Use | Cost |
|---|---|---|---|---|
| Spot Welder | Sheet Metal Joints | Electric | Easy | Medium |
| MIG Welder | Patch Repairs | Electric/Gas | Medium | Medium-High |
| TIG Welder | Precision Welds | Electric/Gas | Hard | High |
Non-obvious tip: Always check your spot welder’s electrode tips. Worn electrodes create poor welds. Replace or regrind them before starting.
Preparing The Surface For Re Welding
Preparation is the foundation of a strong weld. If you skip cleaning or aligning, the welds won’t hold.
Cleaning The Metal
Dirty or rusty metal blocks the current and weakens the weld. Follow these steps:
- Use an angle grinder or sanding disk to remove rust, paint, and old weld residue.
- Brush the area with a wire brush to clear remaining dust.
- Wipe with a clean rag and a little acetone to remove grease.
Removing The Old Spot Weld
Failed spot welds must be removed before you re weld. Here’s how:
- Mark the failed welds using a marker.
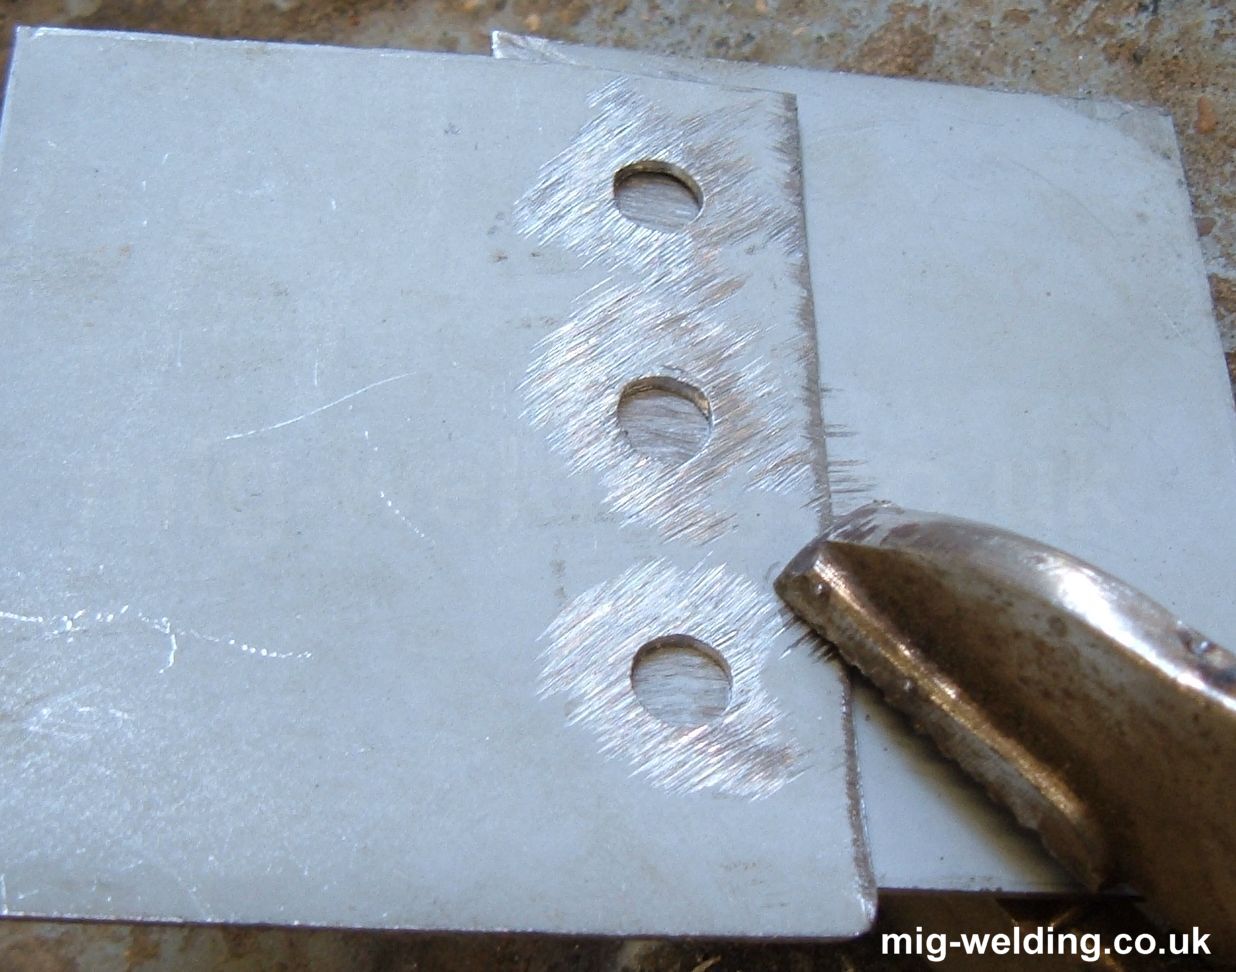
- Drill out the old weld using a spot weld cutter or a drill bit slightly larger than the weld.
- Grind the area smooth. Avoid thinning the base metal.
- Clean the hole and surrounding area.
Aligning And Clamping
Proper alignment is crucial. Misaligned sheets lead to weak joints.
- Use clamps to hold the sheets together.
- Make sure edges and holes line up.
- Double-check measurements before welding.
Insight: Many beginners overlook the importance of clamping. Loose sheets create gaps that ruin weld strength.
Choosing The Right Welding Method
Re welding spot welds can be done using different methods. The best option depends on the material thickness, access, and desired strength.
Spot Welding
This is the original method. Use a spot welder for thin sheets (0. 5–3 mm).
- Place electrodes on both sides of the joint.
- Apply pressure and trigger the current.
- Hold for the recommended time (usually 1–3 seconds).
Plug Welding (mig/tig)
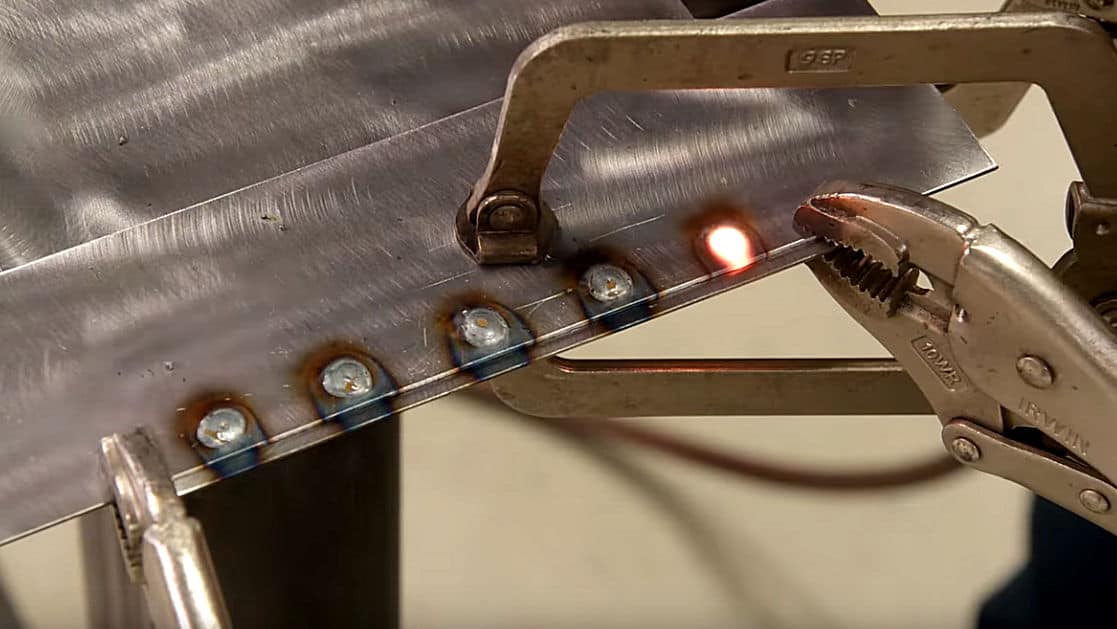
If you drilled out the old weld, plug welding is a good choice.
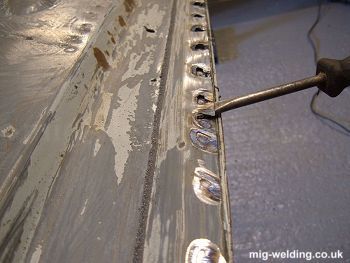
- Fill the drilled hole with weld using a MIG or TIG welder.
- This creates a strong joint without needing a spot welder.
- Plug welds can be stronger than original spot welds.
Stitch Welding
For larger repairs, stitch welding might be needed.
- Weld short sections (like a dashed line).
- Avoid overheating the metal.
| Welding Method | Sheet Thickness | Joint Strength | Ease of Access |
|---|---|---|---|
| Spot Welding | 0.5–3 mm | Medium | Easy |
| Plug Welding | Up to 5 mm | High | Medium |
| Stitch Welding | Up to 8 mm | Very High | Hard |
Non-obvious tip: Plug welding is often used in car body repairs because it allows access from one side only, making it ideal for tight spots.
Credit: m.roadkillcustoms.com
Step-by-step Process To Re Weld Spot Welds
Here’s a clear guide to re welding spot welds, whether you use a spot welder or plug weld:
- Identify failed welds: Mark all spots needing repair.
- Remove old welds: Use a drill and grinder to clean the area.
- Clean the surface: Remove rust, paint, and grease.
- Align and clamp: Secure the sheets for a tight fit.
- Choose welding method: Decide on spot, plug, or stitch weld.
- Set up equipment: Adjust current, pressure, and electrode tips.
- Make the weld: Apply pressure and current for spot welding, or fill the hole for plug weld.
- Check weld quality: Inspect for penetration, consistency, and strength.
- Clean up: Remove slag, check for sharp edges, and repaint if needed.
Detailed Example: Plug Welding A Car Panel
Suppose you’re repairing a rusted car door. The old spot welds have failed, and you drilled them out.
- Clean the area thoroughly.
- Clamp the replacement panel in place.
- Use a MIG welder to fill each hole with weld. Start from the center and move outward.
- Grind the welds smooth once cool.
- Inspect and repaint.
Practical tip: Weld in small bursts to avoid overheating. Overheating warps thin metal.
Checking Weld Quality And Strength
A strong weld isn’t just about appearance. You need to ensure it holds under stress.
Visual Inspection
- Look for full penetration in plug welds.
- Spot welds should be shiny, round, and free of cracks.
- No holes, pits, or excessive splatter.
Physical Testing
- Try gently prying the sheets apart. They shouldn’t move.
- Tap with a hammer; a good weld sounds solid, not hollow.
Measurement
- Measure weld diameter. Standard spot welds are about 5–7 mm.
- Plug welds should fill the hole completely.
| Inspection Method | What to Check | Common Issues |
|---|---|---|
| Visual | Shape, cracks, splatter | Poor appearance, holes |
| Physical | Strength, rigidity | Loose joints |
| Measurement | Diameter, penetration | Underfilled holes, small welds |
Insight: Many people forget to measure weld size. Too small means weak; too large can overheat and damage the sheet.
Safety Tips For Re Welding Spot Welds
Welding can be dangerous. Always protect yourself and your workspace.
- Wear a welding helmet with the correct shade.
- Use gloves and long sleeves to prevent burns.
- Work in a well-ventilated area. Welding fumes are toxic.
- Keep flammable materials away.
- Use clamps to prevent movement.
- Check cables and connections before starting.
- Keep a fire extinguisher nearby.
Practical tip: If you’re welding near painted surfaces, cover them with fire-resistant cloth to prevent fires.
Common Mistakes In Re Welding Spot Welds
Many beginners make errors that ruin weld strength or safety. Here are the most common:
- Skipping surface cleaning: Dirty surfaces block current and create weak welds.
- Poor alignment: Misaligned sheets lead to gaps and weak joints.
- Wrong settings: Using too much or too little current causes burn-through or weak welds.
- Overheating: Too long on the weld warps the metal.
- Ignoring electrode condition: Worn tips make poor spot welds.
- No physical test: Always check weld strength after completion.
- Not covering nearby surfaces: Sparks can ignite paint or plastic.
Insight: Many people don’t realize that welding near old paint can release toxic fumes. Always sand away paint before welding.
Credit: www.mig-welding.co.uk
Repairing Large Areas Vs Small Spot Welds
Sometimes you need to repair large panels with many failed welds. Other times, it’s just one or two spots. The approach changes depending on the size.
Small Spot Weld Repairs
- Focus only on the damaged area.
- Use a spot welder or plug weld.
- Quick, targeted repair.
Large Panel Repairs
- Remove the entire panel if needed.
- Drill out all old welds.
- Clean, align, and clamp the new panel.
- Use plug welds along the whole seam.
- Inspect every weld for consistency.
Non-obvious tip: For large repairs, stagger the welds to avoid overheating one area. This prevents warping.
Advanced Techniques For Stronger Re Welds
If you want extra strength, try these advanced methods:
- Double weld: Weld both sides if possible for extra strength.
- Weld-through primer: Use a special primer to protect against rust while allowing current flow.
- Backing strips: Add a strip of metal behind the joint for support.
- Pulse welding: Some modern machines use pulsed current for better control and less heat.
Practical tip: Weld-through primer is especially useful in automotive repairs, where rust protection is critical.
Credit: www.mig-welding.co.uk
When To Replace Instead Of Re Weld
Not every failed spot weld can be fixed. Sometimes, the metal is too thin, rusted, or damaged.
- If the base metal is heavily corroded, replace the part.
- If holes are too large, patch or replace.
- If the joint is in a high-stress area, consider a stronger welding method.
Insight: Re welding can only restore strength if the surrounding metal is sound. Always check for hidden rust before starting.
Real-world Examples And Statistics
Spot welding is everywhere. In car manufacturing, a typical vehicle has over 4,000 spot welds. Automotive studies show that plug welds can be 30% stronger than original spot welds, especially when done properly.
Example: A 2018 study found that re welding failed spot welds with plug welds improved joint strength by up to 40%, especially in areas exposed to vibration.
In home repairs, fixing spot welds in steel furniture can extend life by years. One user reported repairing a rusted garden bench by re welding ten failed spots, making it sturdy again.
How To Avoid Future Spot Weld Failures
Prevention saves time and money. Here’s how to avoid future spot weld issues:
- Clean surfaces thoroughly before welding.
- Use proper settings for your welder.
- Inspect electrode tips regularly.
- Apply rust protection after welding.
- Check welds after completion for strength.
Non-obvious tip: Store your tools and metal parts in a dry place. Moisture causes hidden rust, which weakens future welds.
For more on welding methods and safety, visit the Spot Welding Wikipedia page.
Frequently Asked Questions
What Is The Difference Between Spot Welding And Plug Welding?
Spot welding uses electrical current between two electrodes to join sheets at a small point. Plug welding fills a drilled hole with weld using a MIG or TIG welder. Plug welds are often stronger and are used when you can’t access both sides of the sheet.
How Do I Know If My Spot Weld Repair Is Strong Enough?
Check visually for full penetration, consistent size, and lack of cracks. Then do a physical test—try prying the sheets apart. If the joint doesn’t move and sounds solid, it’s likely strong. Measuring the weld diameter also helps.
Can I Re Weld Spot Welds With A Mig Welder?
Yes. After removing the old welds, you can use a MIG welder to plug weld the holes. This is common in auto body repairs and works well for strong joints.
What Safety Precautions Should I Take When Re Welding Spot Welds?
Wear a welding helmet, gloves, and long sleeves. Work in a ventilated area. Remove flammable materials, check equipment, and keep a fire extinguisher nearby. Always sand away paint before welding.
Do I Need To Apply Rust Protection After Re Welding?
Yes. Welding removes protective coatings, so always repaint or use rust-resistant primer after welding. This prevents future corrosion and extends the life of your repair.
Repairing spot welds isn’t just about joining metal—it’s about restoring strength, safety, and appearance. With careful preparation, the right tools, and a steady hand, you can make your repairs last for years. Remember to check your welds, follow safety tips, and never rush.
The quality of your re welds will show in the durability of your finished project.